Gluon CloudLink: step by step guide
This manual shows the process of registering your application in Gluon CloudLink and enabling user authentication in full detail. We’ll use the Comments 2.0 sample to illustrate that.
First Steps
Clone the application from the samples repository. You will find the Comments 2.0 sample in the folder /Comments2.0.
Application Registration
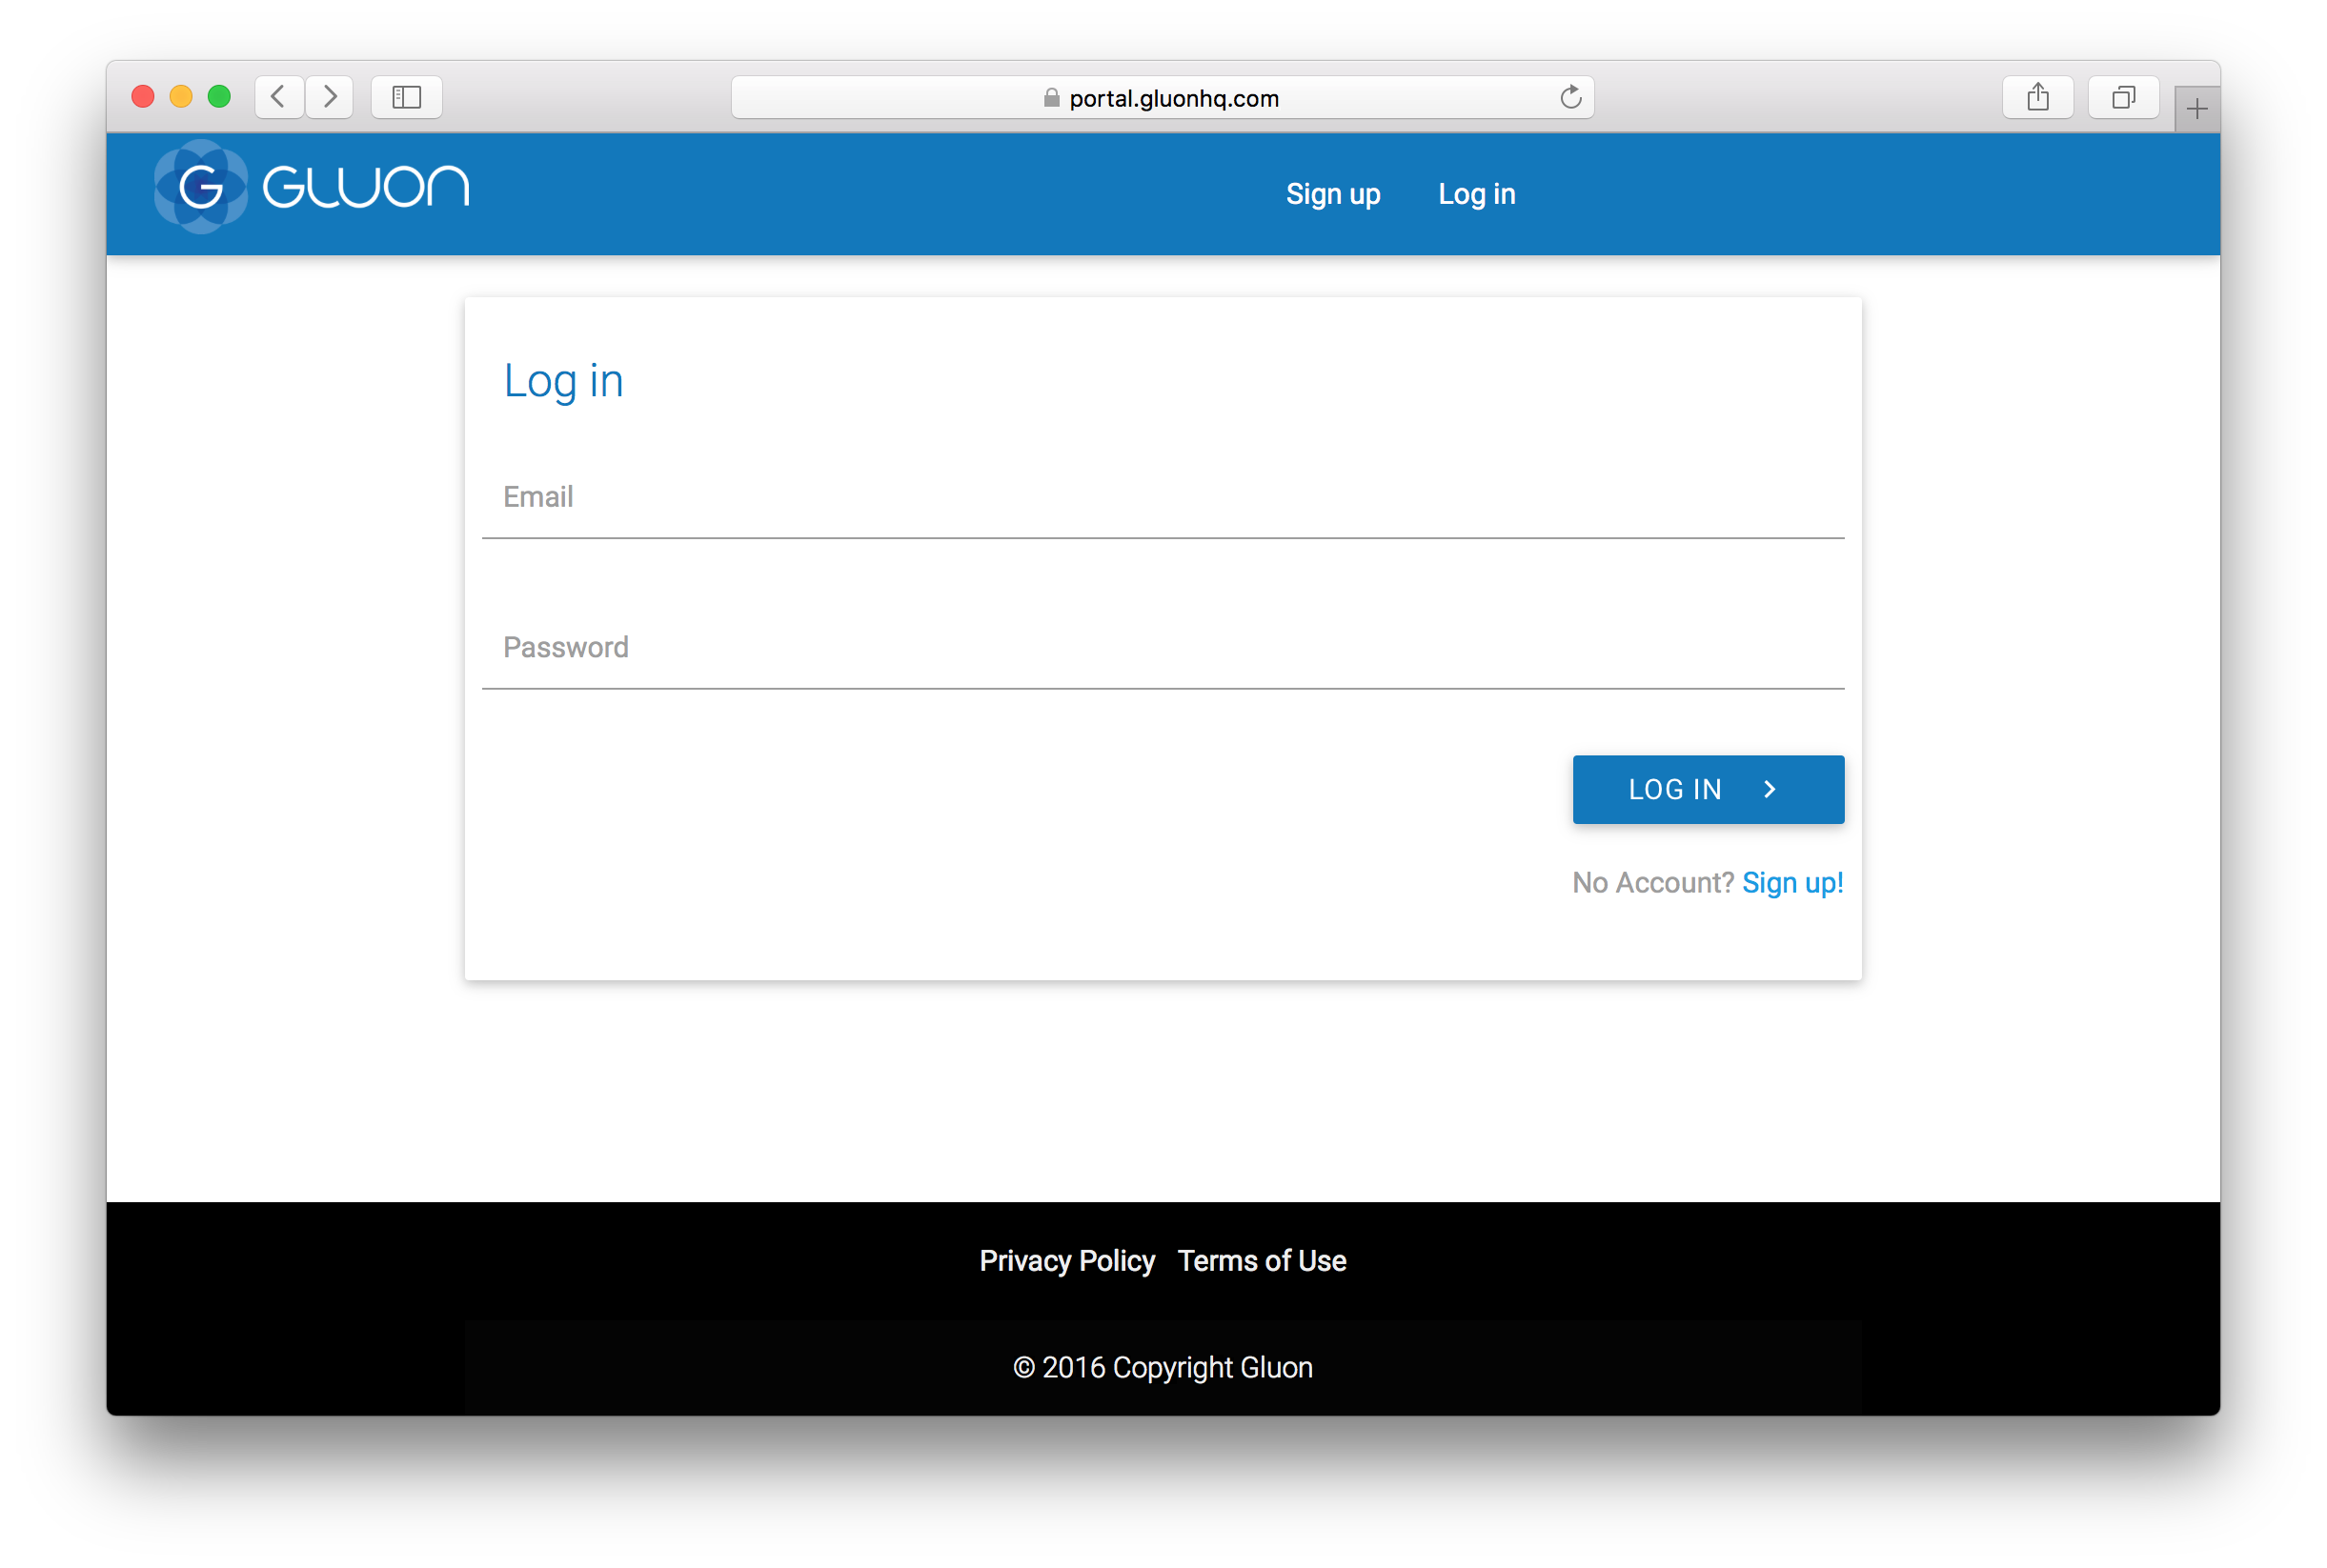
If you want to store and synchronize your data in Gluon CloudLink using the Gluon Connect library, you will need to register your application in Gluon CloudLink. Go to the Gluon CloudLink Product page and click on "Sign up" under "Free". You will see this page:
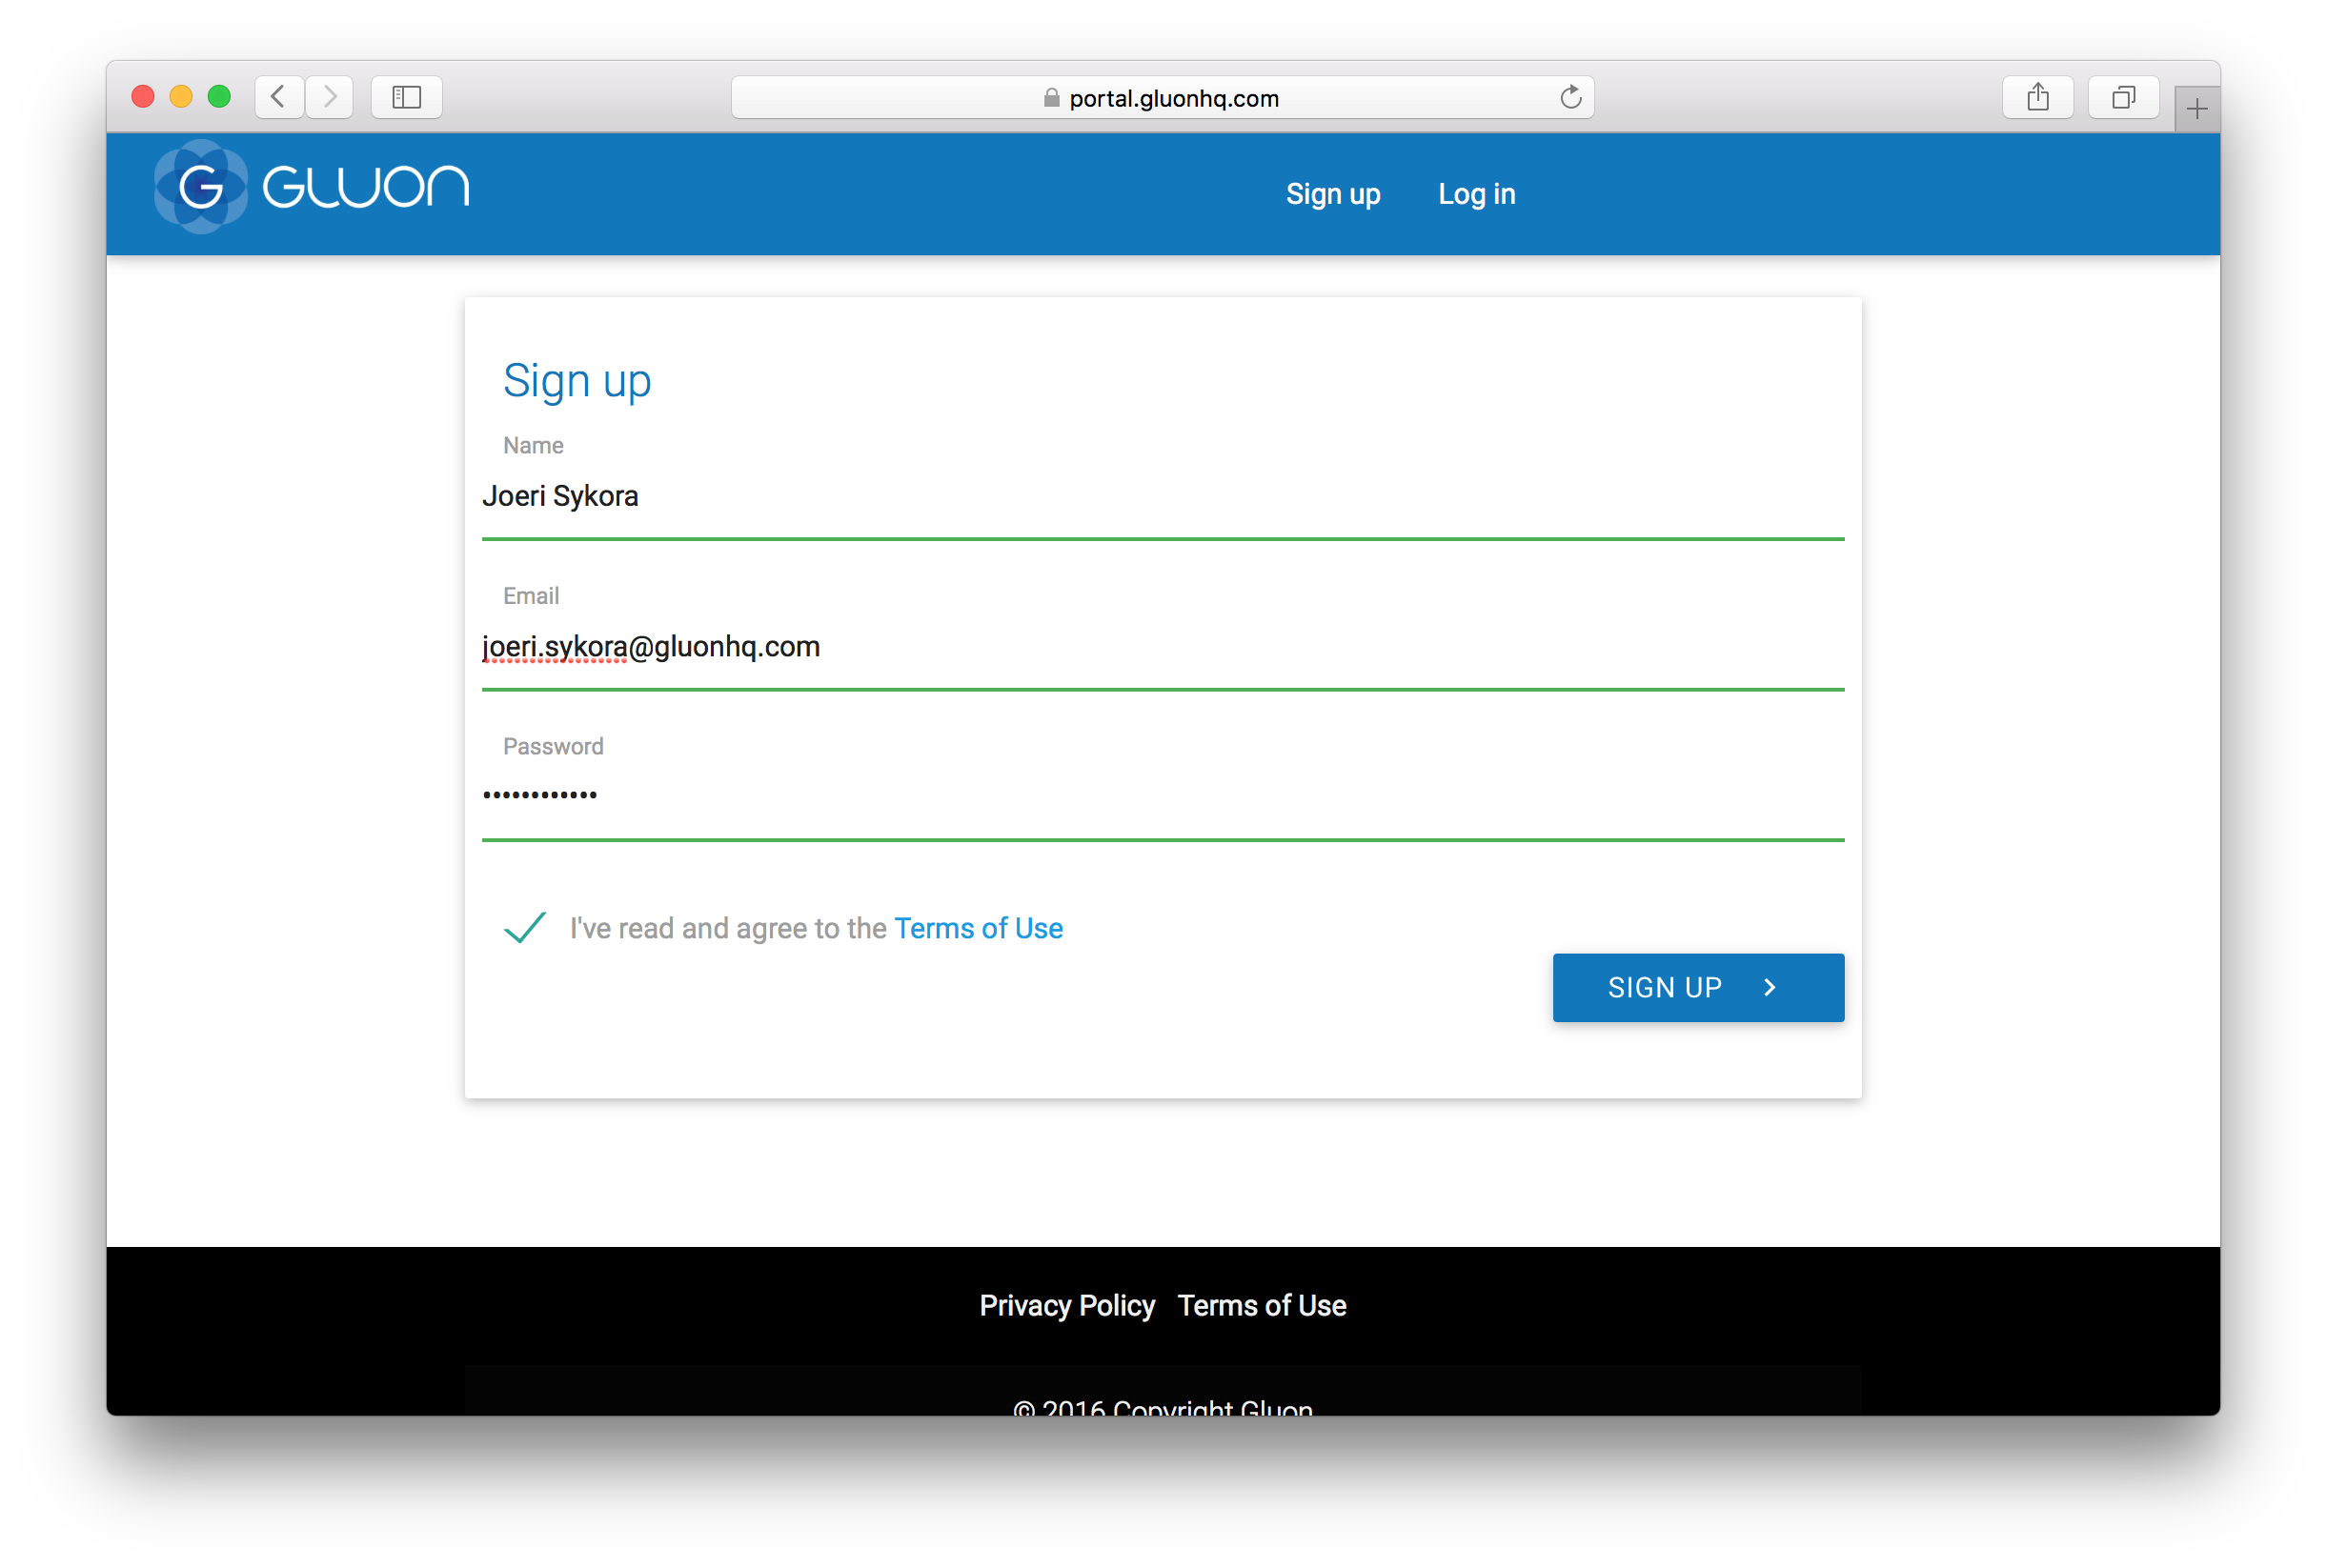
If you haven’t got an account yet, just fill in the sign up
form with a valid email address, and click the Sign Up button.
If you already have an account, just log in with your credentials:

Once you are successfully logged in, you will be able to create a Gluon Application by just providing a name in the
form on the Dashboard page, like CommentsFX in this sample.
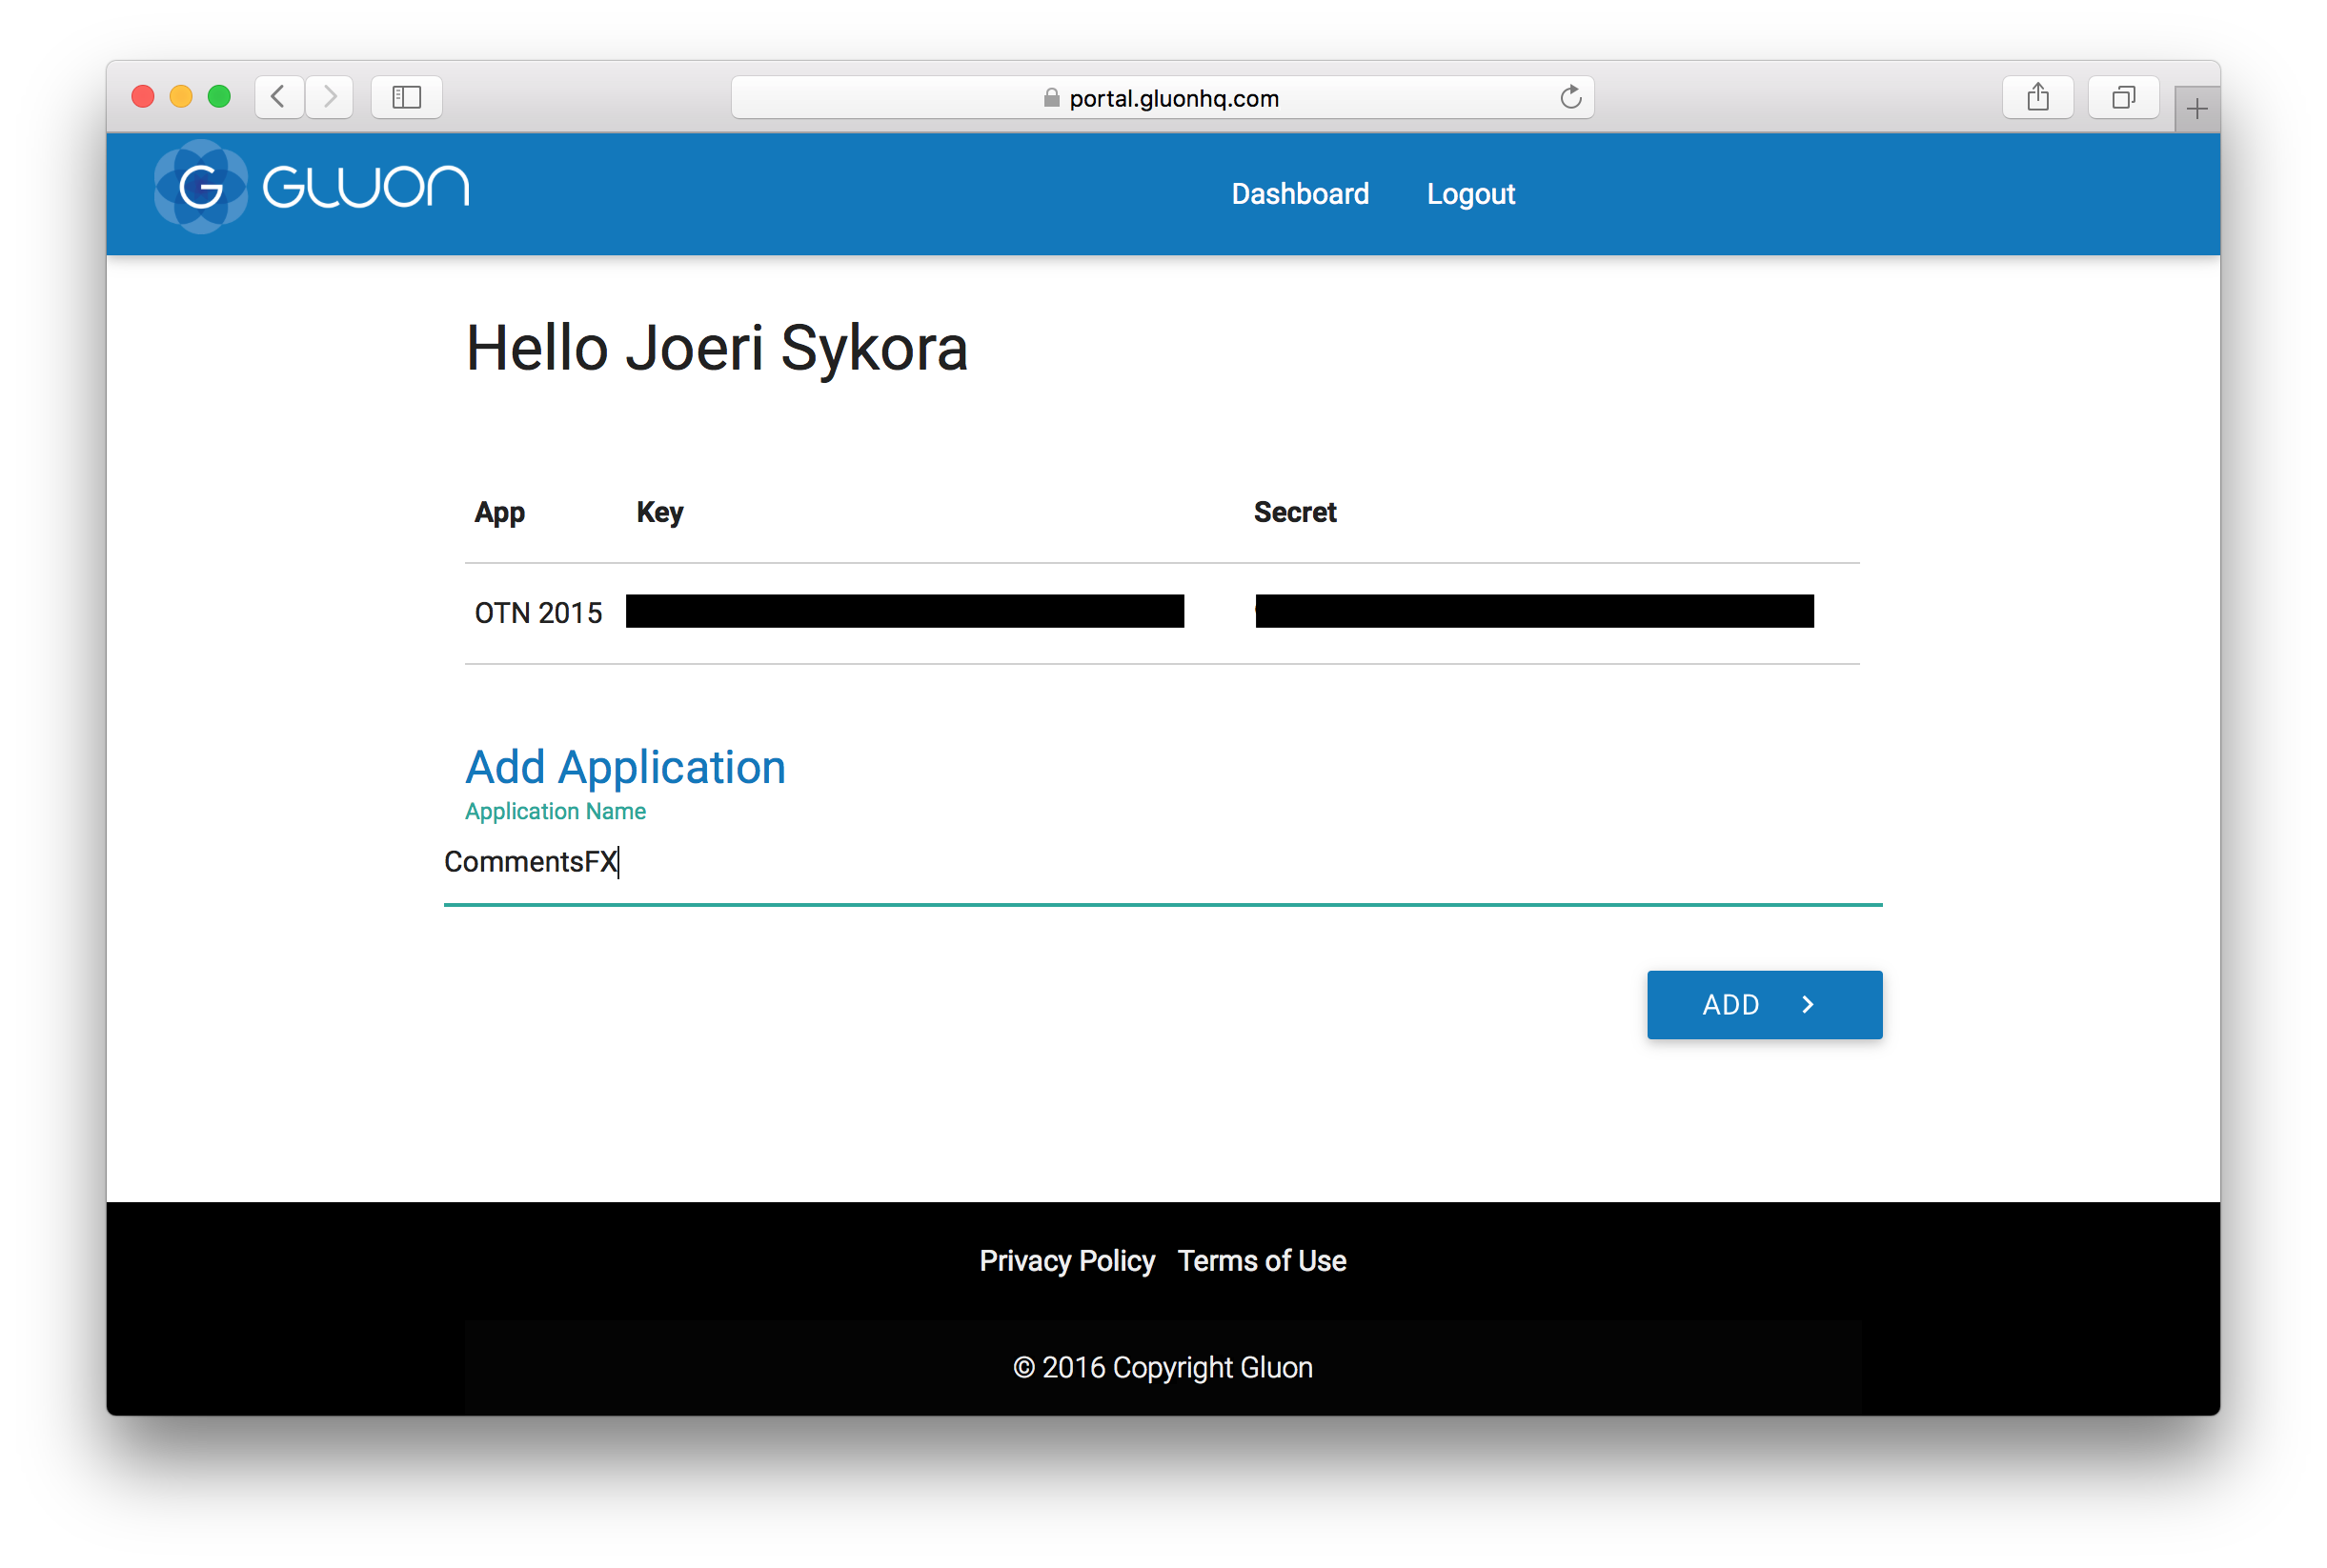
If you have more applications, those will be showed here.
An application key and secret will be generated for you when the application is created.
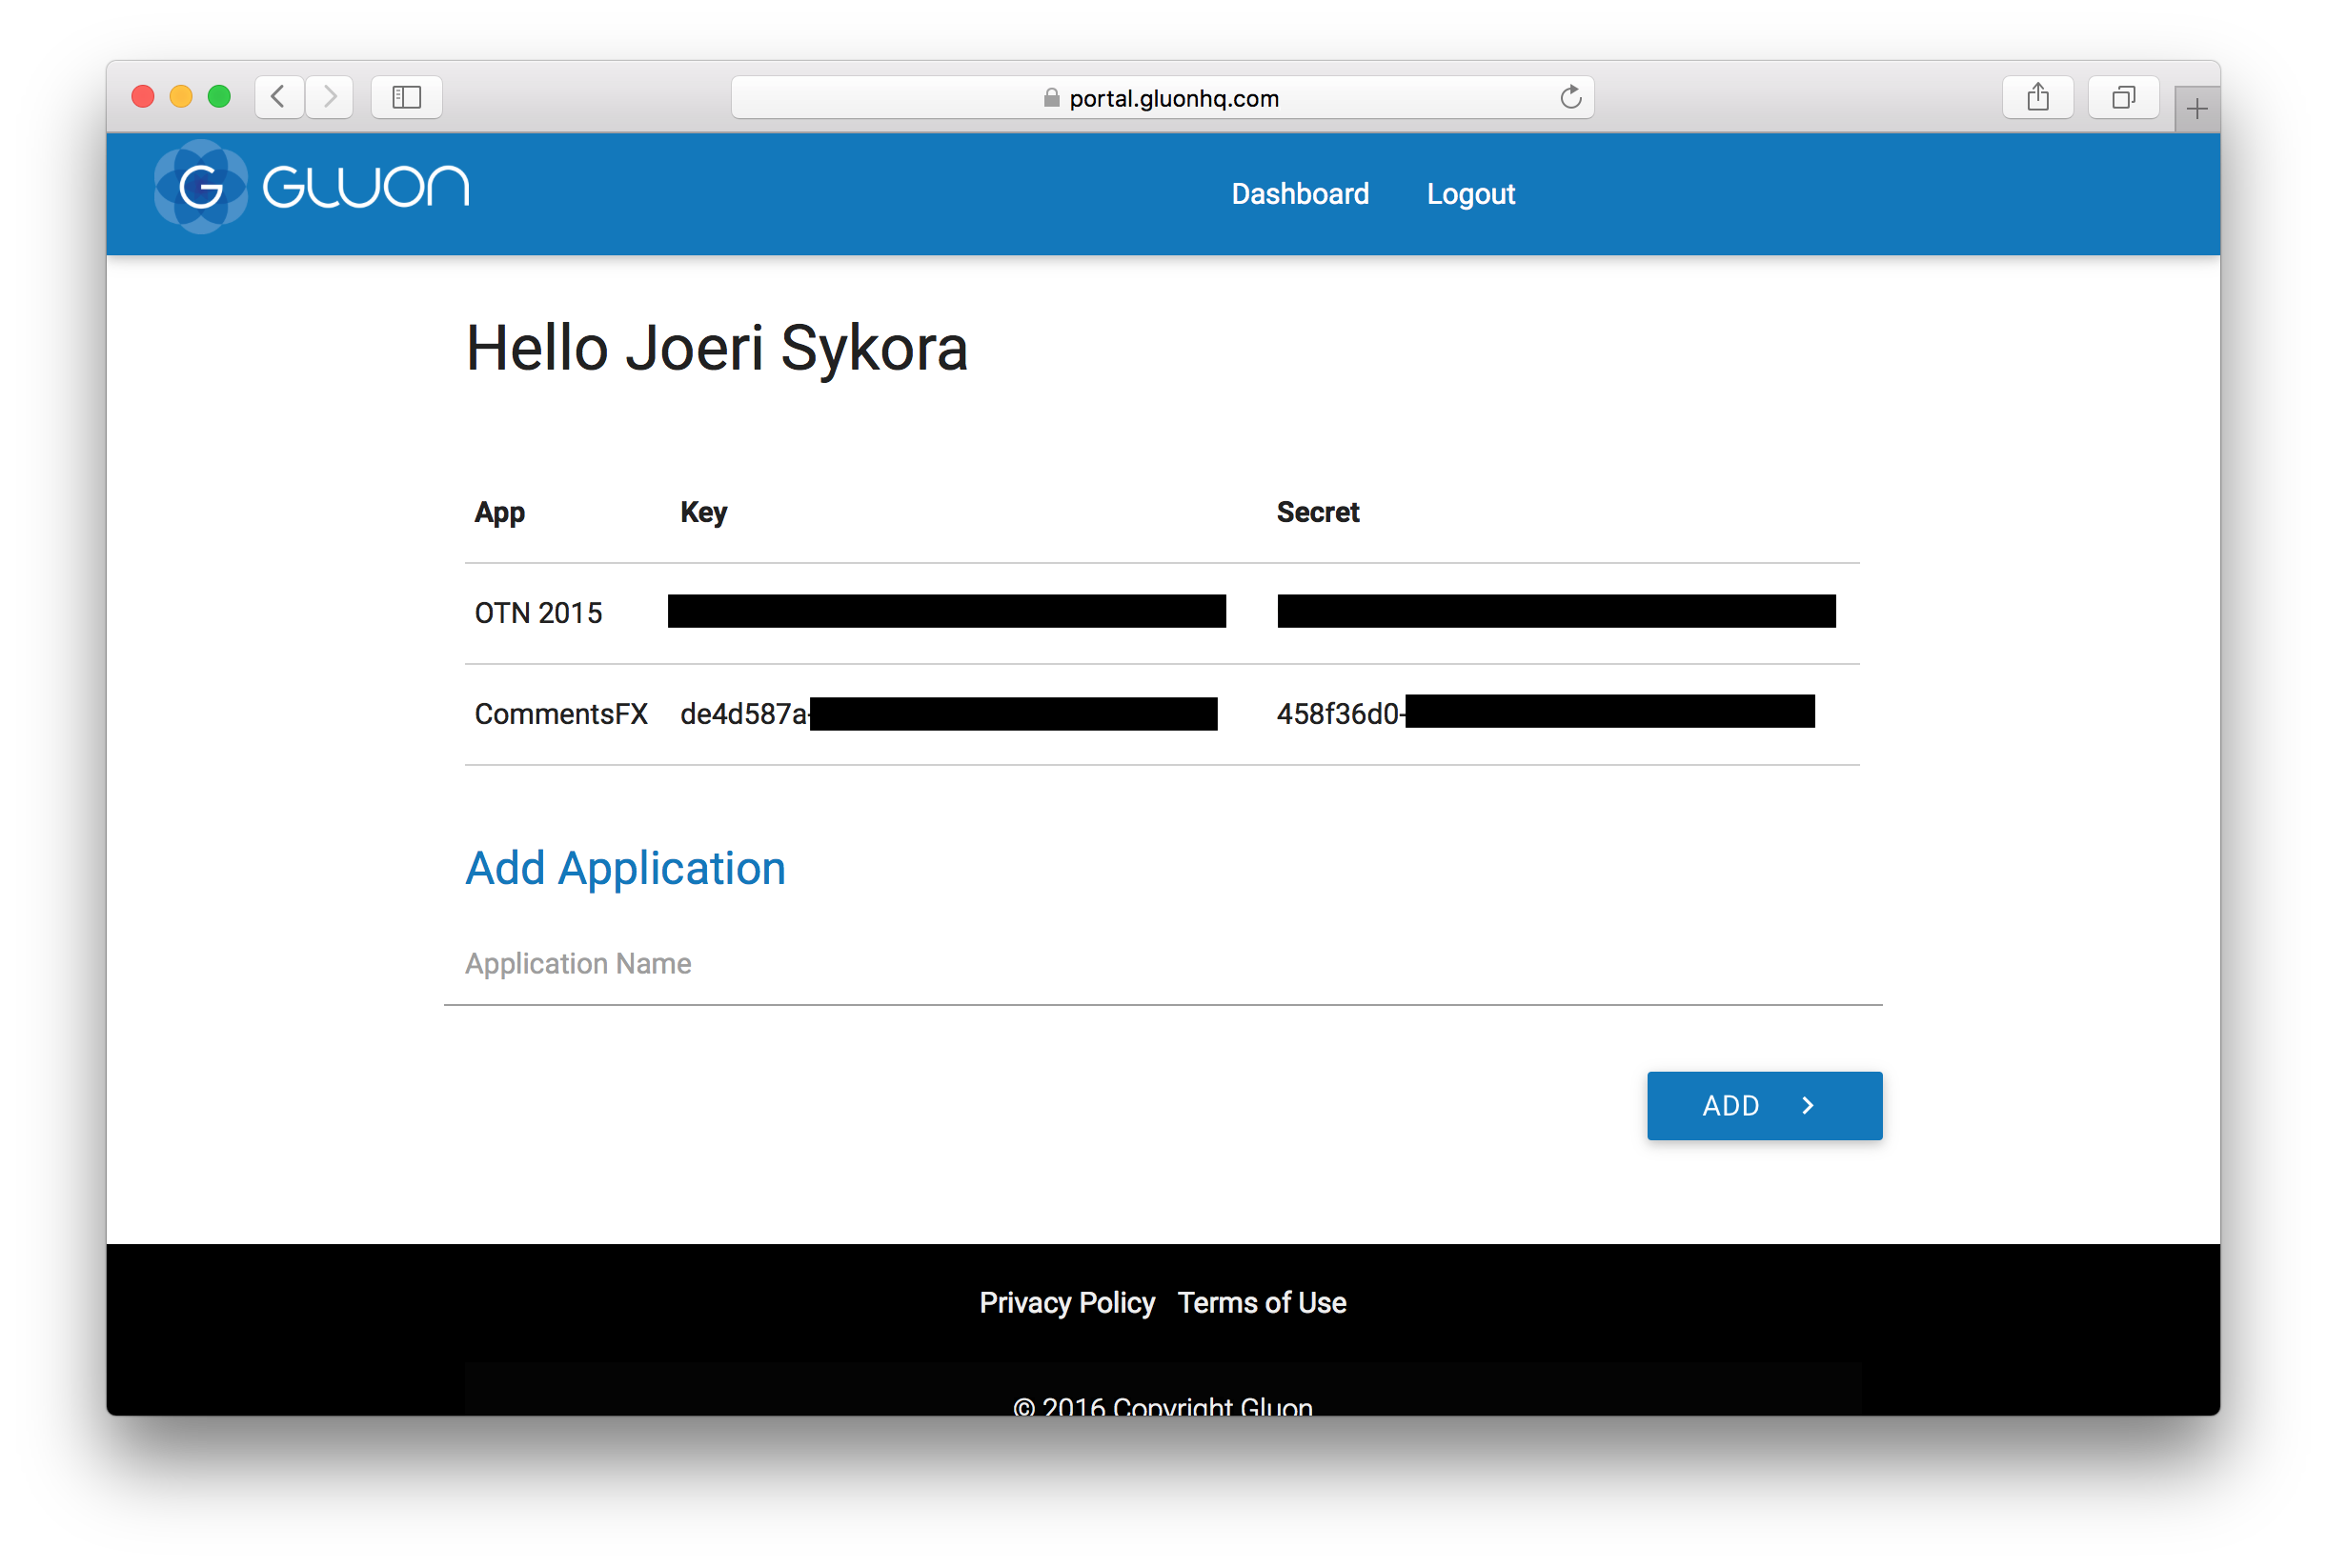
Those strings are unique for your application, and you shouldn’t share them with anyone. If your project is open source, take care of not publishing them.
With key and secret tokens, now on your app you can create your GluonClient:
public class GluonClientProvider {
   // Warning: Don't share these strings
    private static final String APPKEY = "de4d587a-XXXX-XXXX-XXXX-XXXXXXXXXXXX";
    private static final String APPSECRET = "458f36d0-XXXX-XXXX-XXXX-XXXXXXXXXXXX";

    private static GluonClient gluonClient;

    public static GluonClient getGluonClient() {
        if (gluonClient == null) {
            gluonClient = GluonClientBuilder.create()
                    .credentials(new GluonCredentials(APPKEY, APPSECRET))
                    .build();
        }
        return gluonClient;
    }

}
User Authentication
Gluon Connect allows you to link your data to an authenticated user. The following authentication methods are available out of the box:
-
Facebook: authenticate users with Facebook
-
Google+: authenticate users with Google+
-
Twitter: authenticate users with Twitter
-
Password: authenticate users by letting them sign up and sign in with their personally chosen username and password
To enable user authentication, you need to set the correct AuthenticationMode value on the GluonClientBuilder. The default
authentication mode is PUBLIC, which allows everyone that uses your application to read and write all of your data in Gluon CloudLink. Using authentication mode USER will show an
authentication view the first time the application tries to interact with Gluon CloudLink.
// enable user authentication
GluonClient gluonClient = GluonClientBuilder.create()
        .authenticationMode(AuthenticationMode.USER)
        .build();

// the next statement will trigger the authentication view
GluonObservableList<Note> notes = DataProvider.retrieveList(gluonClient.createListDataReader("notes", Note.class));
Configuring Login Methods
Configuring the authentication methods that should be enabled for your application can be done from the Gluon CloudLink Dashboard application. You can download the application from https://gluonhq.com/products/cloudlink/cloudlink-dashboard/.
The download is a self-executable jar, which means double clicking it will launch the Dashboard application. Alternatively, you can call the following command from the command line:
$ java -jar cloudlink-dashboard-3.0.0-preview-b2.jarOnce the application is opened you see the following welcome screen:
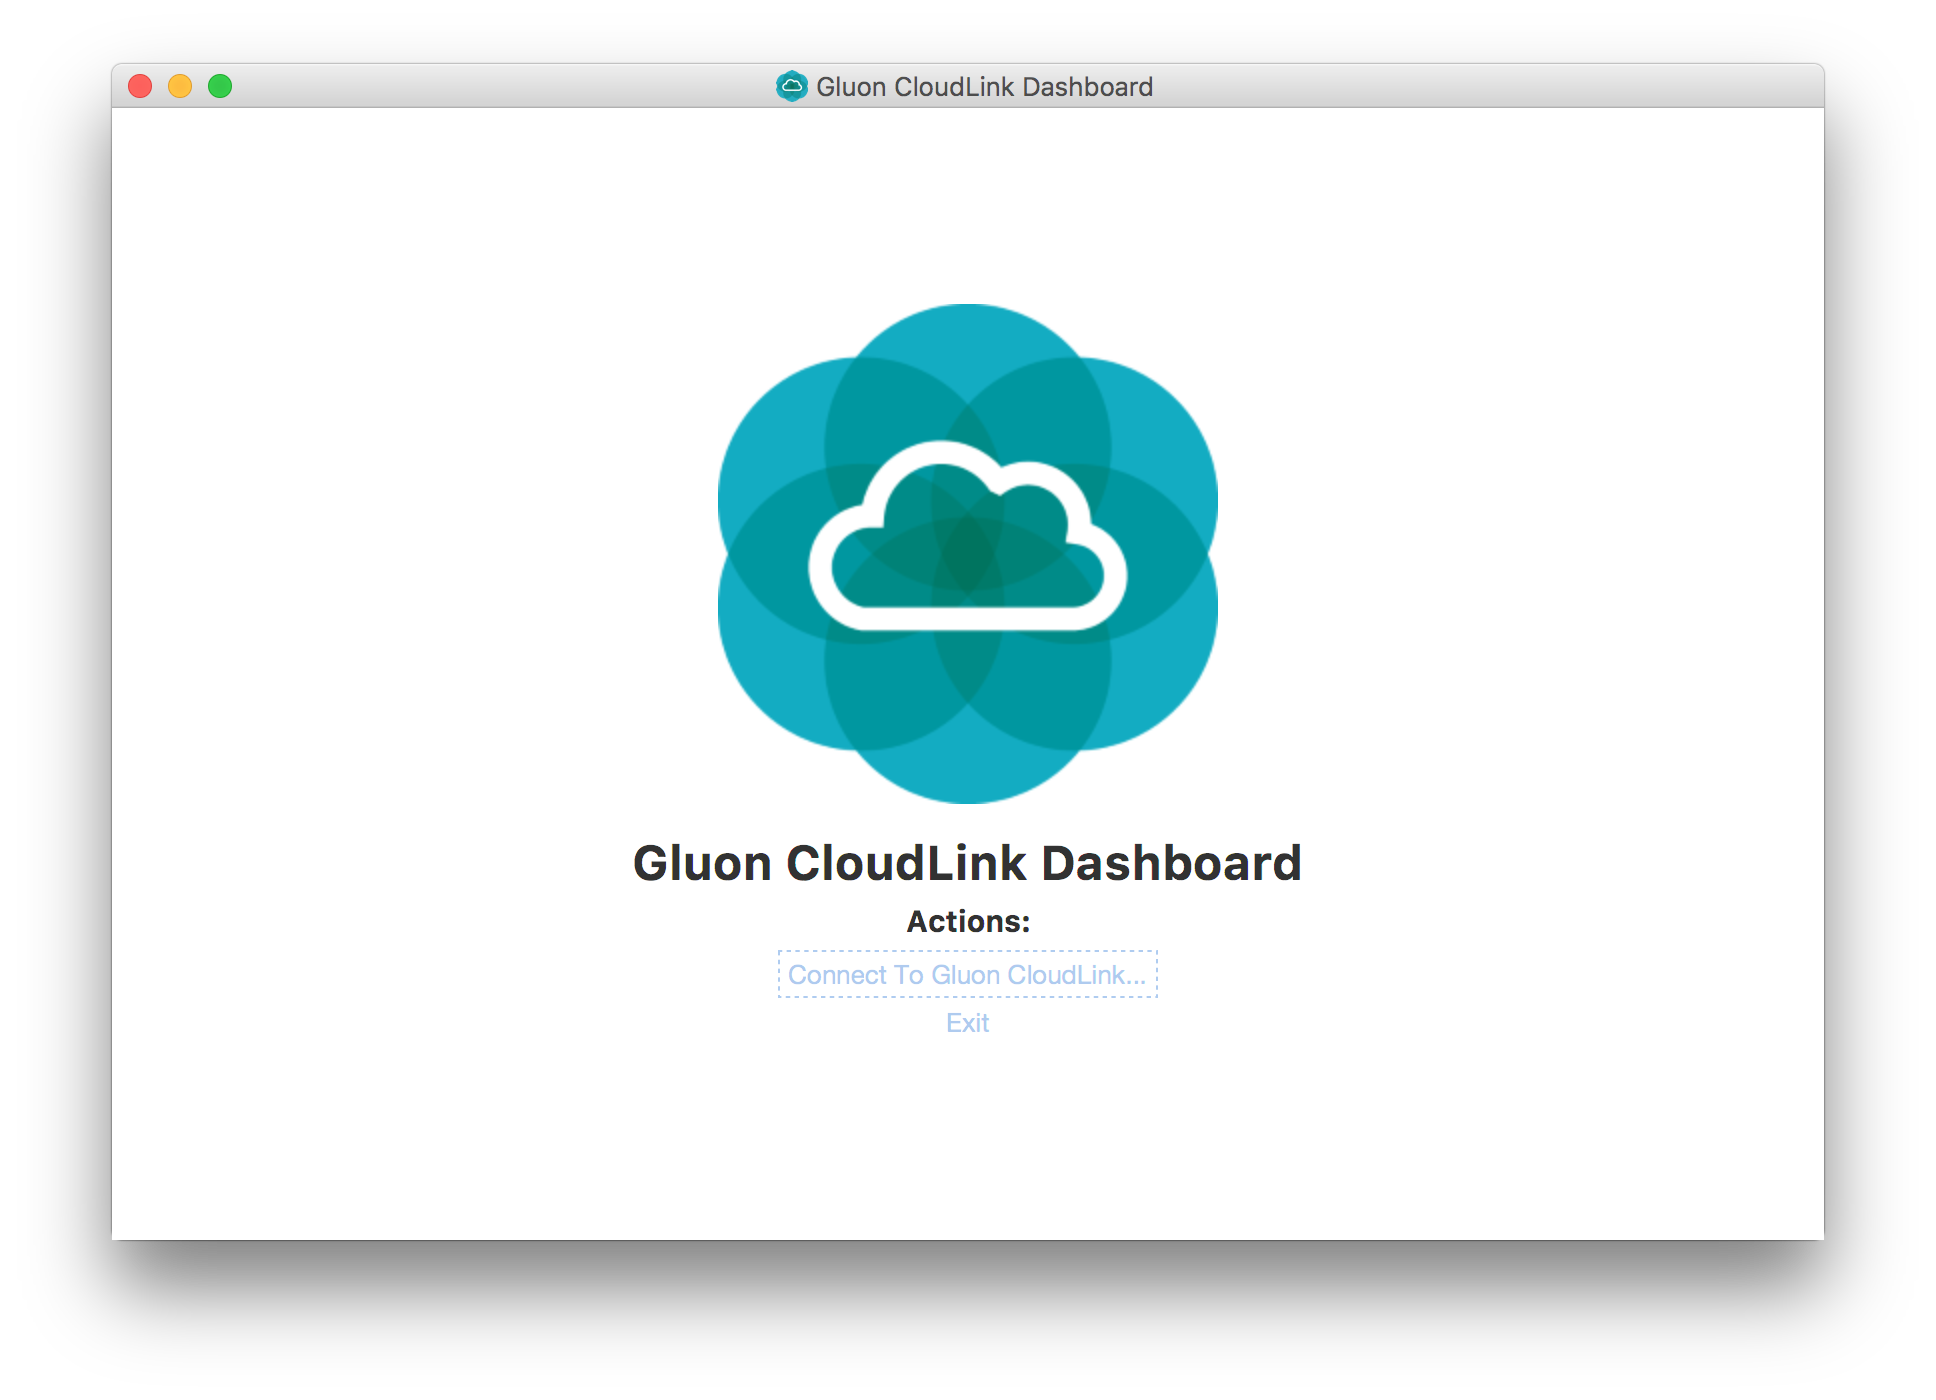
Choose the link Connect To Gluon CloudLink… and enter the key and secret of your Gluon Application to sign in.

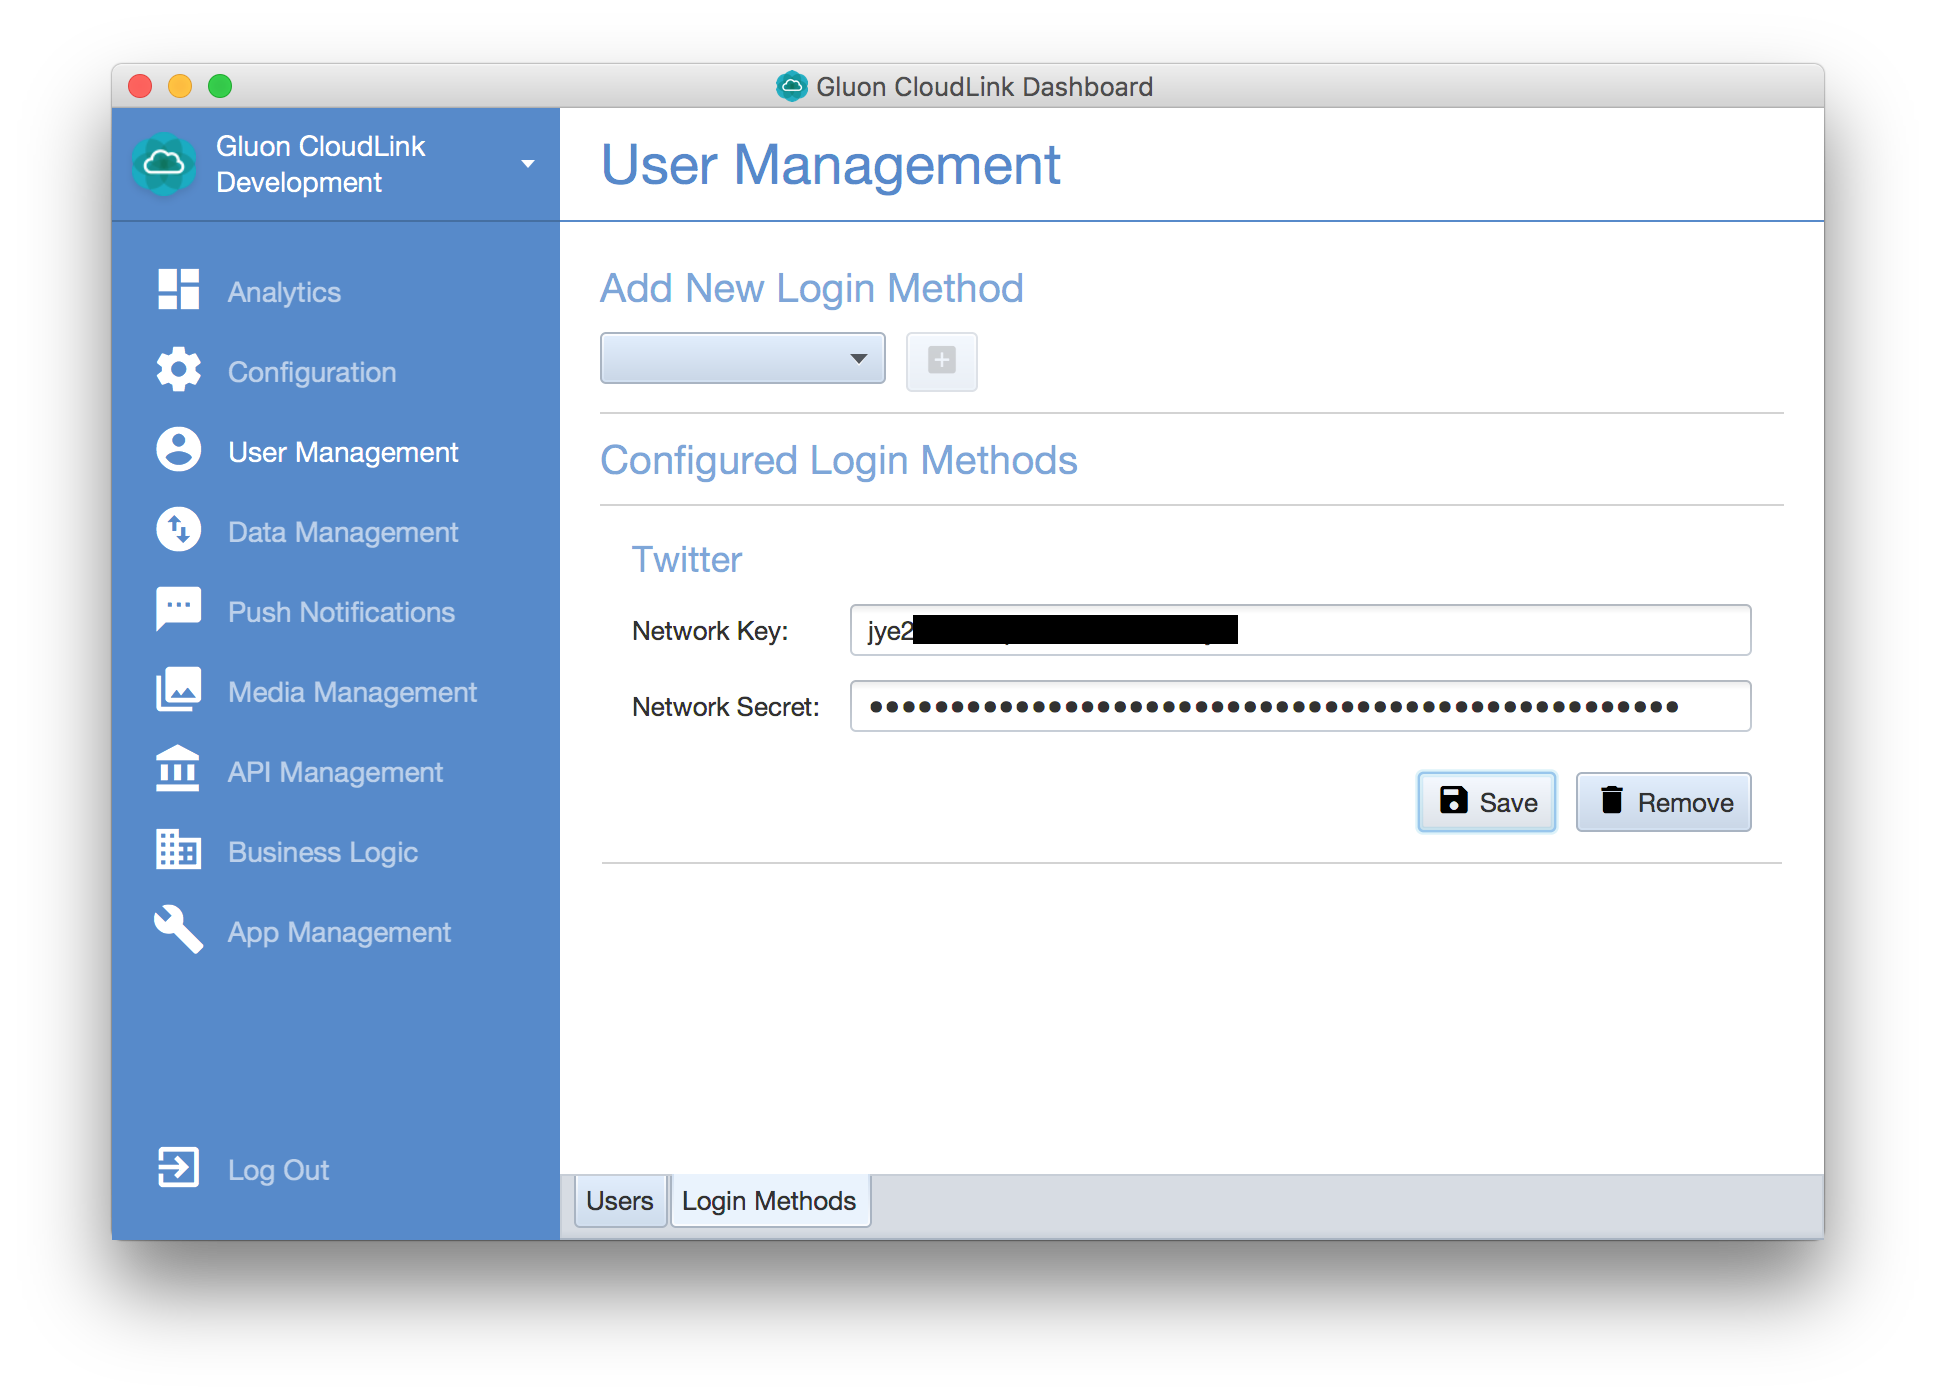
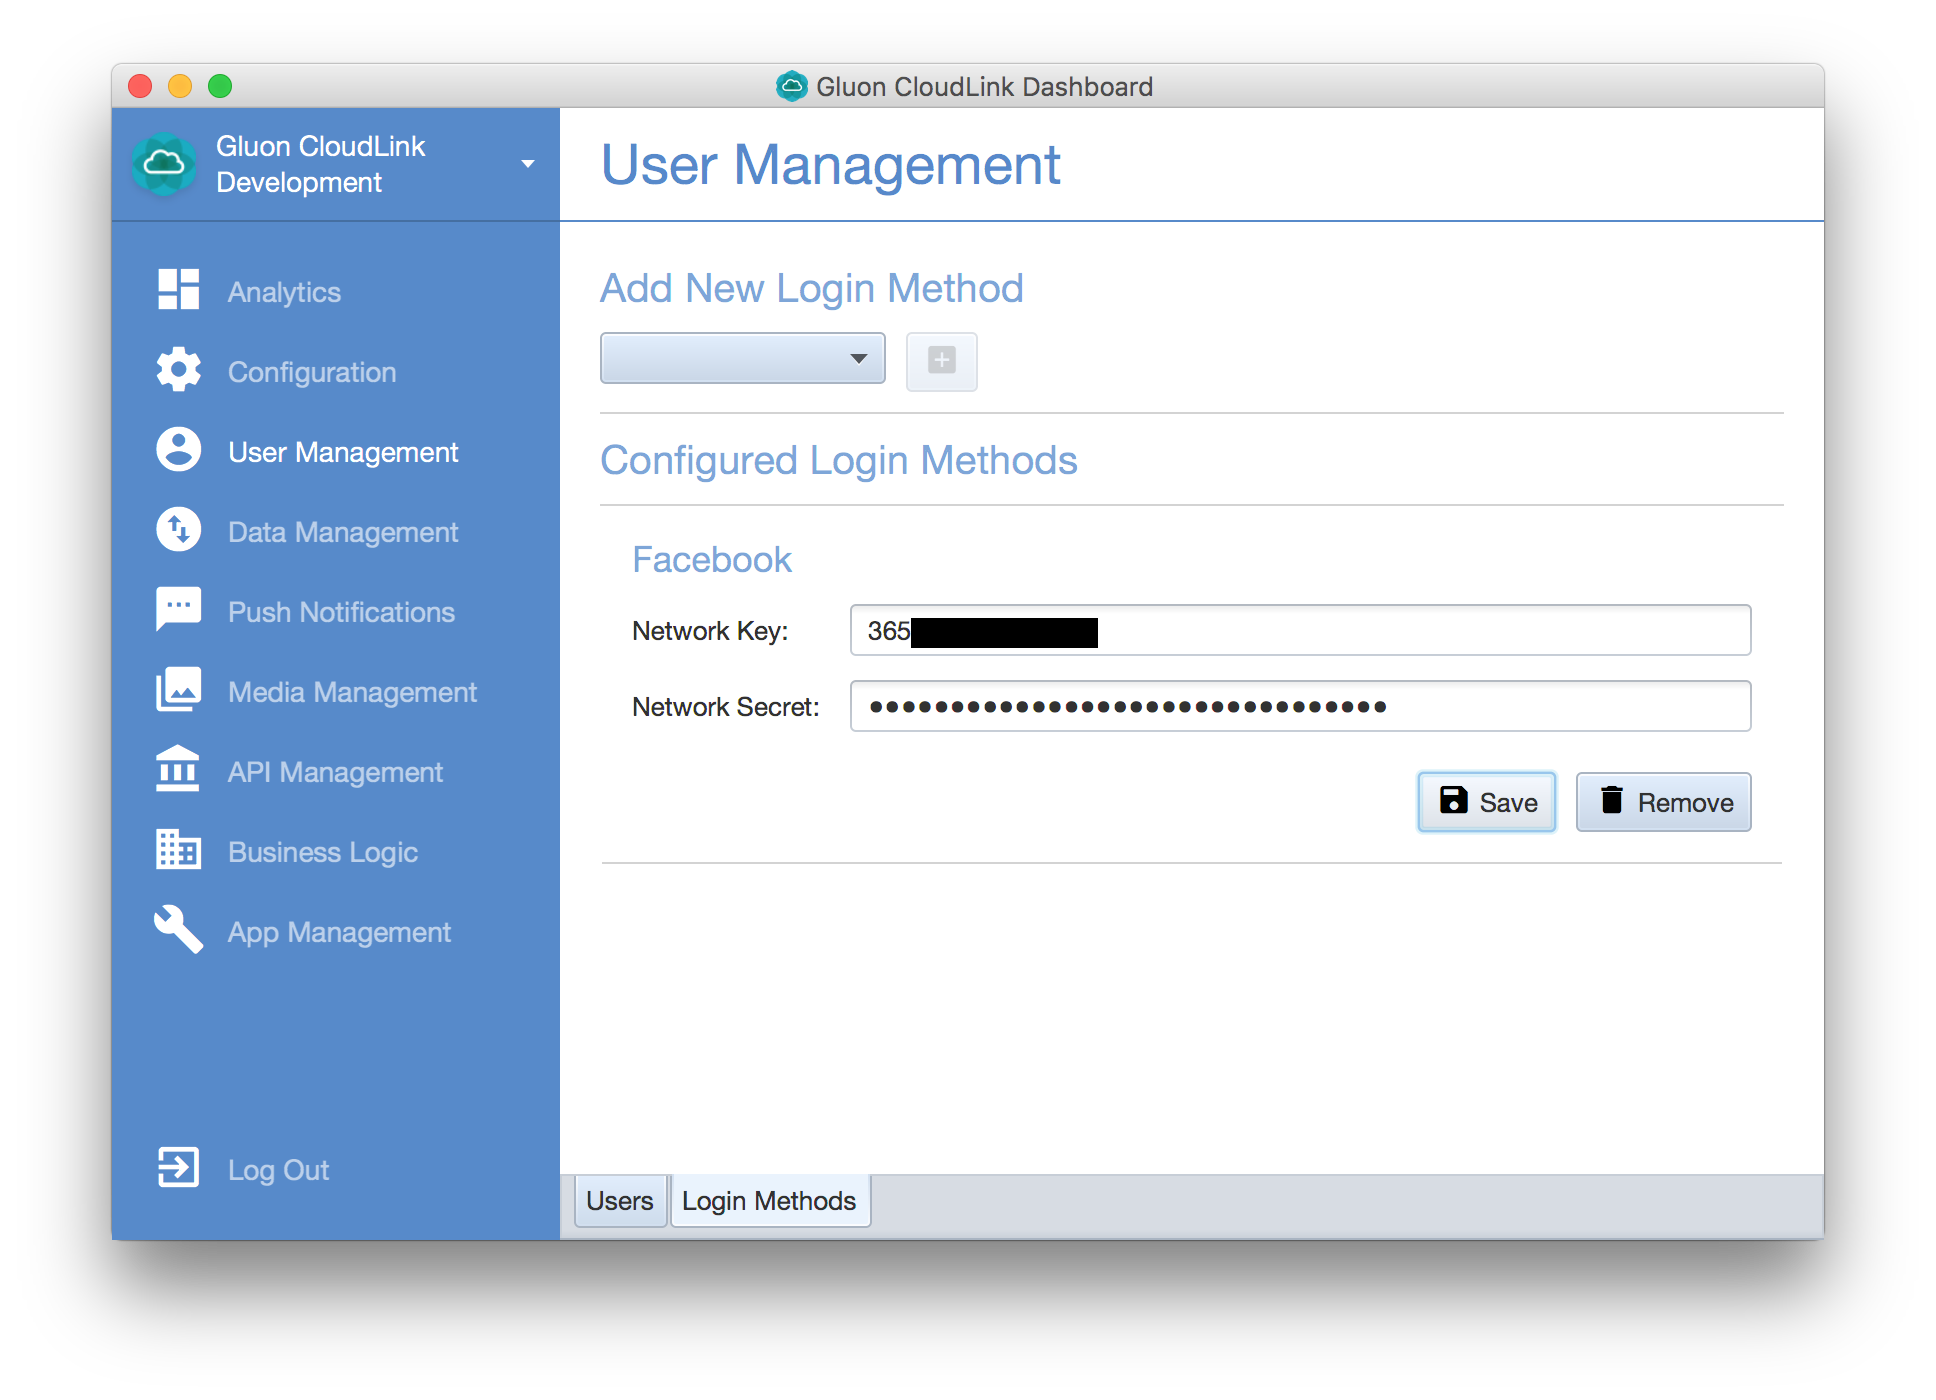
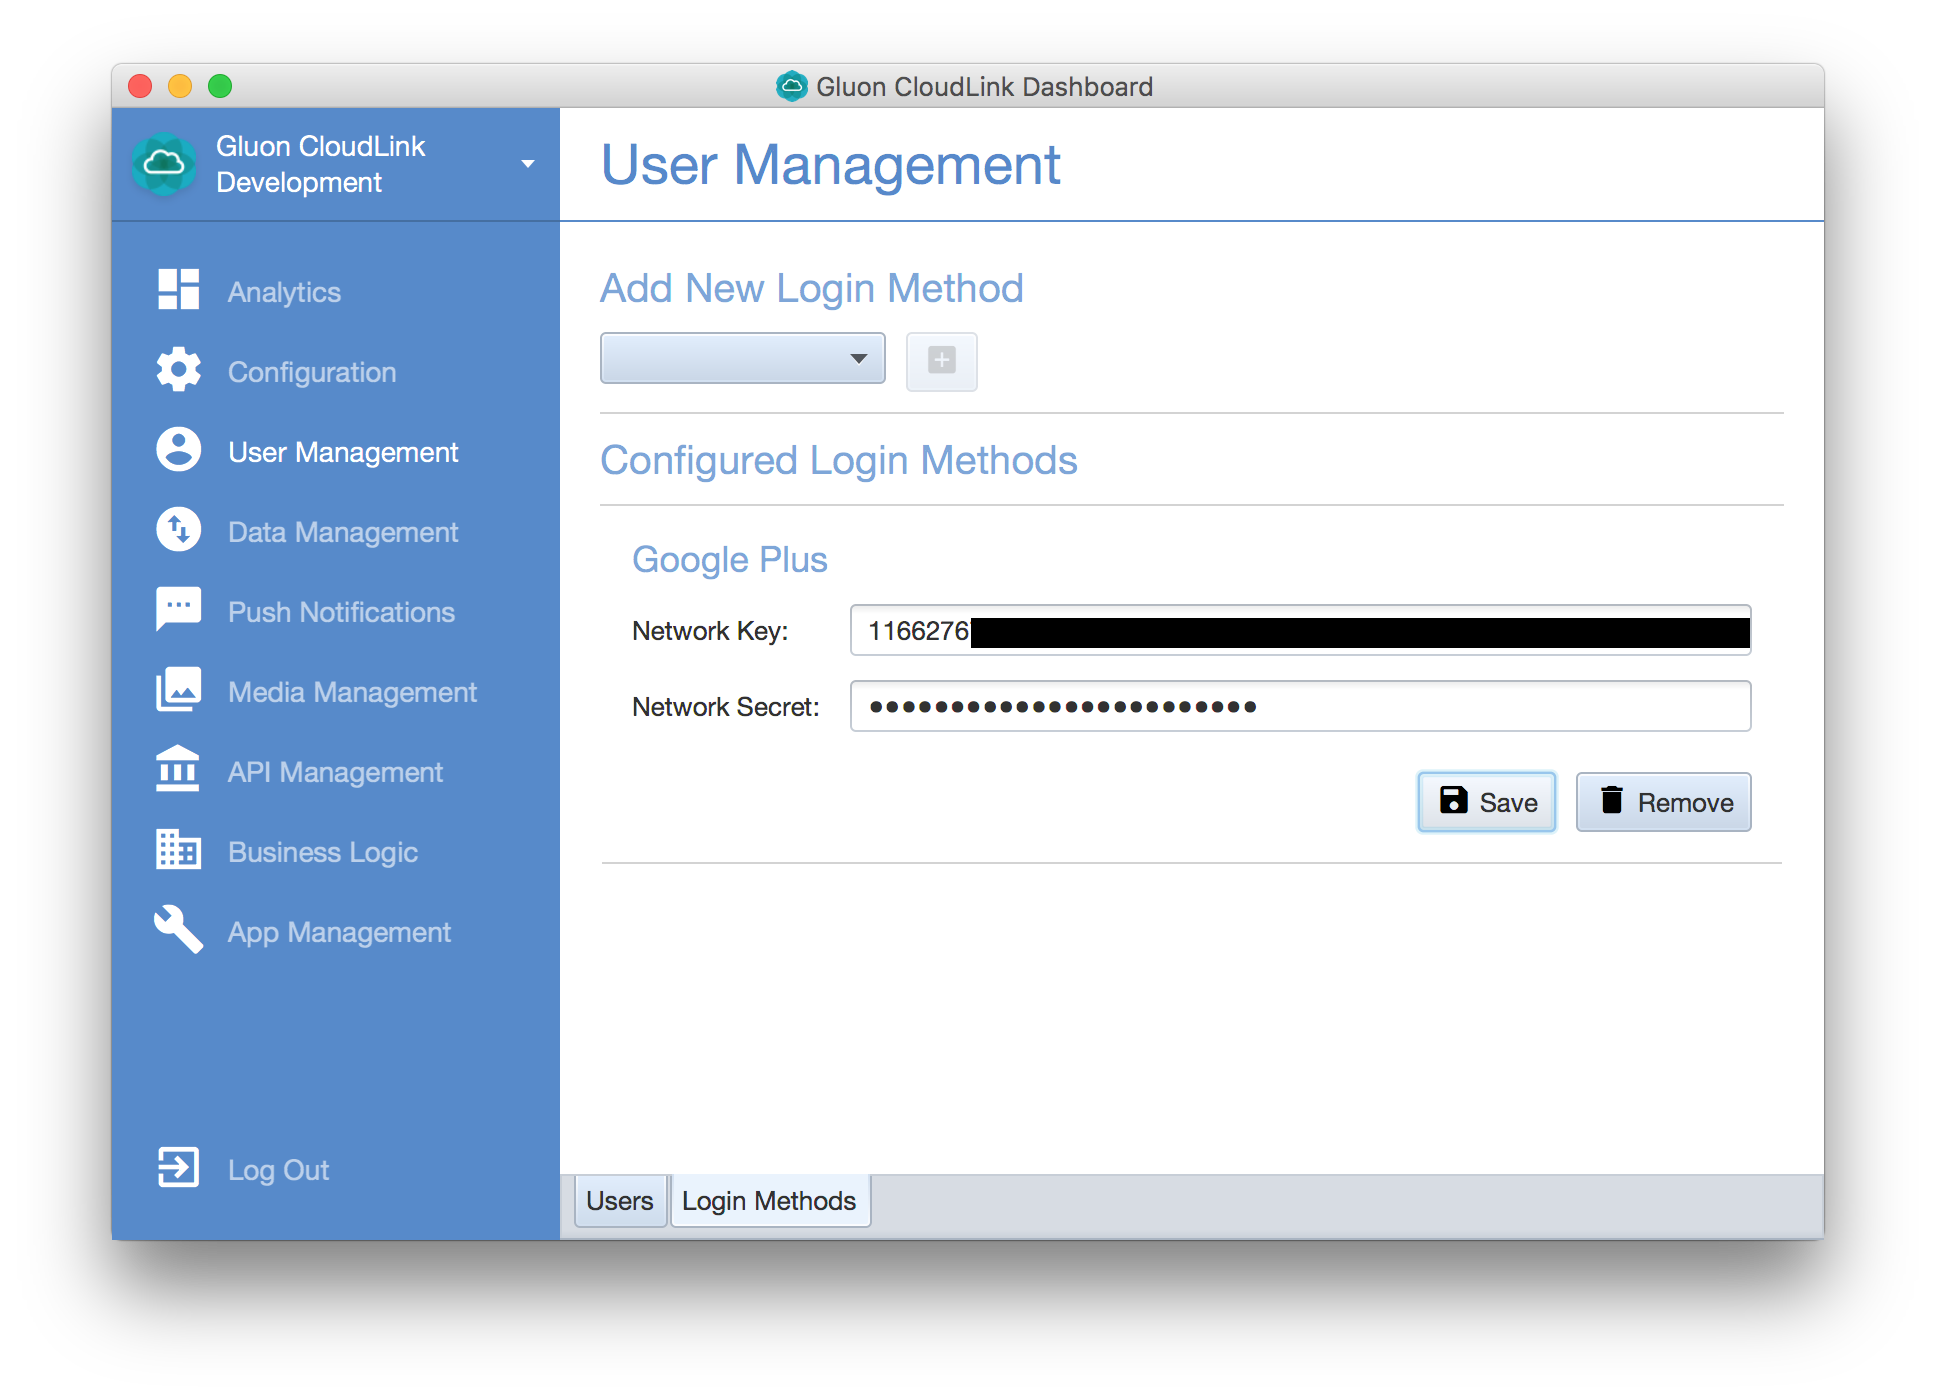
When you are successfully logged in, navigate to User Management from the menu on the left, and select the Login Methods tab at the bottom. You should see an empty list of Configured Login Methods.

You can leave the Dashboard application running for now.
Twitter Authentication
To get started with Twitter authentication, you first need to create a new Twitter application.
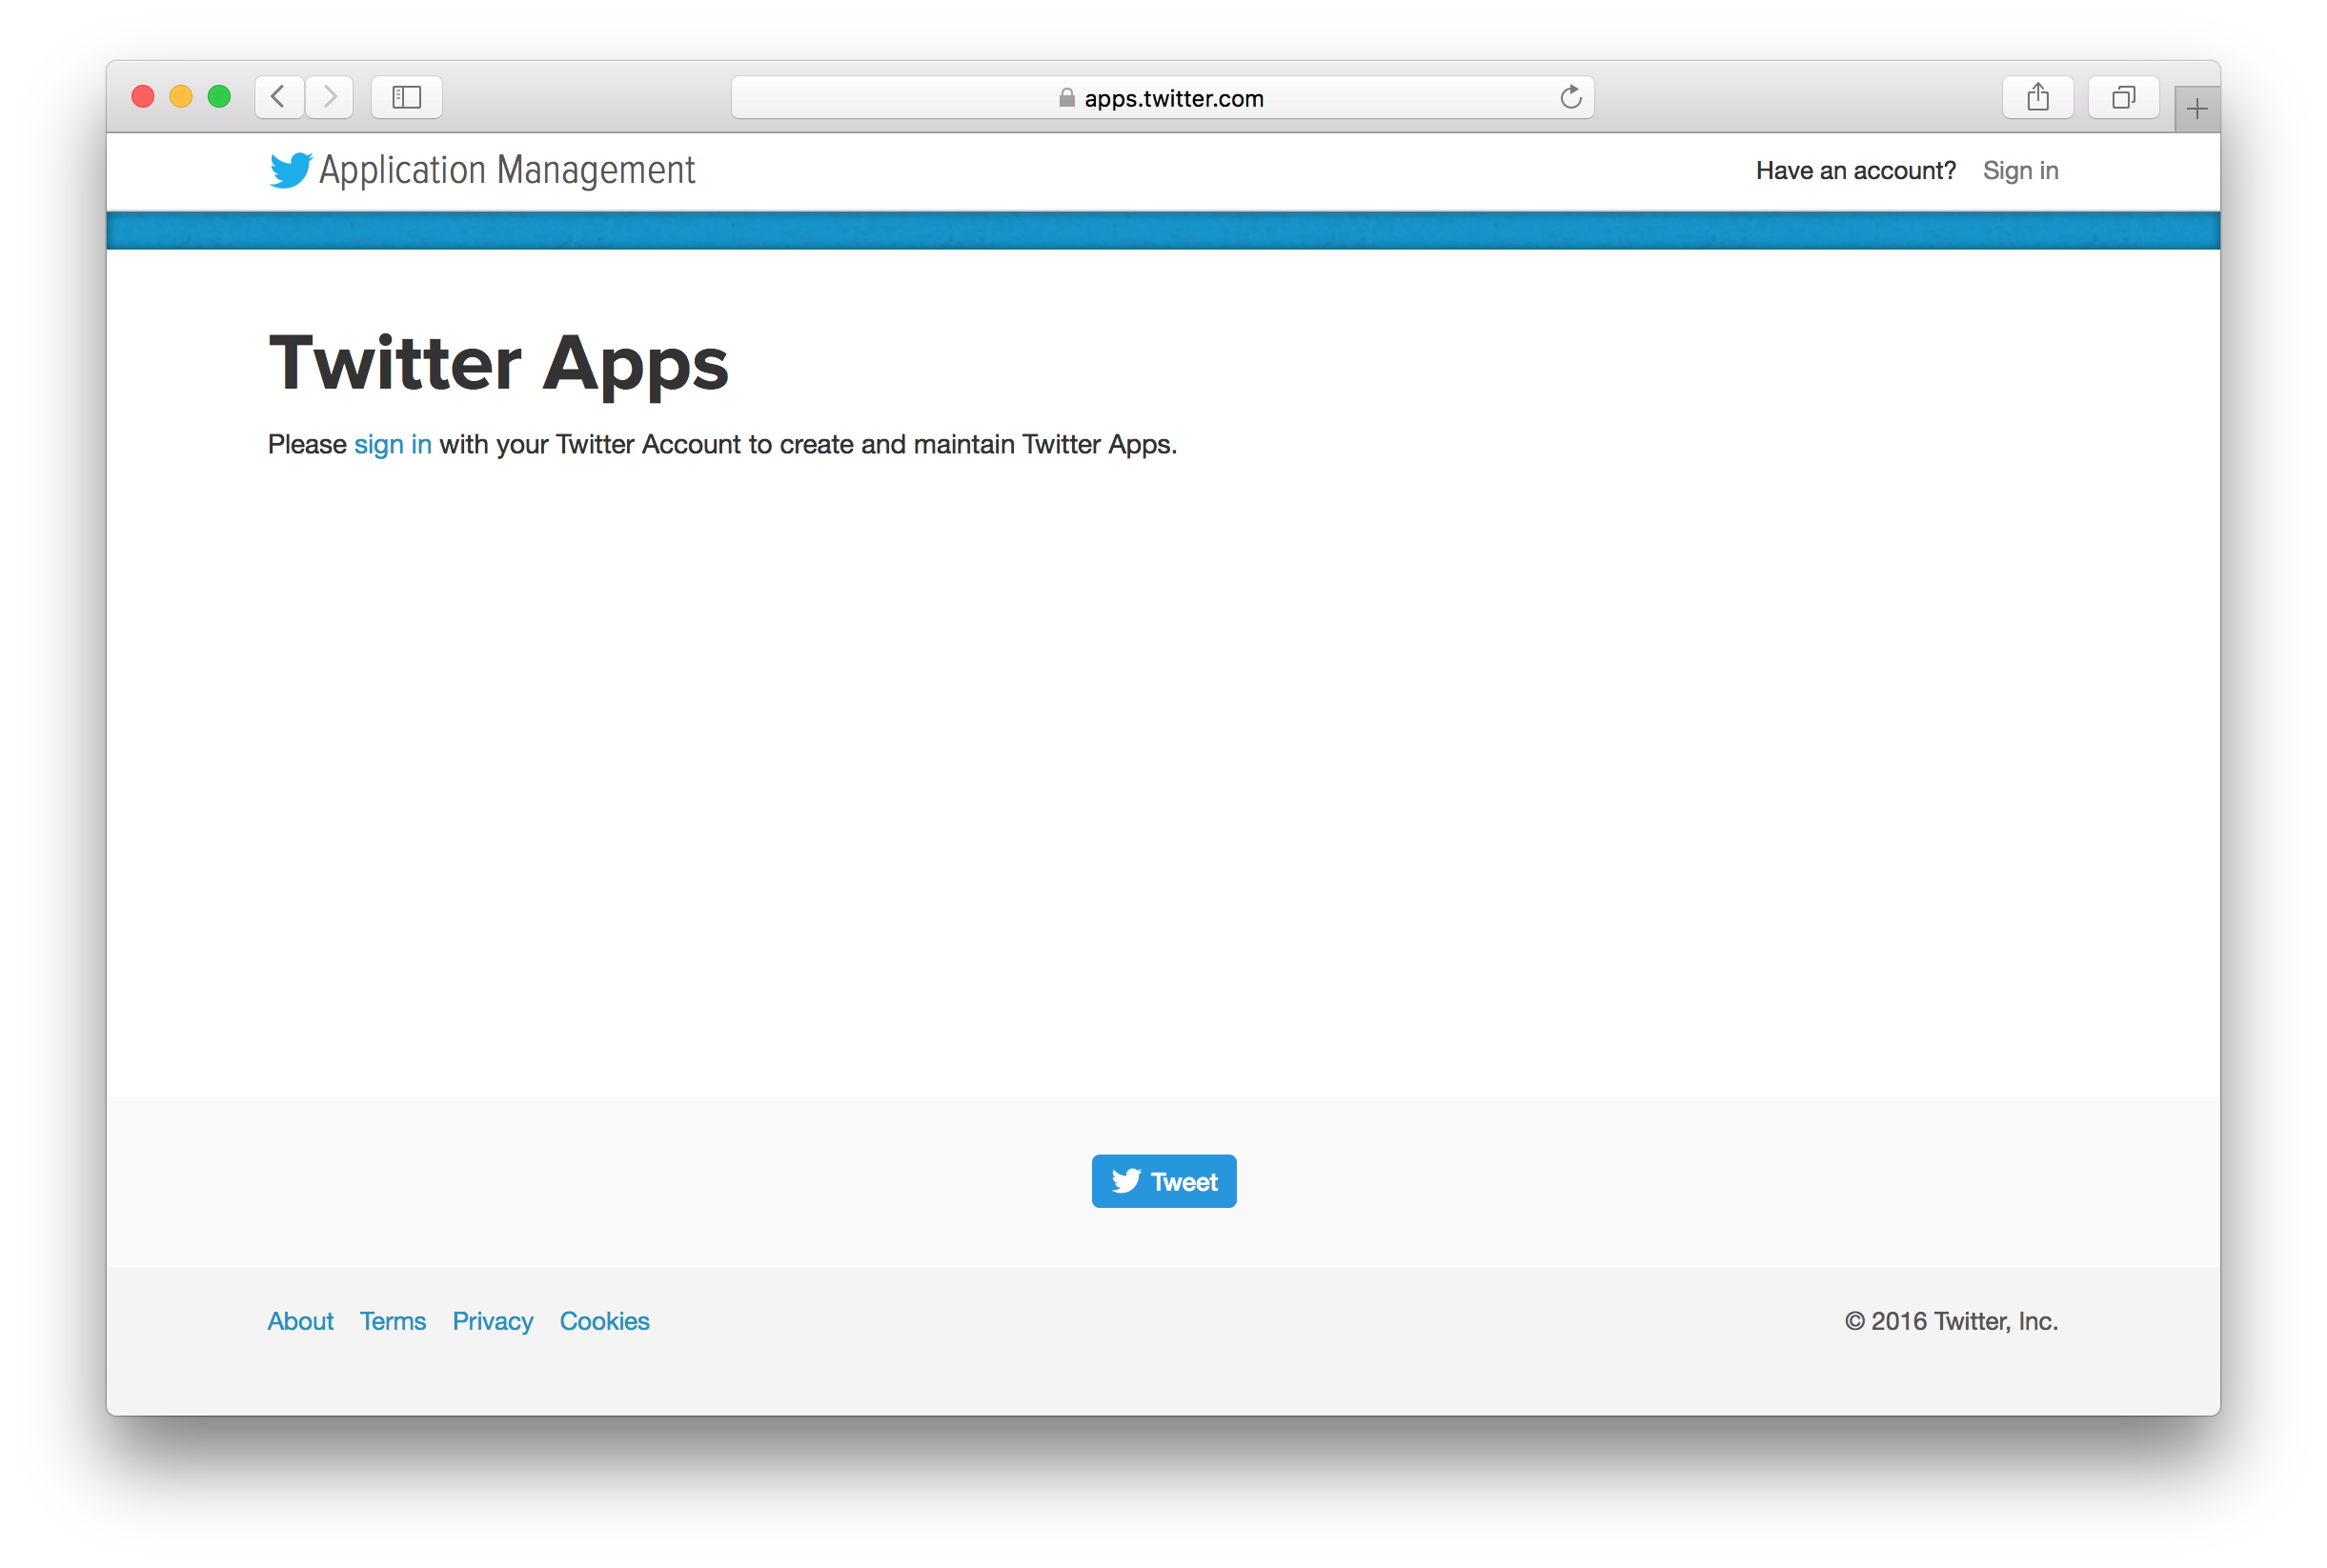
Click the sign in link to sign in with your Twitter account. Once logged in, click the Create New App button at
the top right. Fill in the form, adding the name of your application, a short description, and a valid URL.
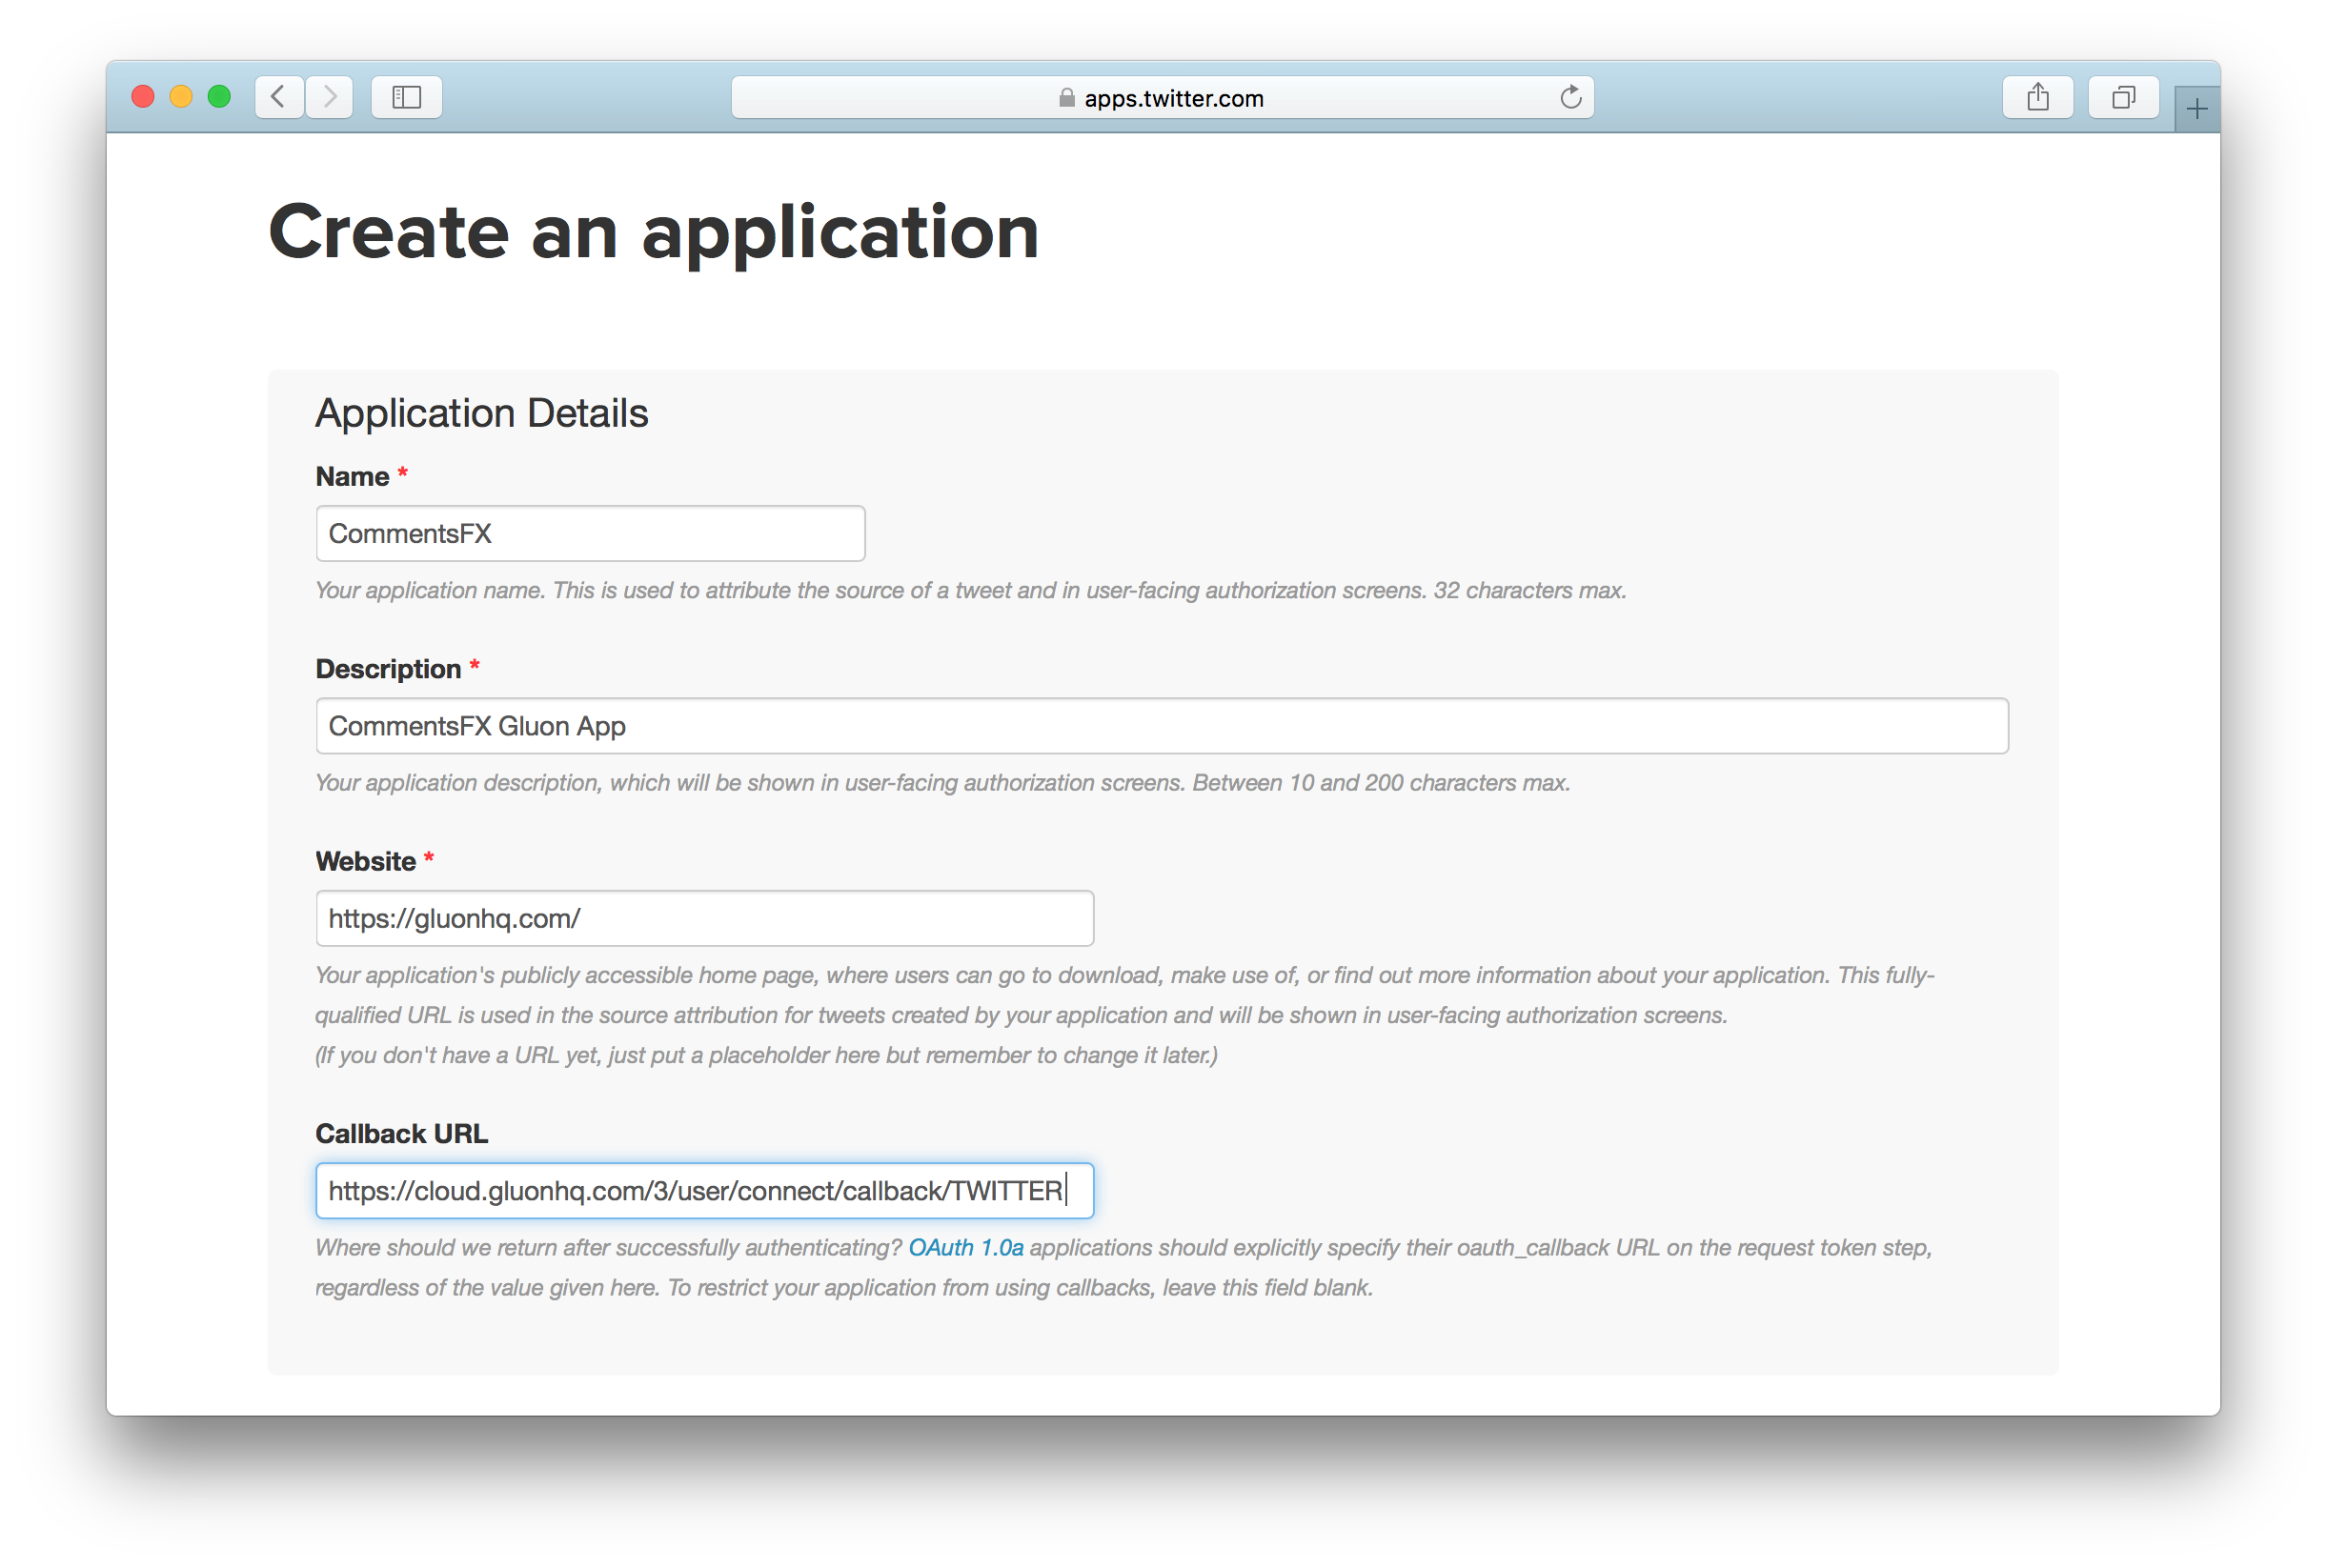
Finally, use the following link for the Callback URL:
Agree on the developer agreement and click the final button to create the application.
When your application is created, you can access the Keys and Access Tokens tab to get the following values:
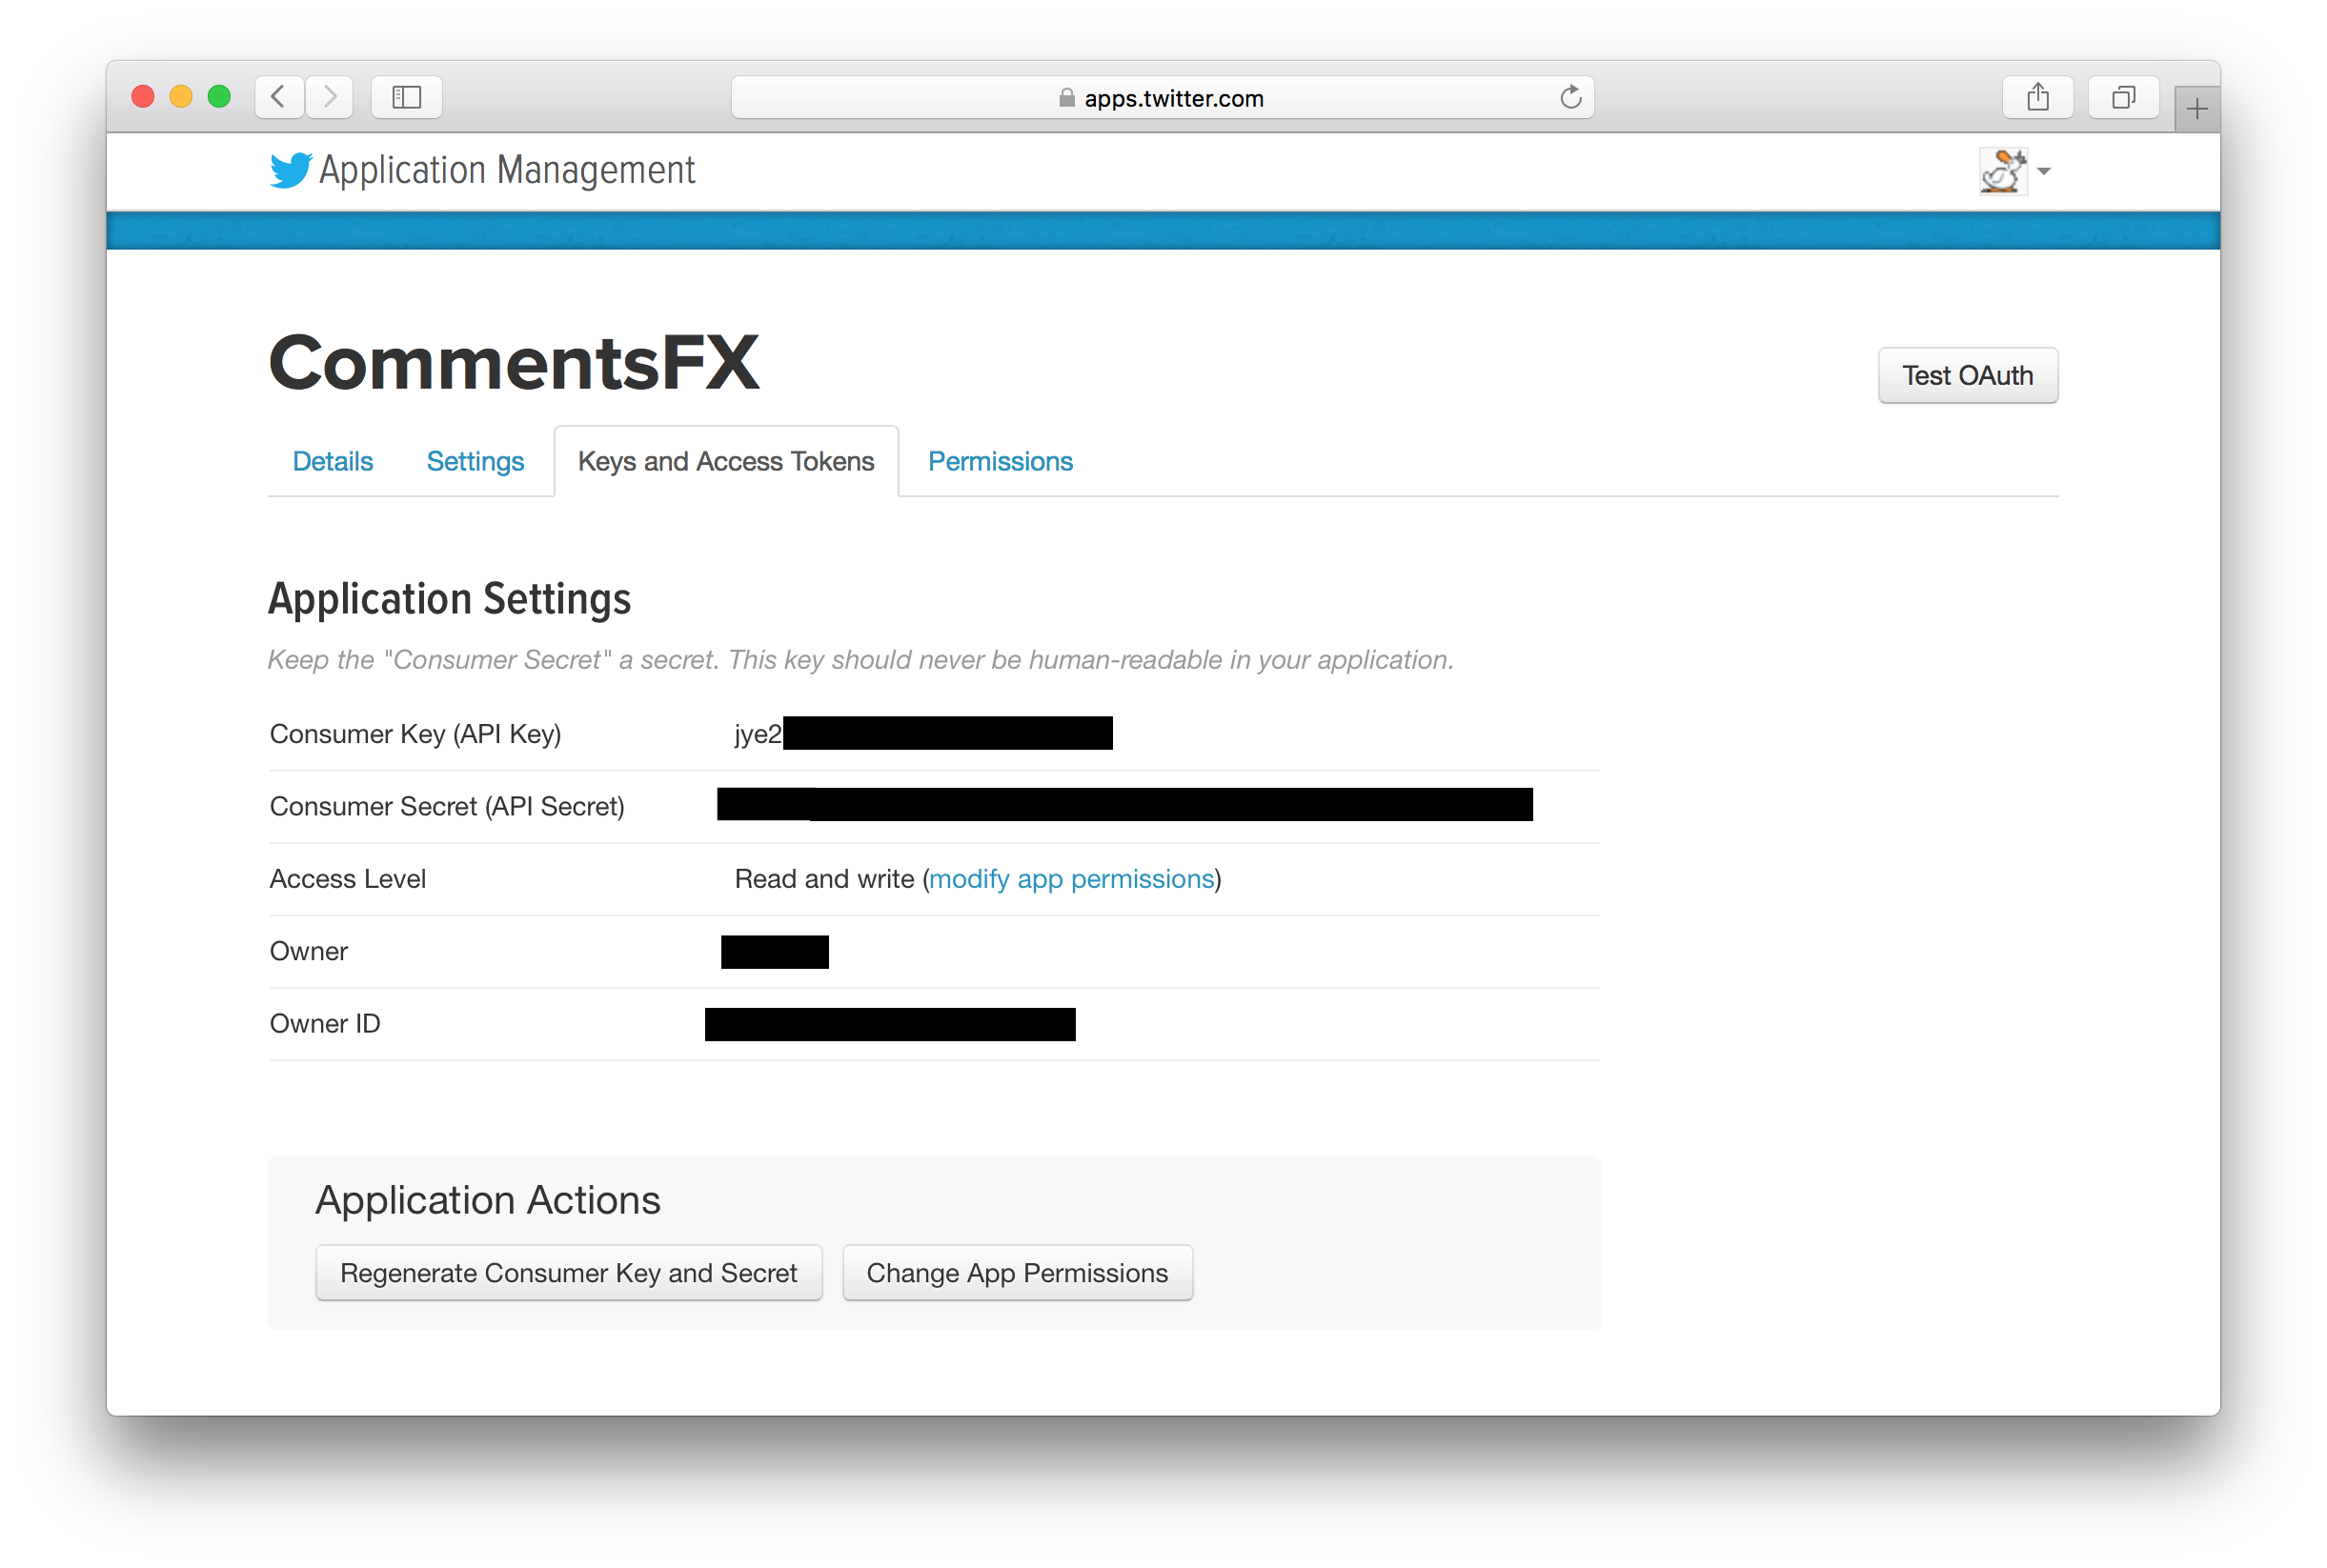
Navigate back to the Gluon CloudLink Dashboard application and add a new TWITTER login method from the drop-down list
at the top. From the Twitter Apps webpage, copy the Consumer Key (API Key) and the Consumer Secret (API Secret),
and paste them into the Network Key and Network Secret fields respectively. Don’t forget to click the Save button
to apply your changes.
Facebook Authentication
To get started with Facebook authentication, you first need to create a new Facebook application.
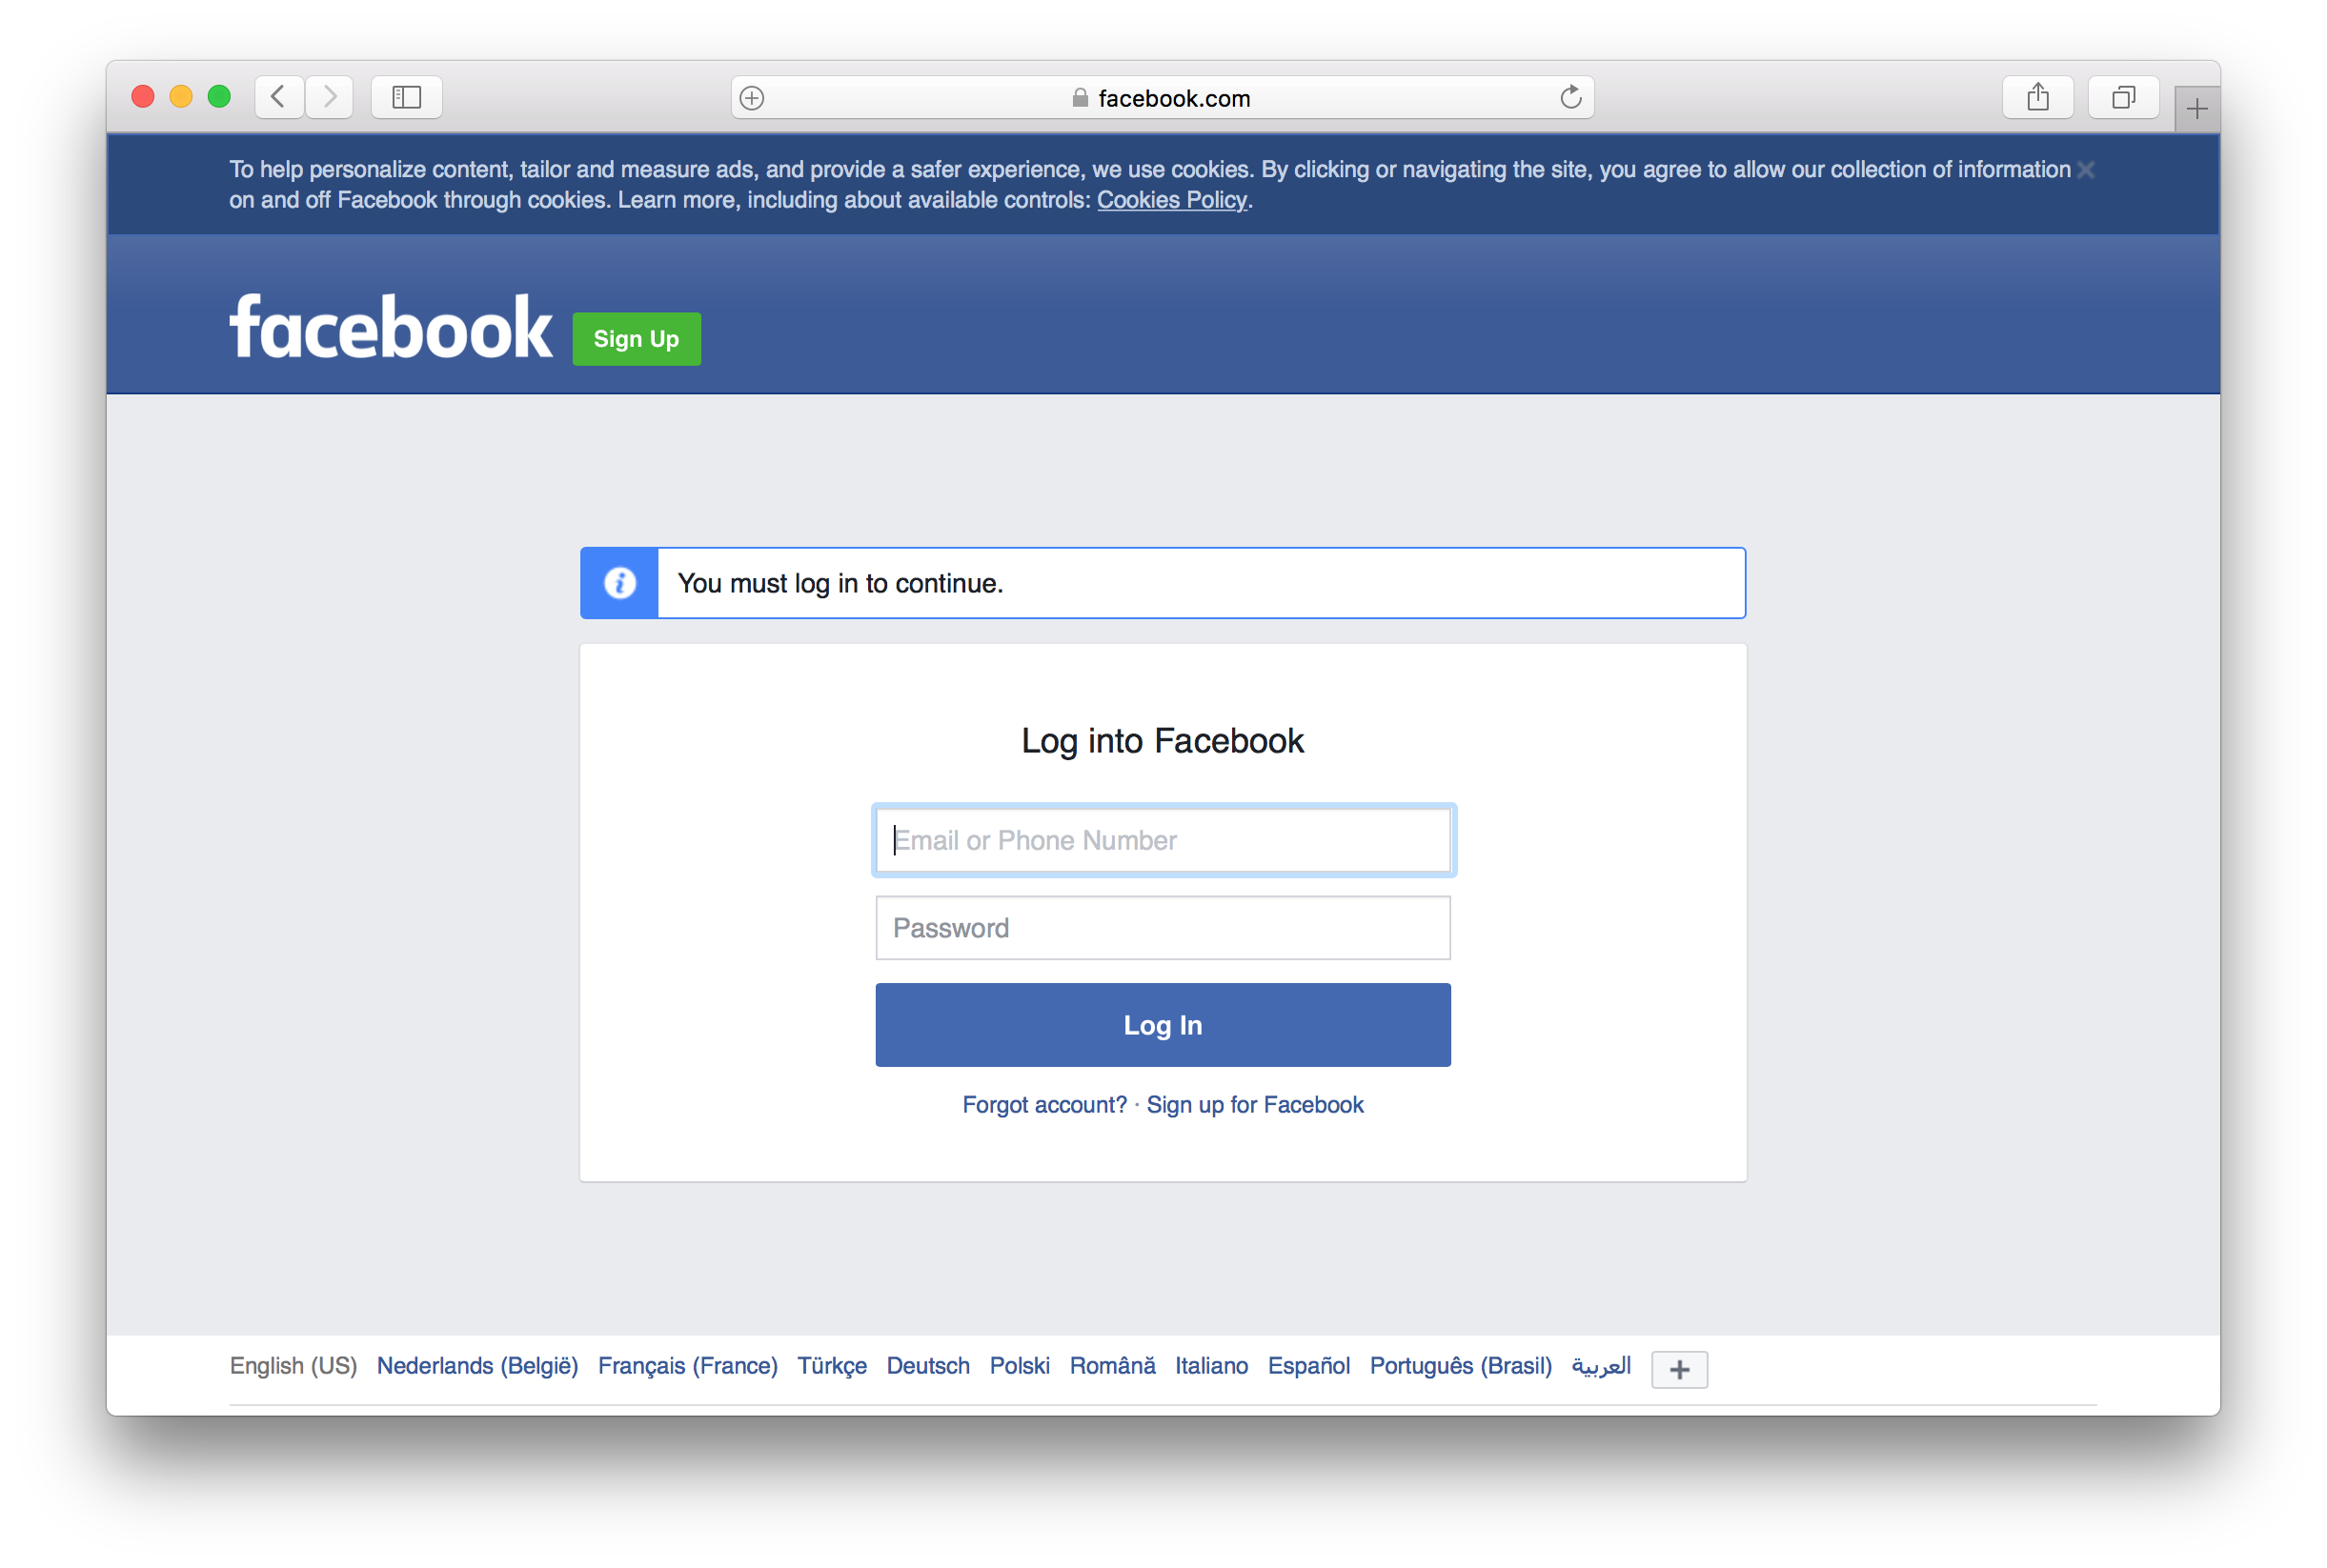
Sign in with your Facebook account:
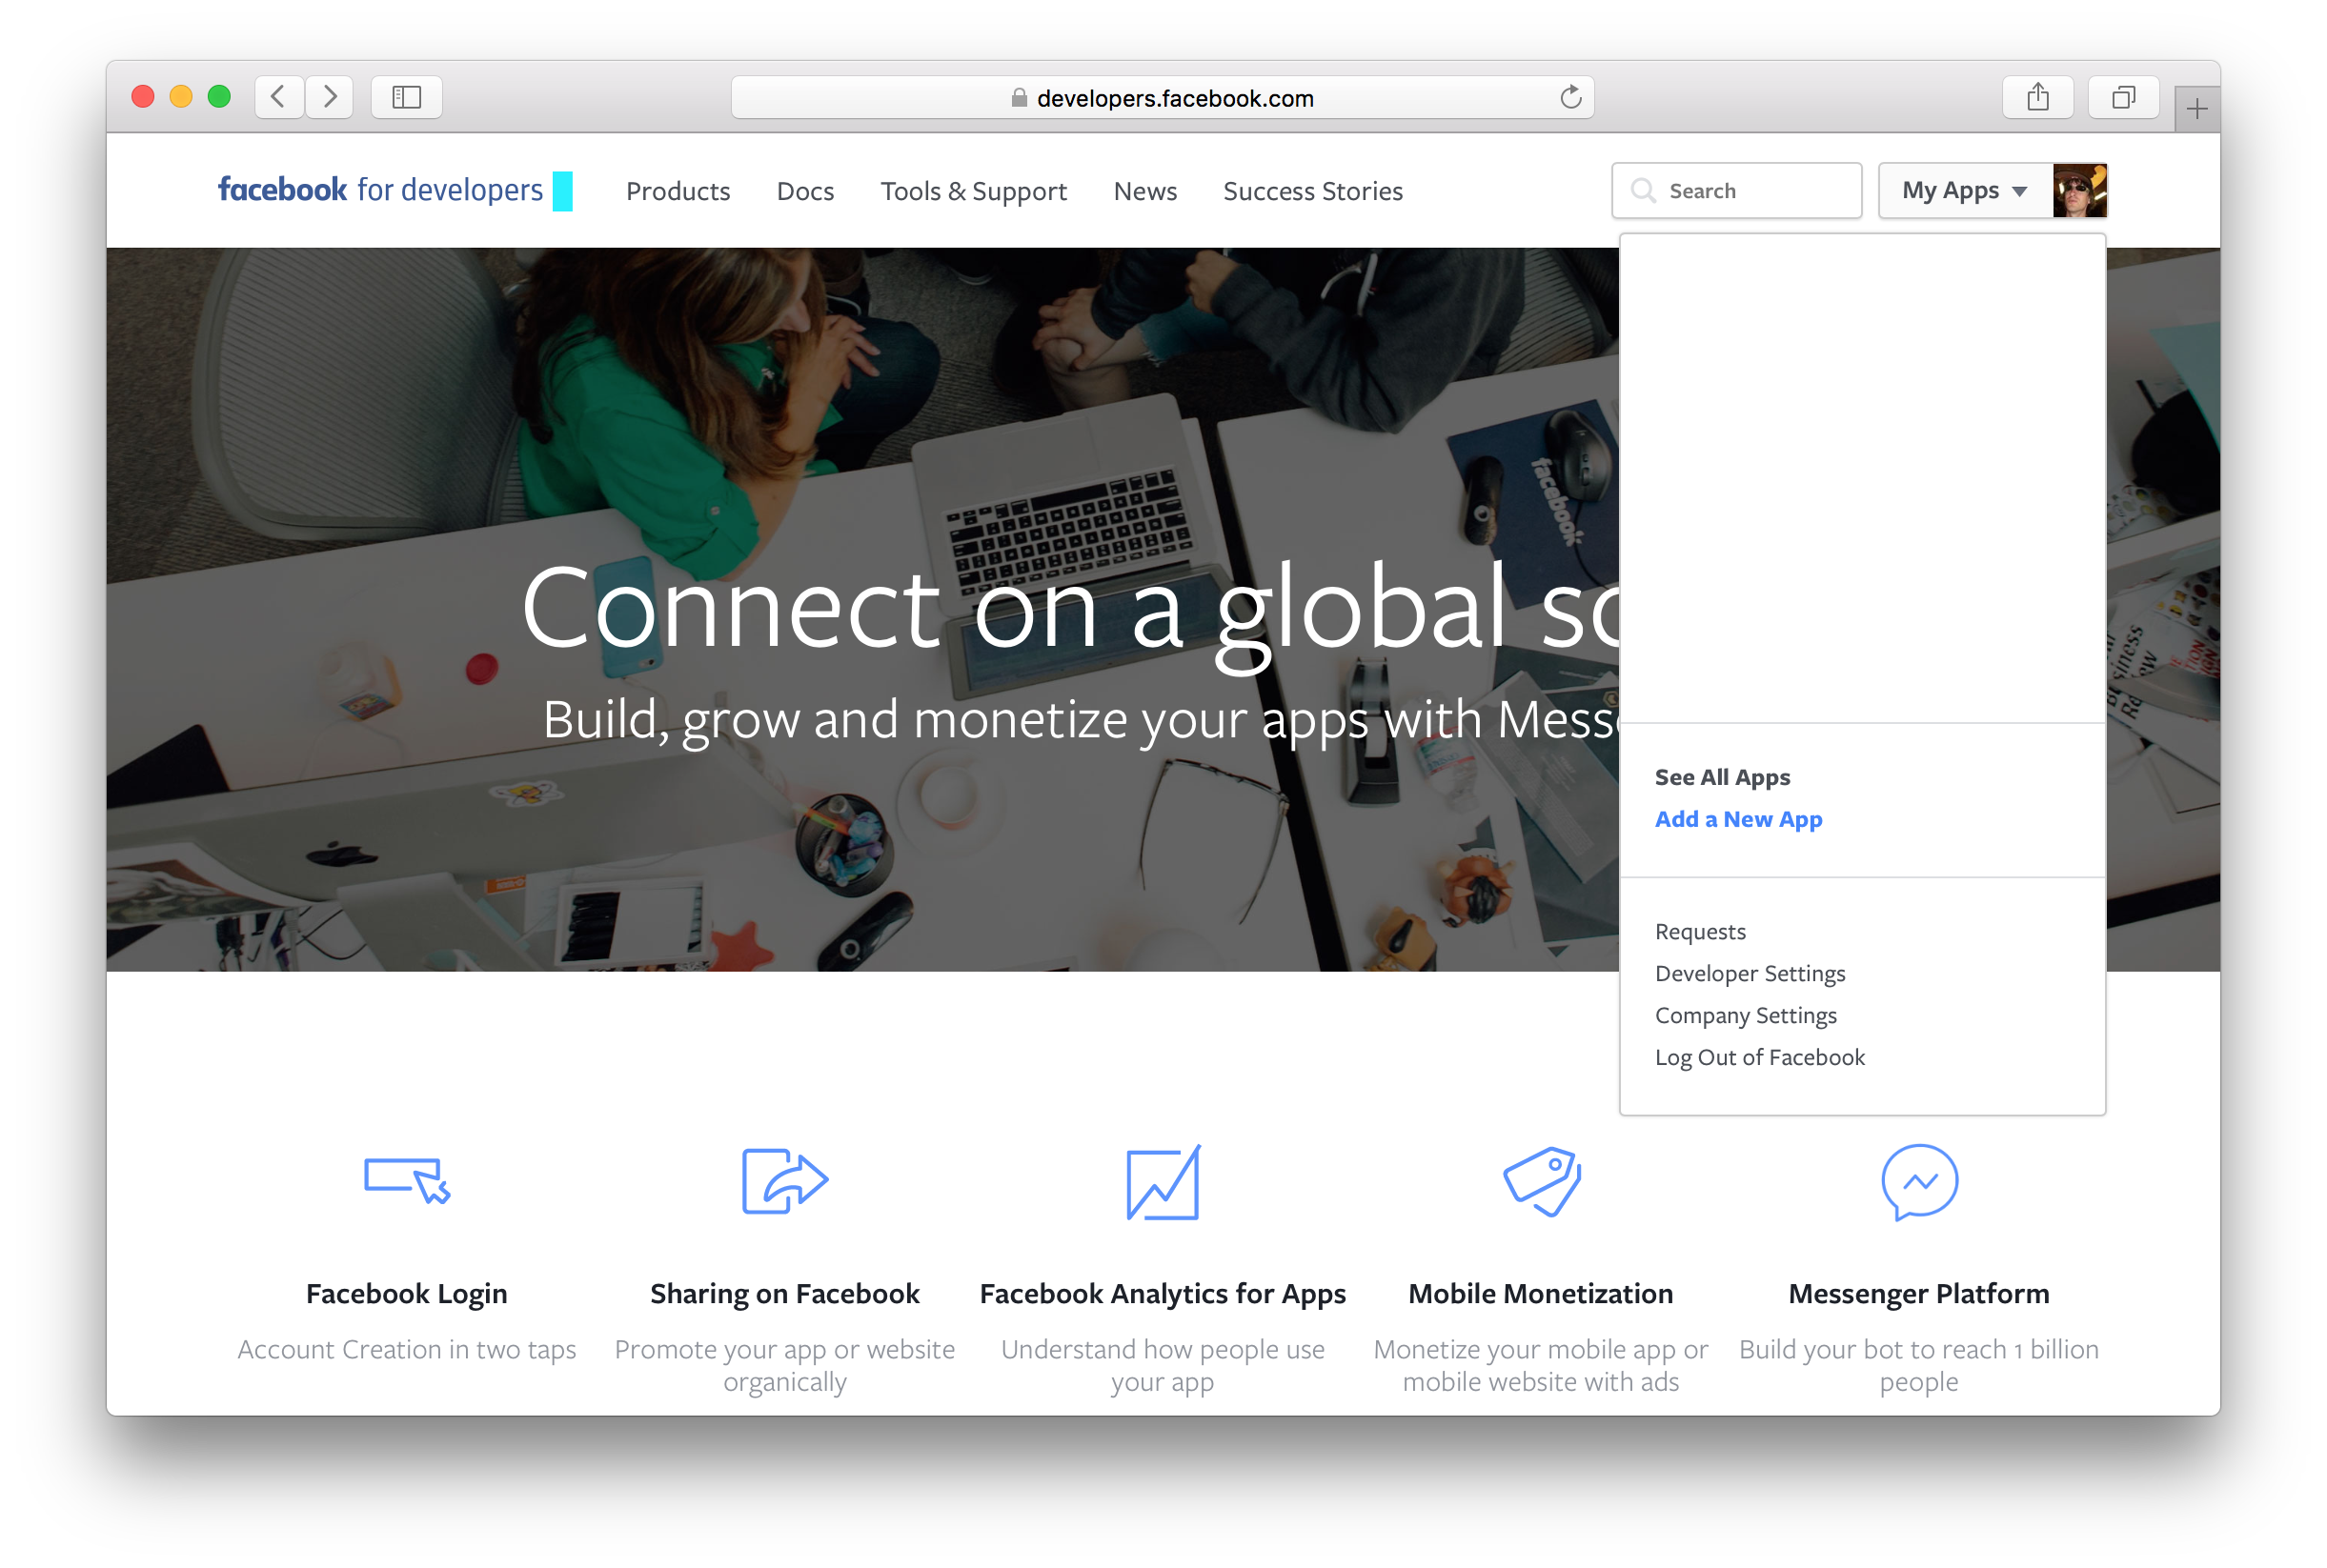
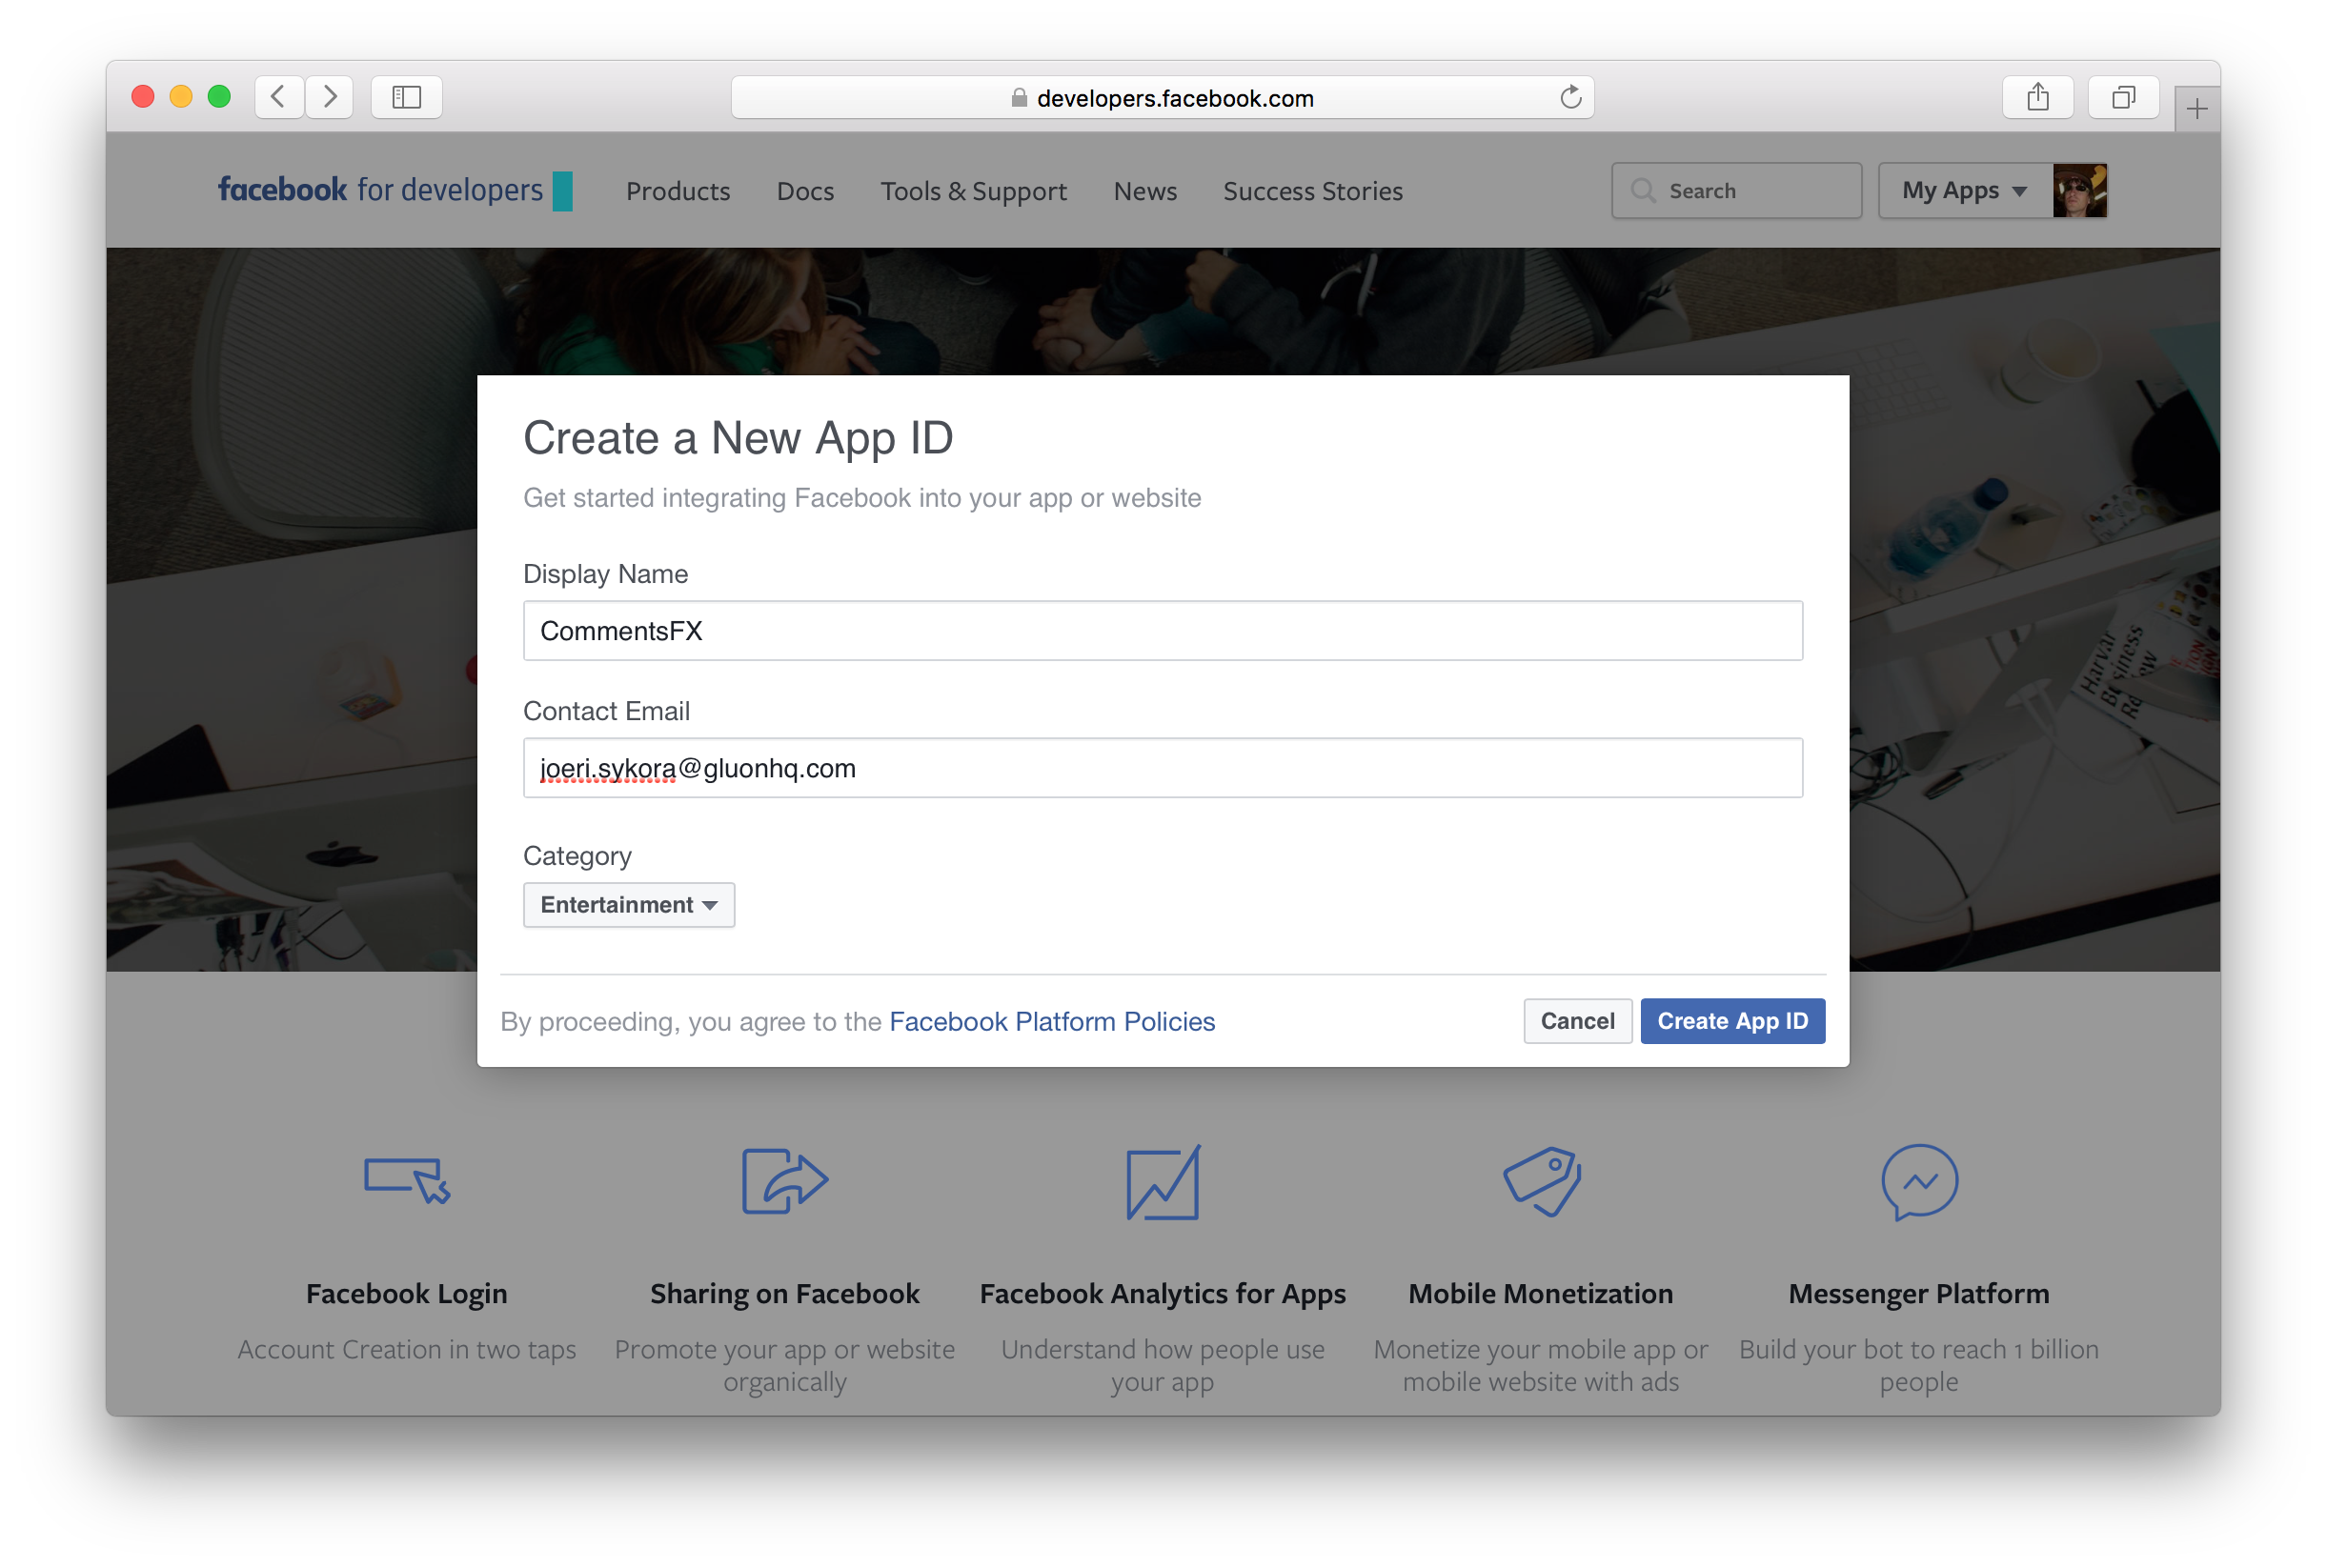
Click the My Apps link from the top right of that page and choose Add a New App from the drop-down menu.
Choose a display name, a contact email address and a category and click Create App ID.
After completing the security check, your application should be created and you land at the Product Setup page.
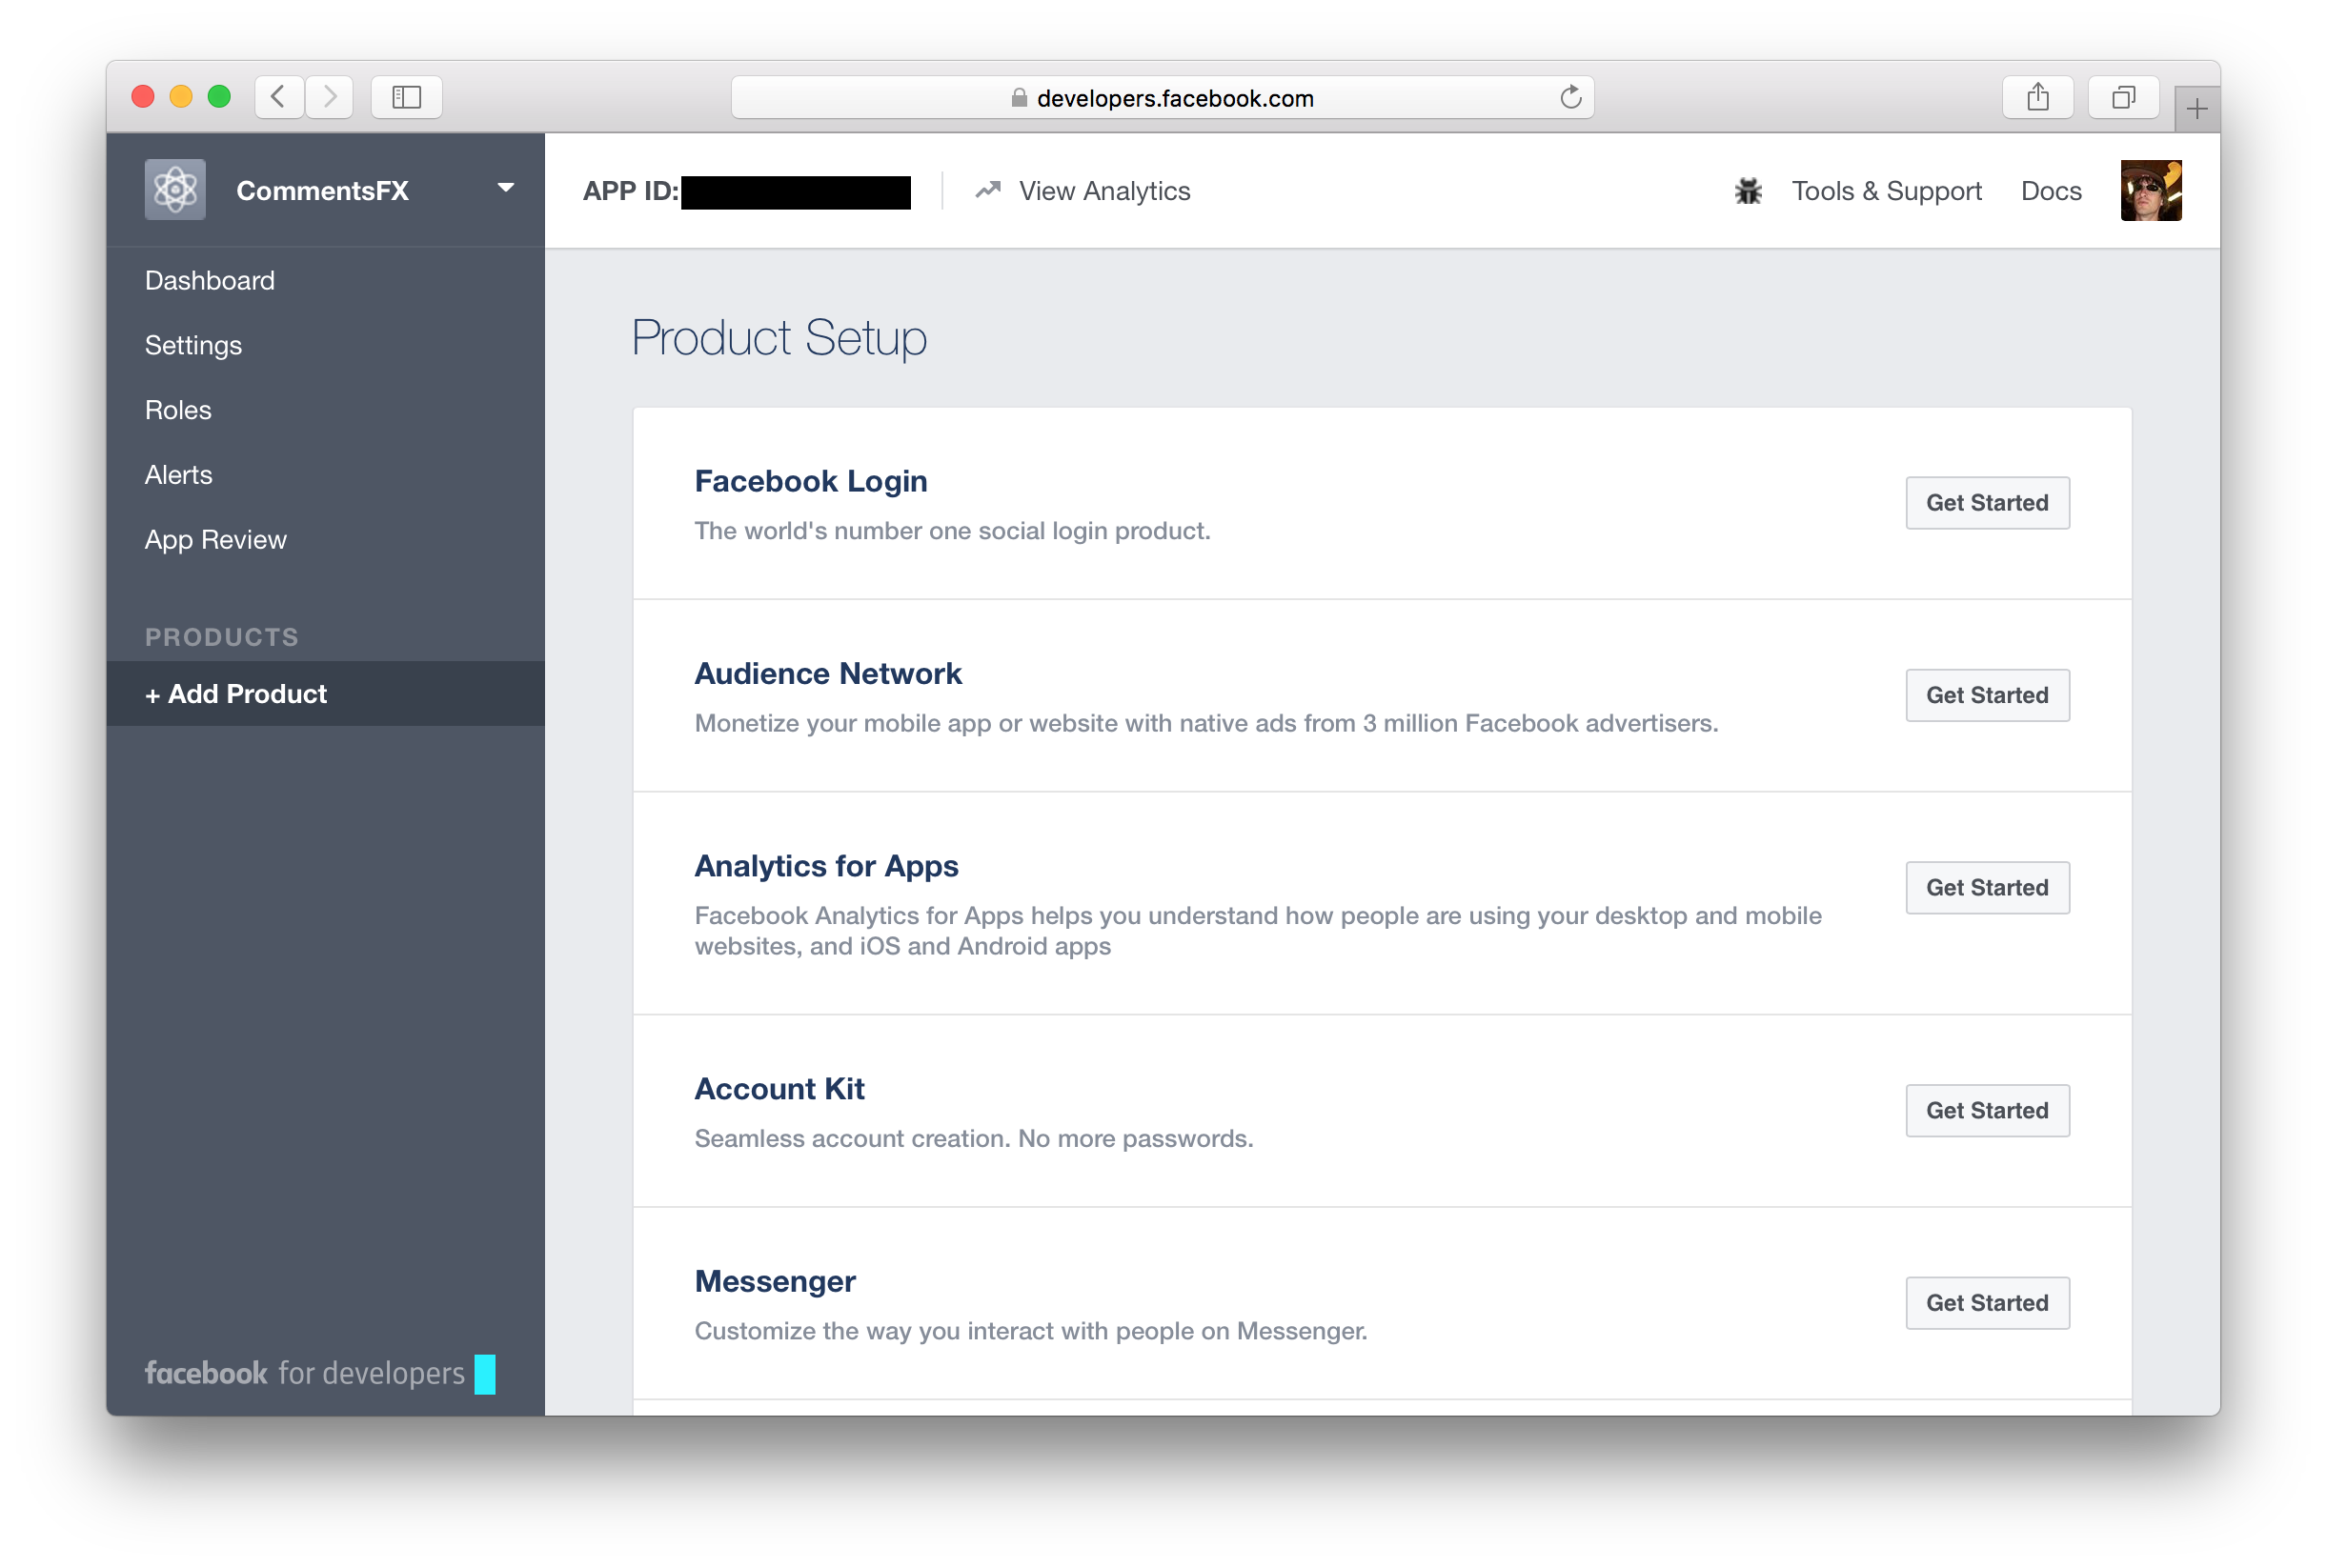
From the Product Setup page, click the Get Started button for the Facebook Login product.
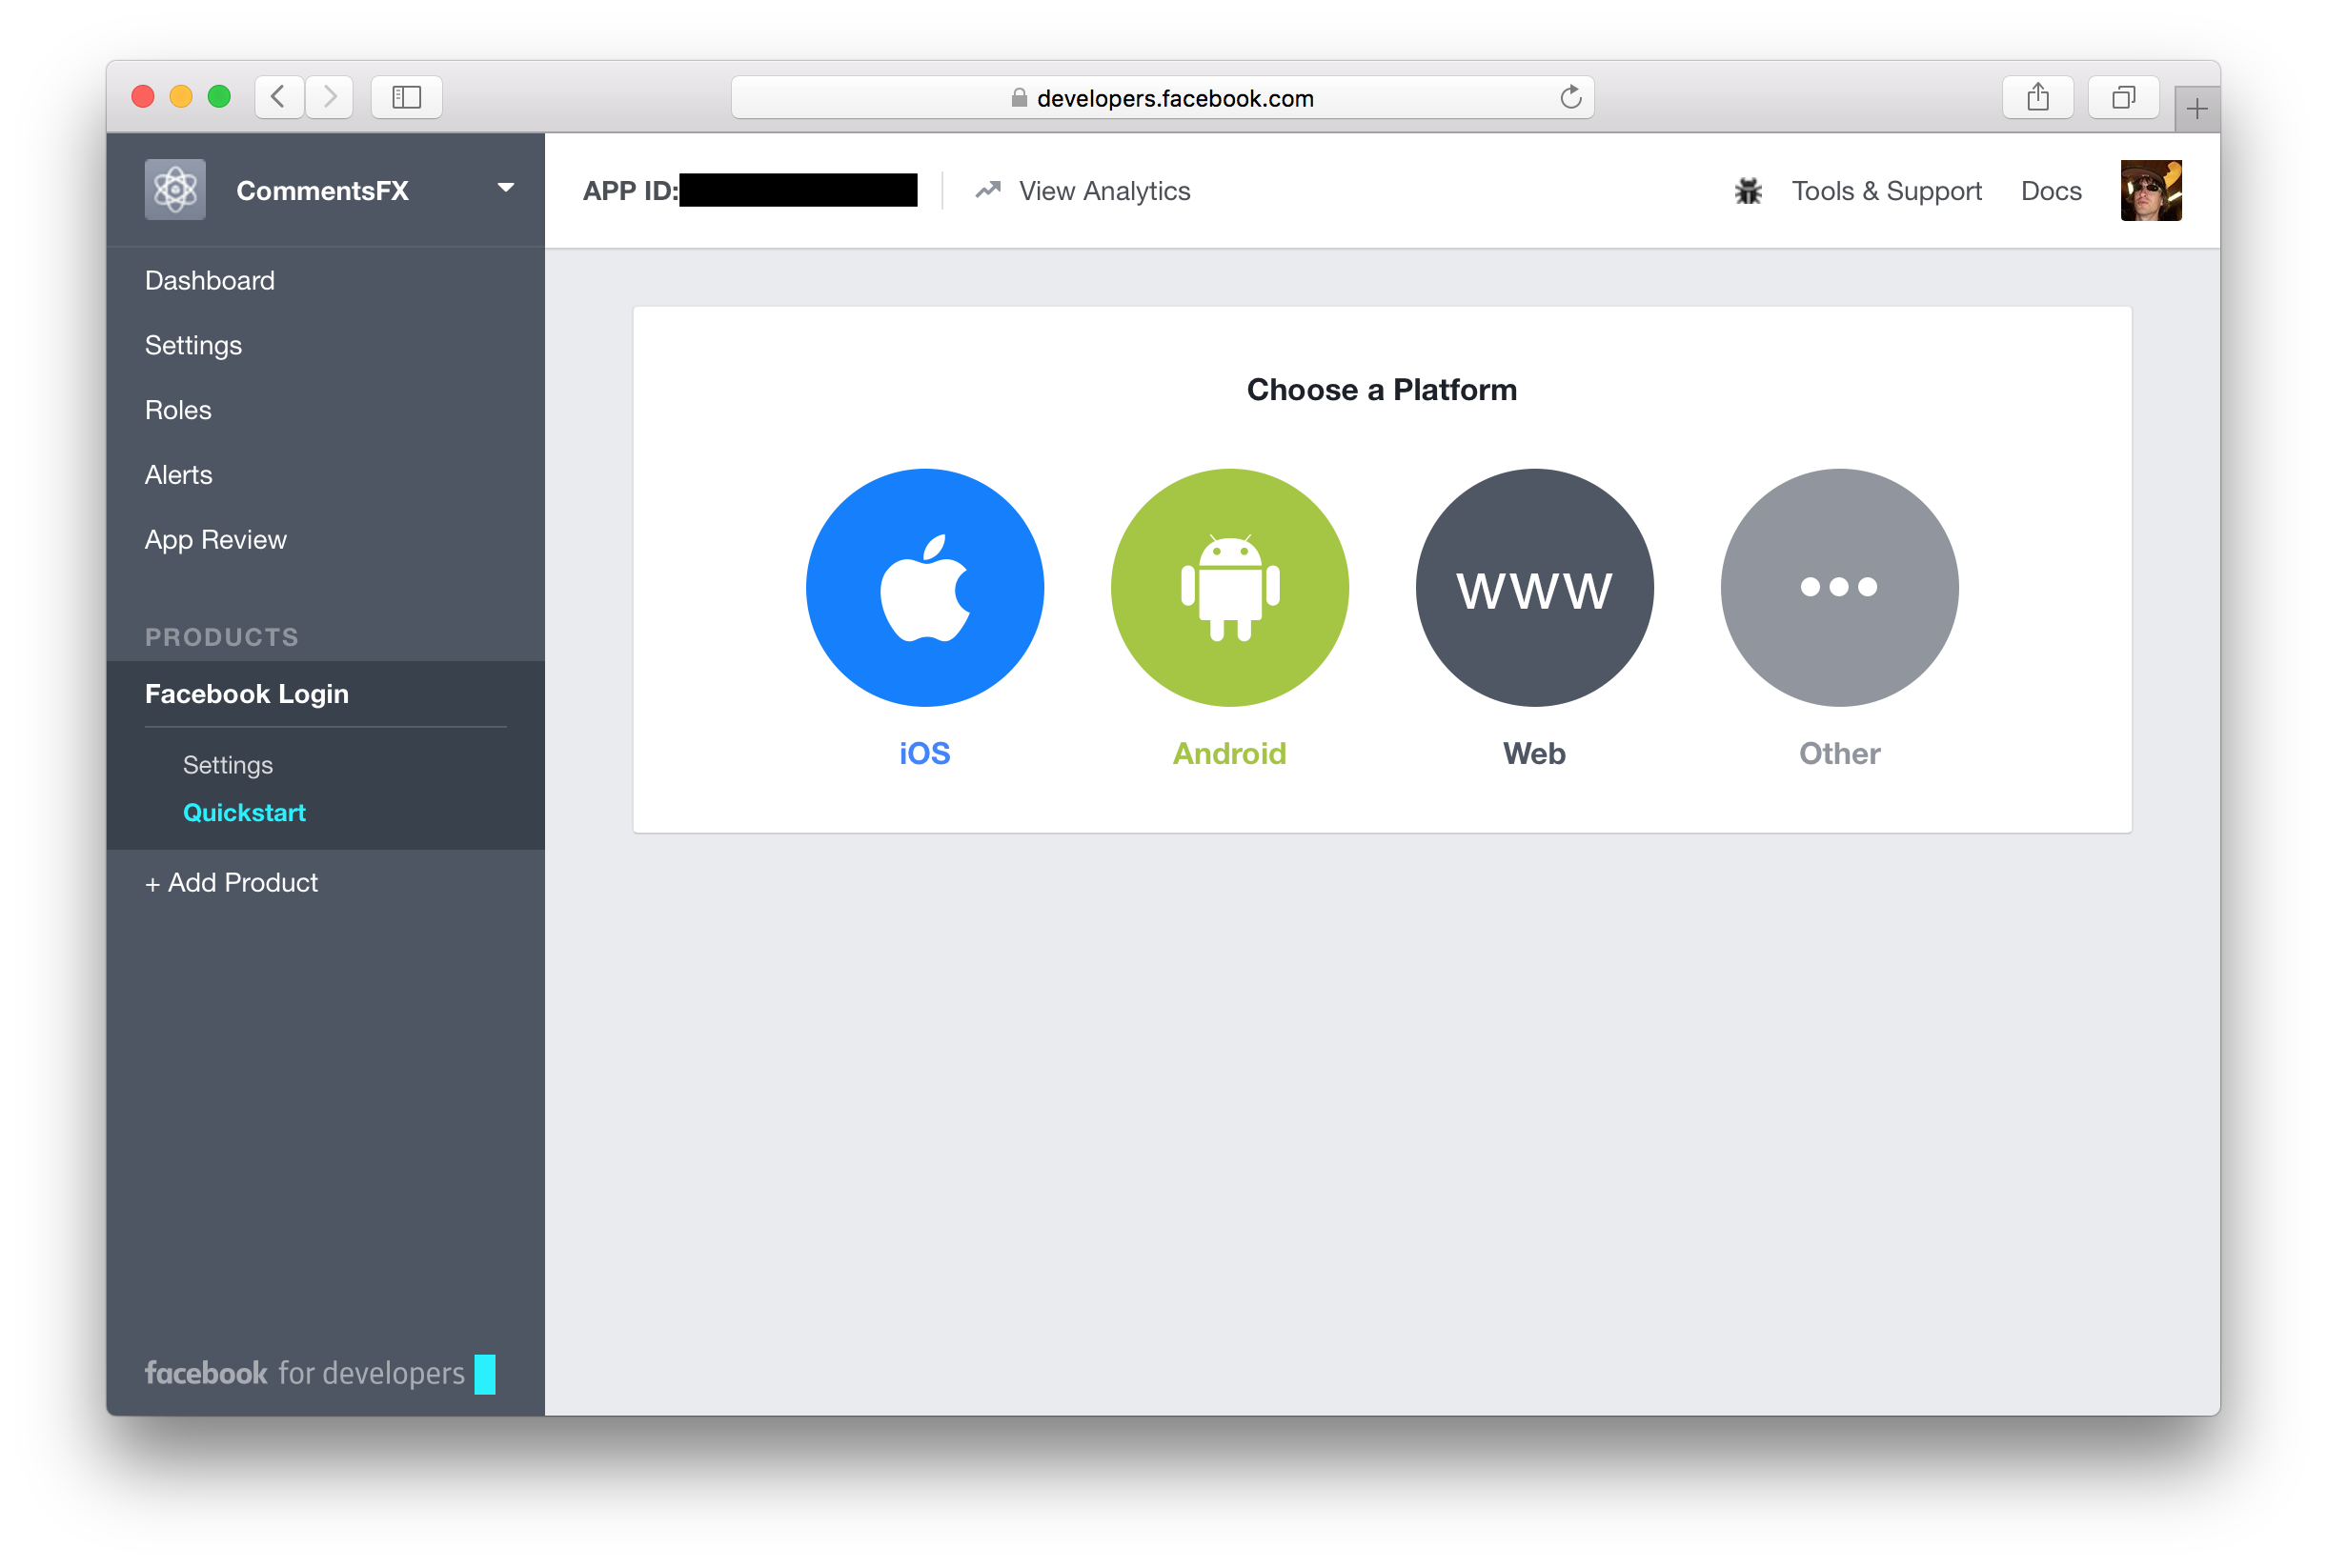
Instead of using the Quickstart wizard and selecting a platform, just click on the Settings link in the Facebook
Login section from the menu on the left.
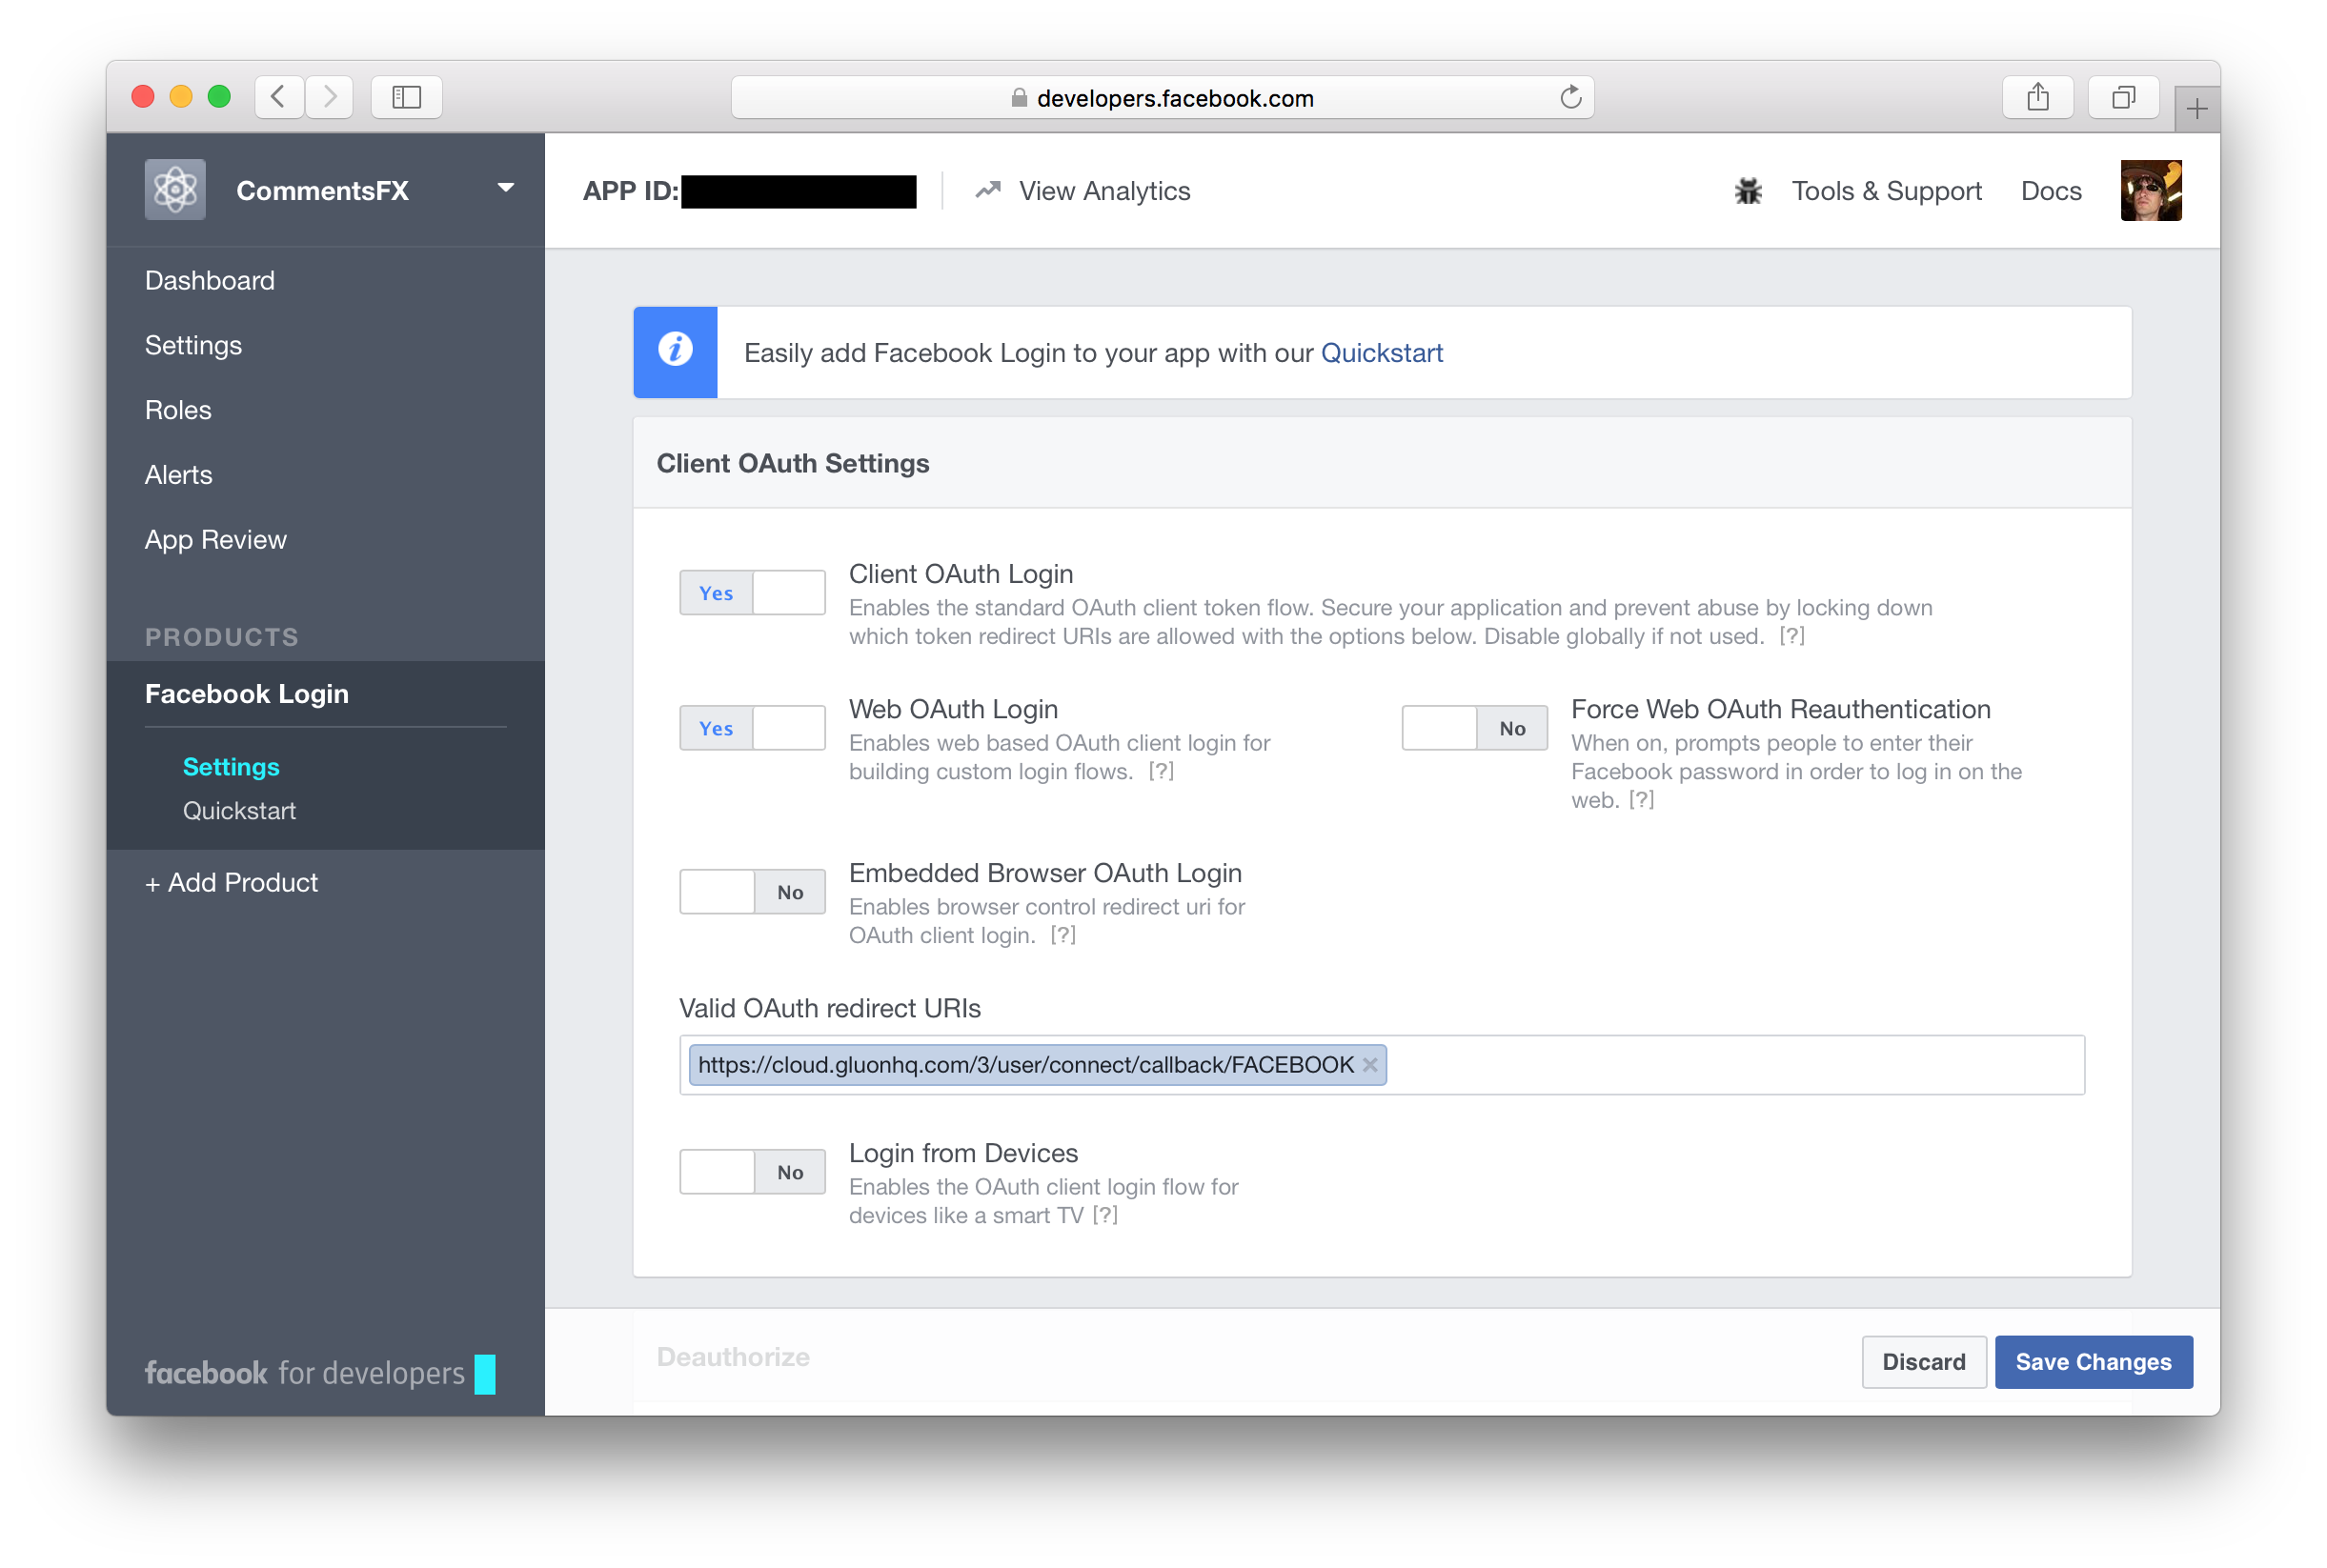
You can leave all settings as shown in the screenshot and use the following URL for the Valid OAuth redirect URIs:
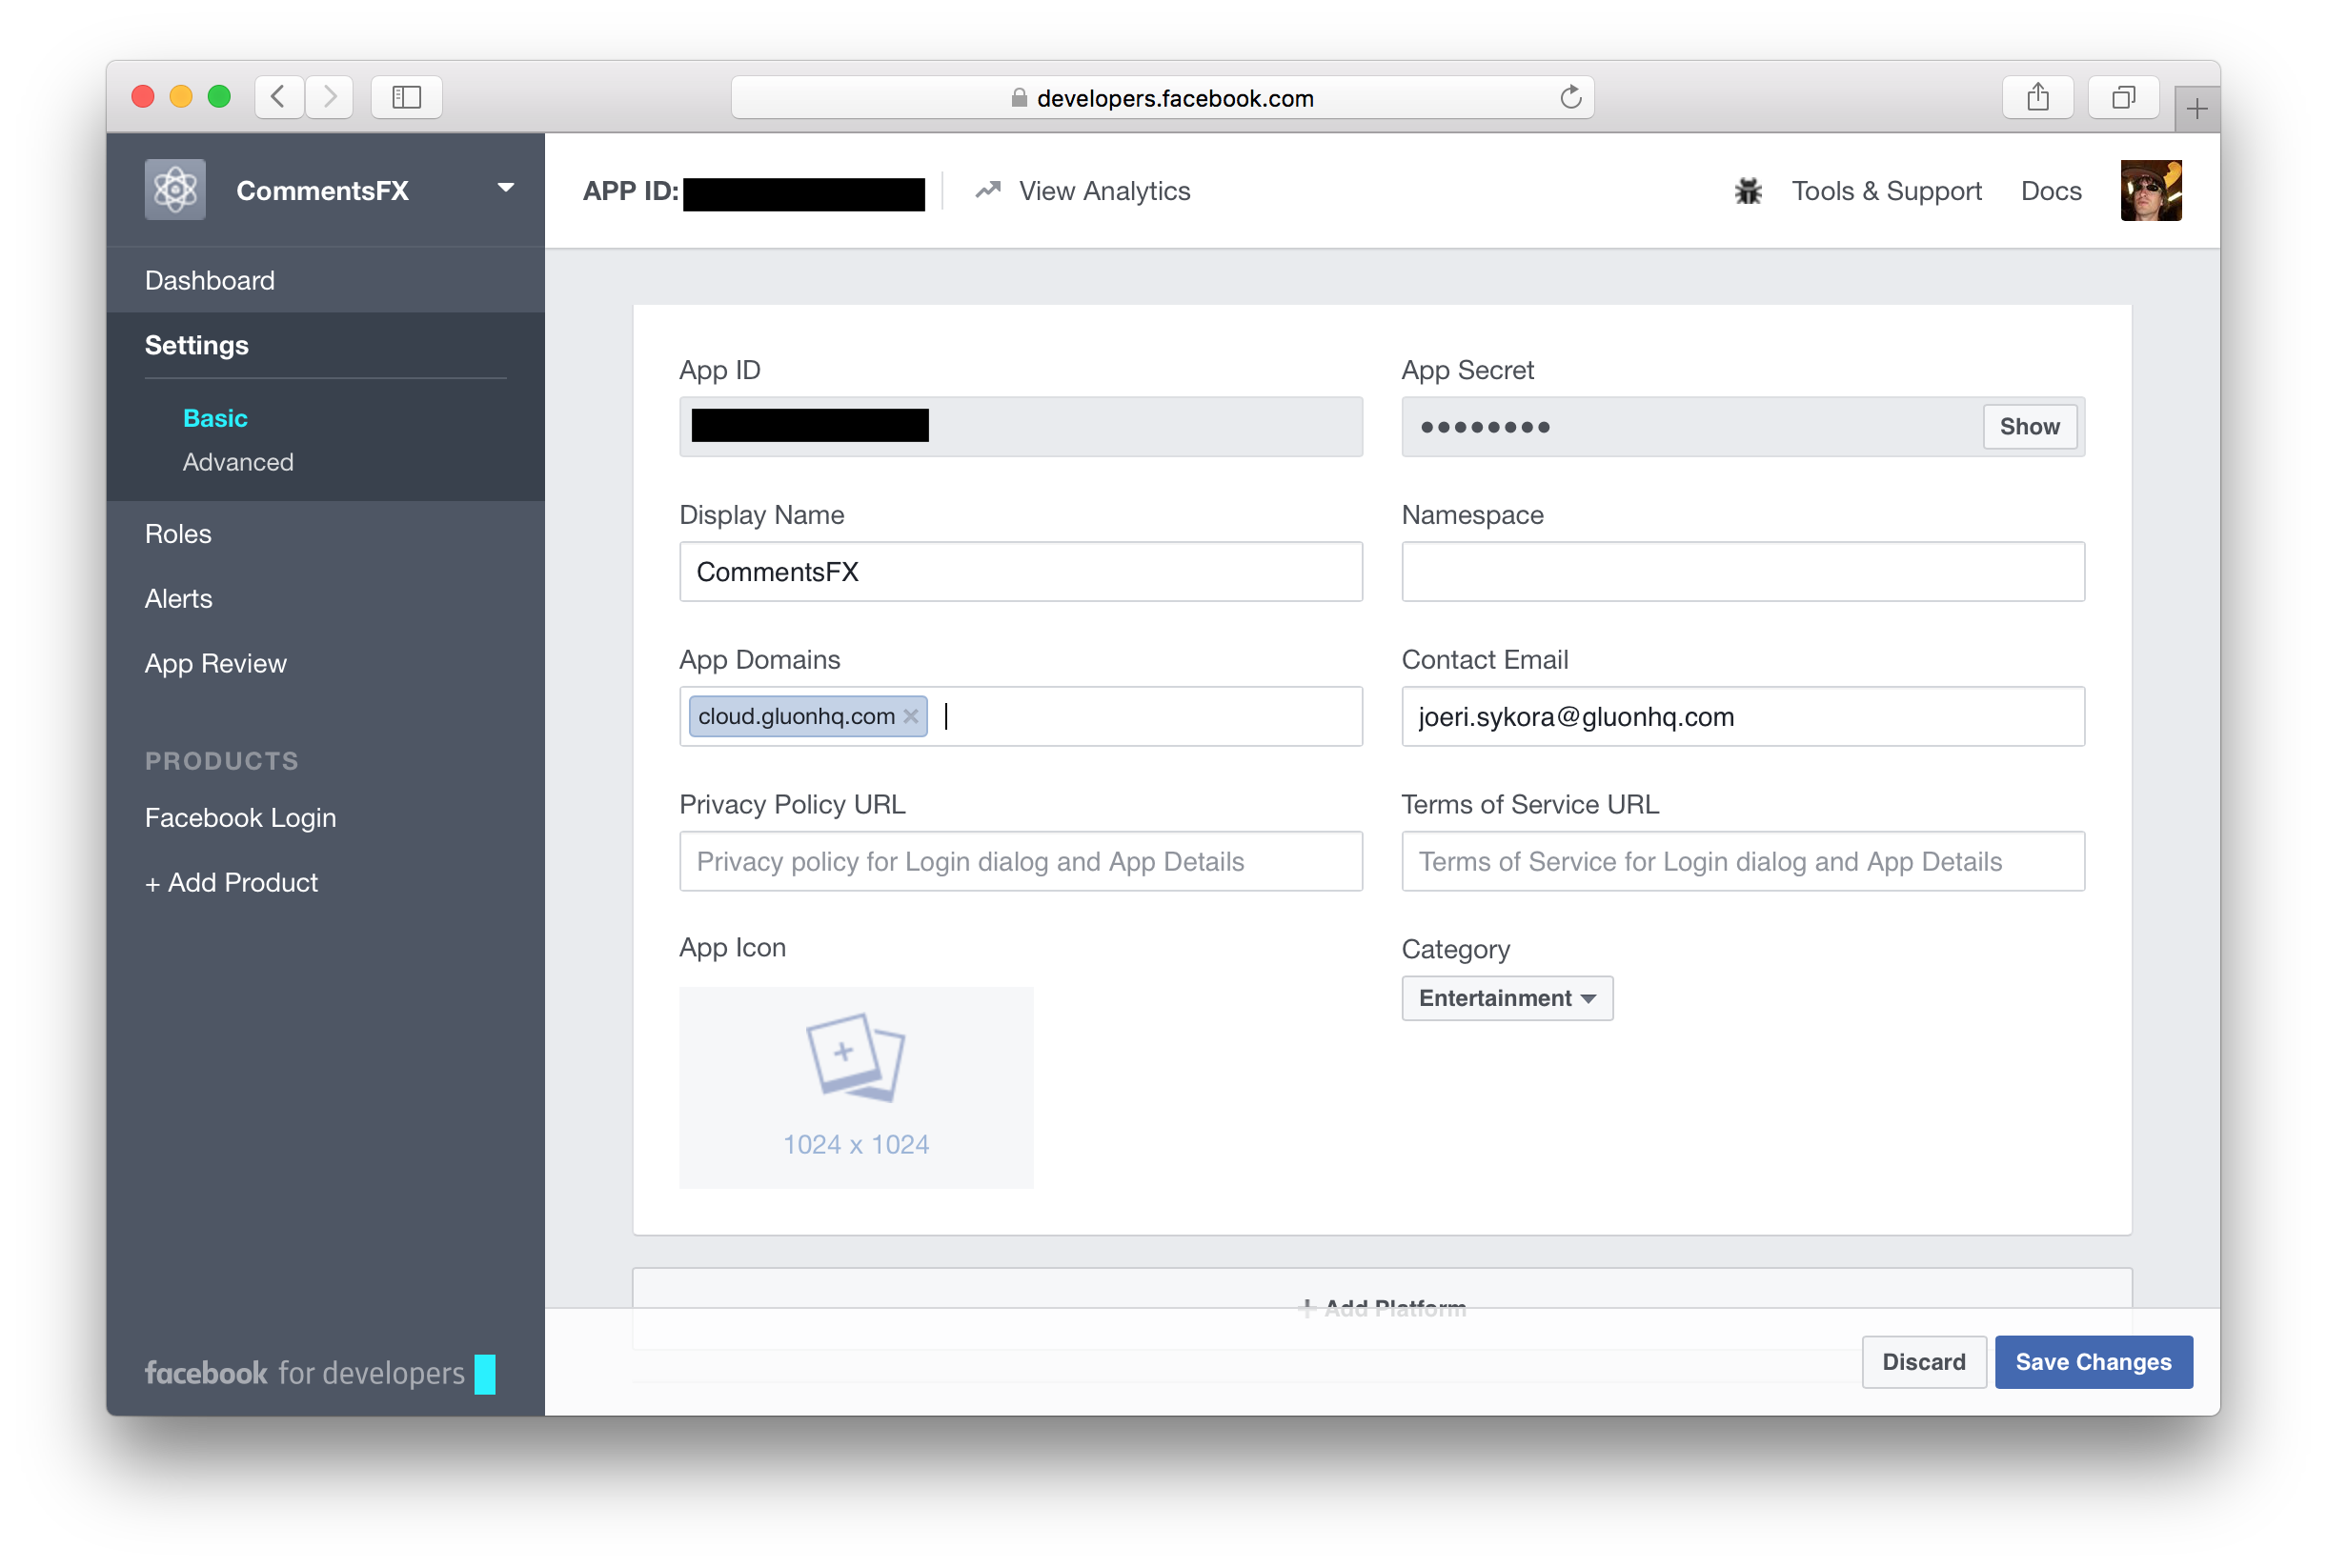
Click Save Changes to save the changes you made for the Facebook Login product. Next, open the Settings page from
the left menu and enter the following value for the App Domains: cloud.gluonhq.com
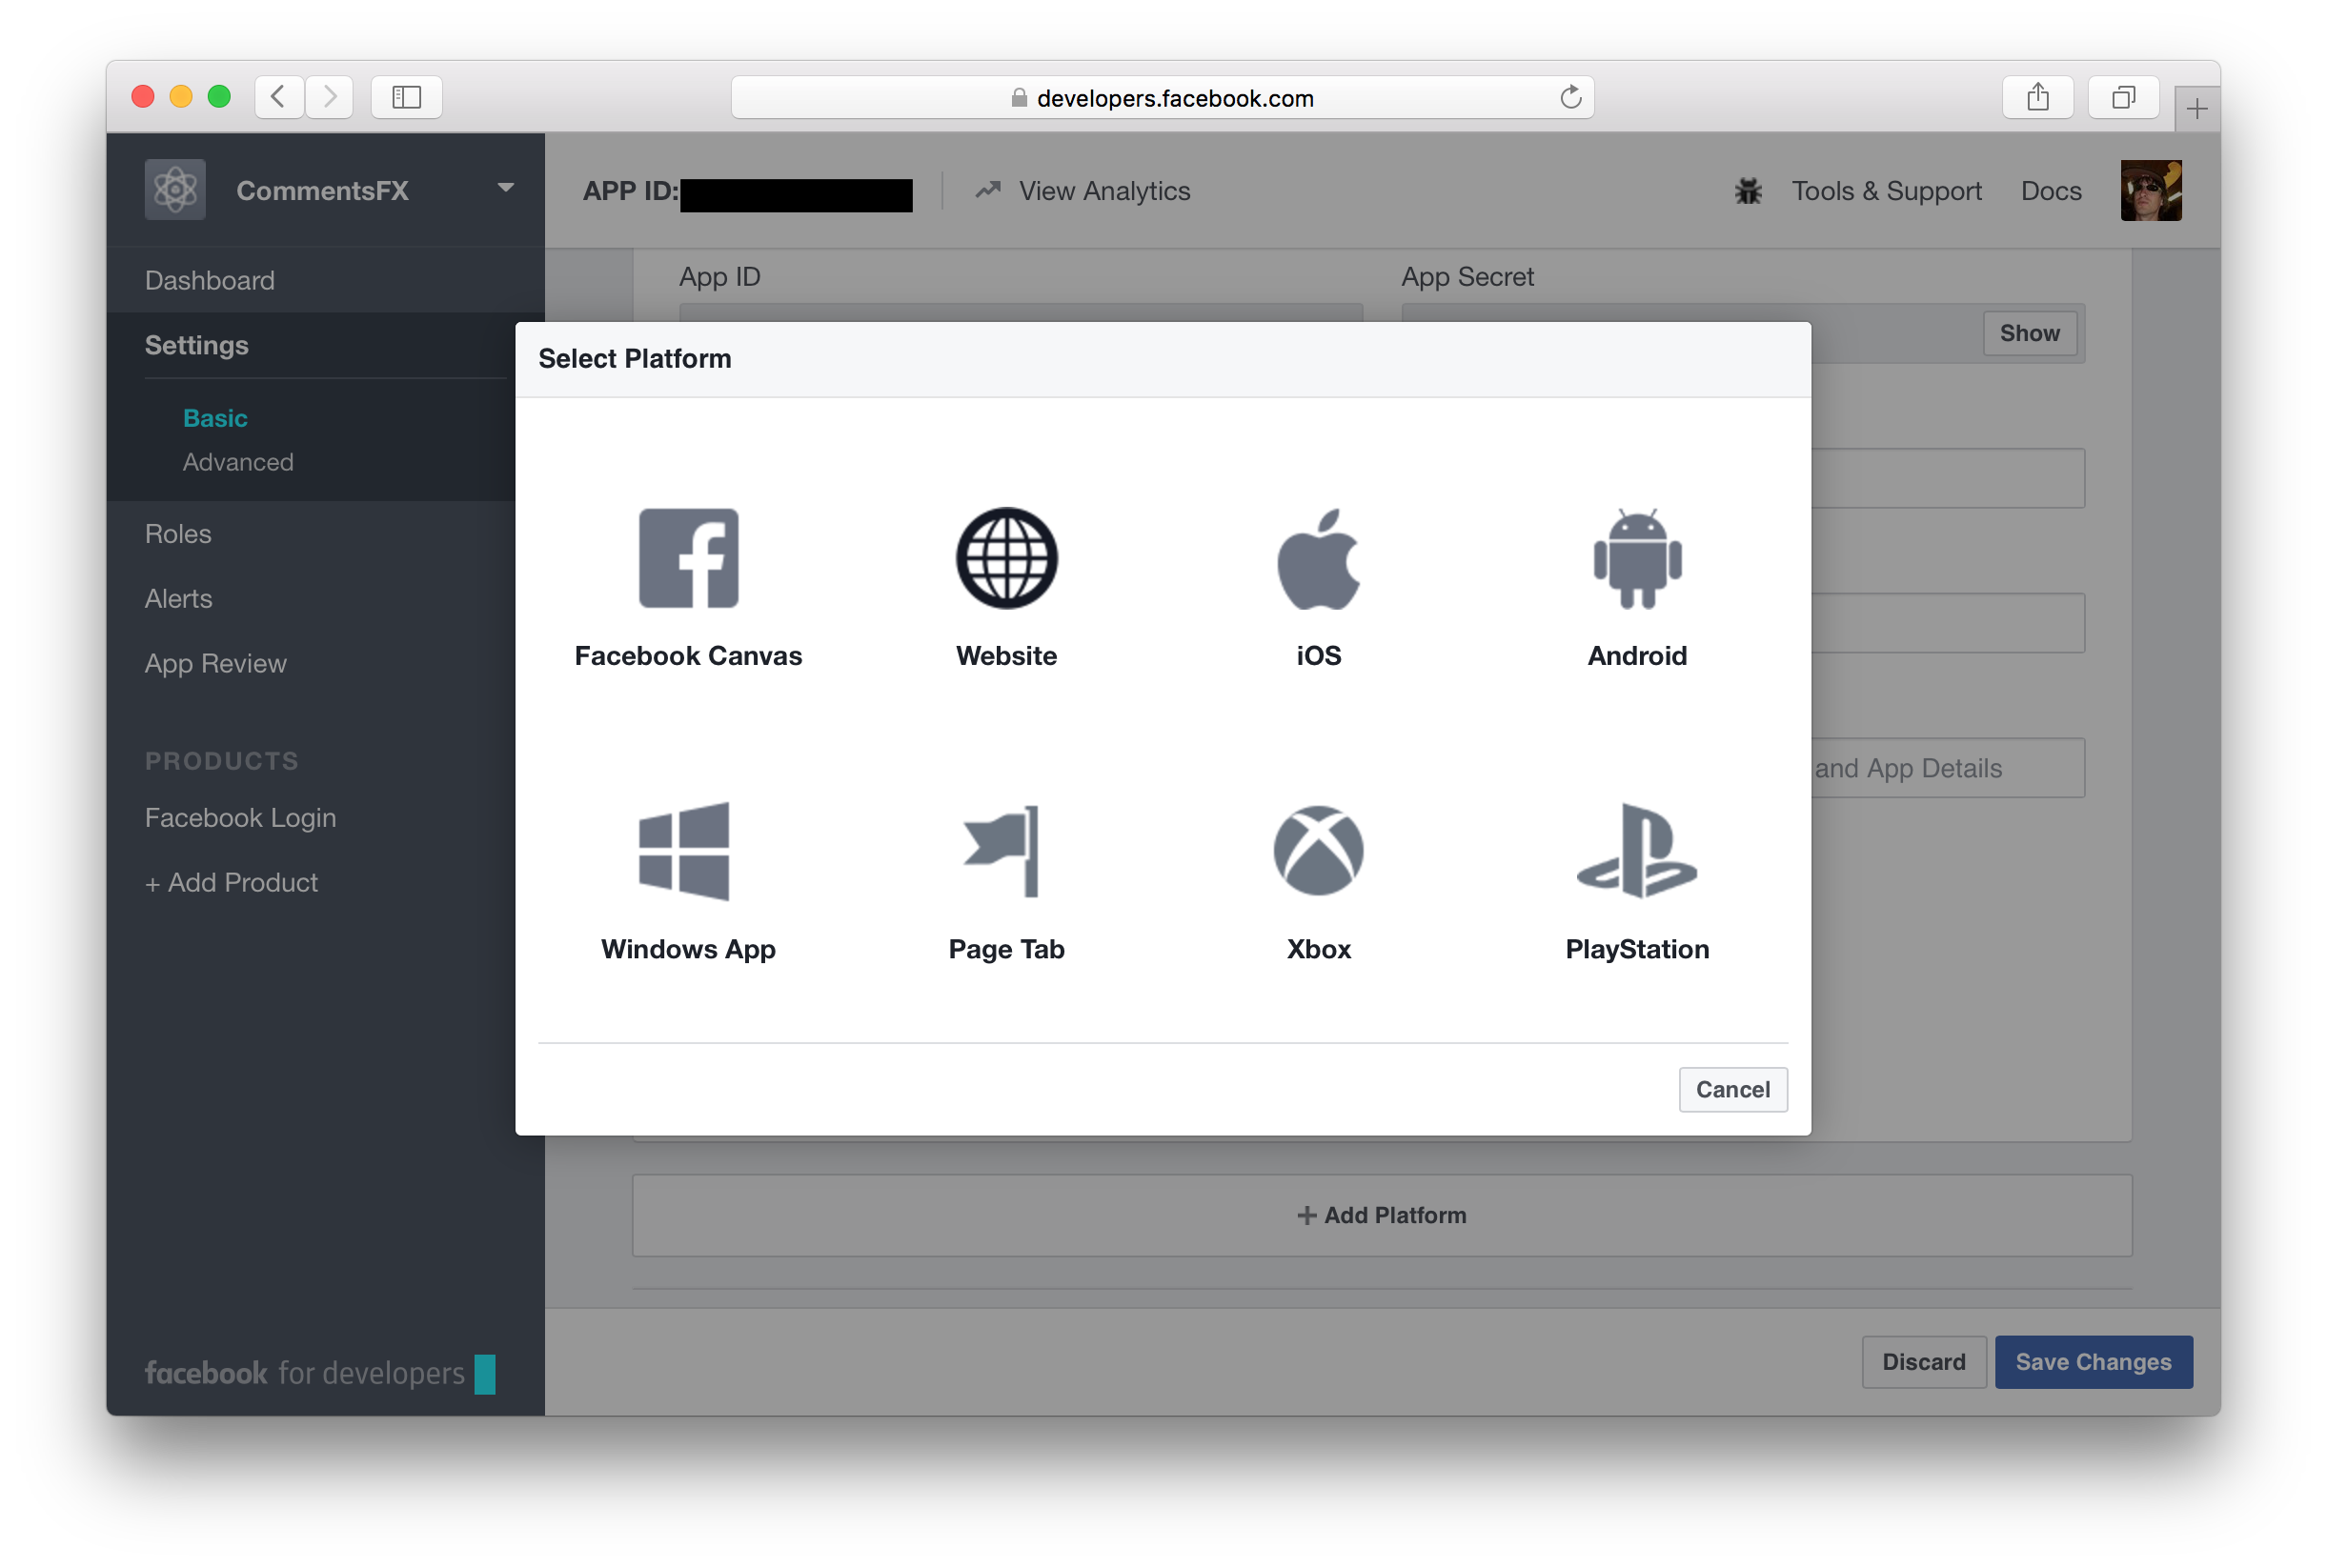
Scroll down, click the Add Platform button and choose the Website platform.
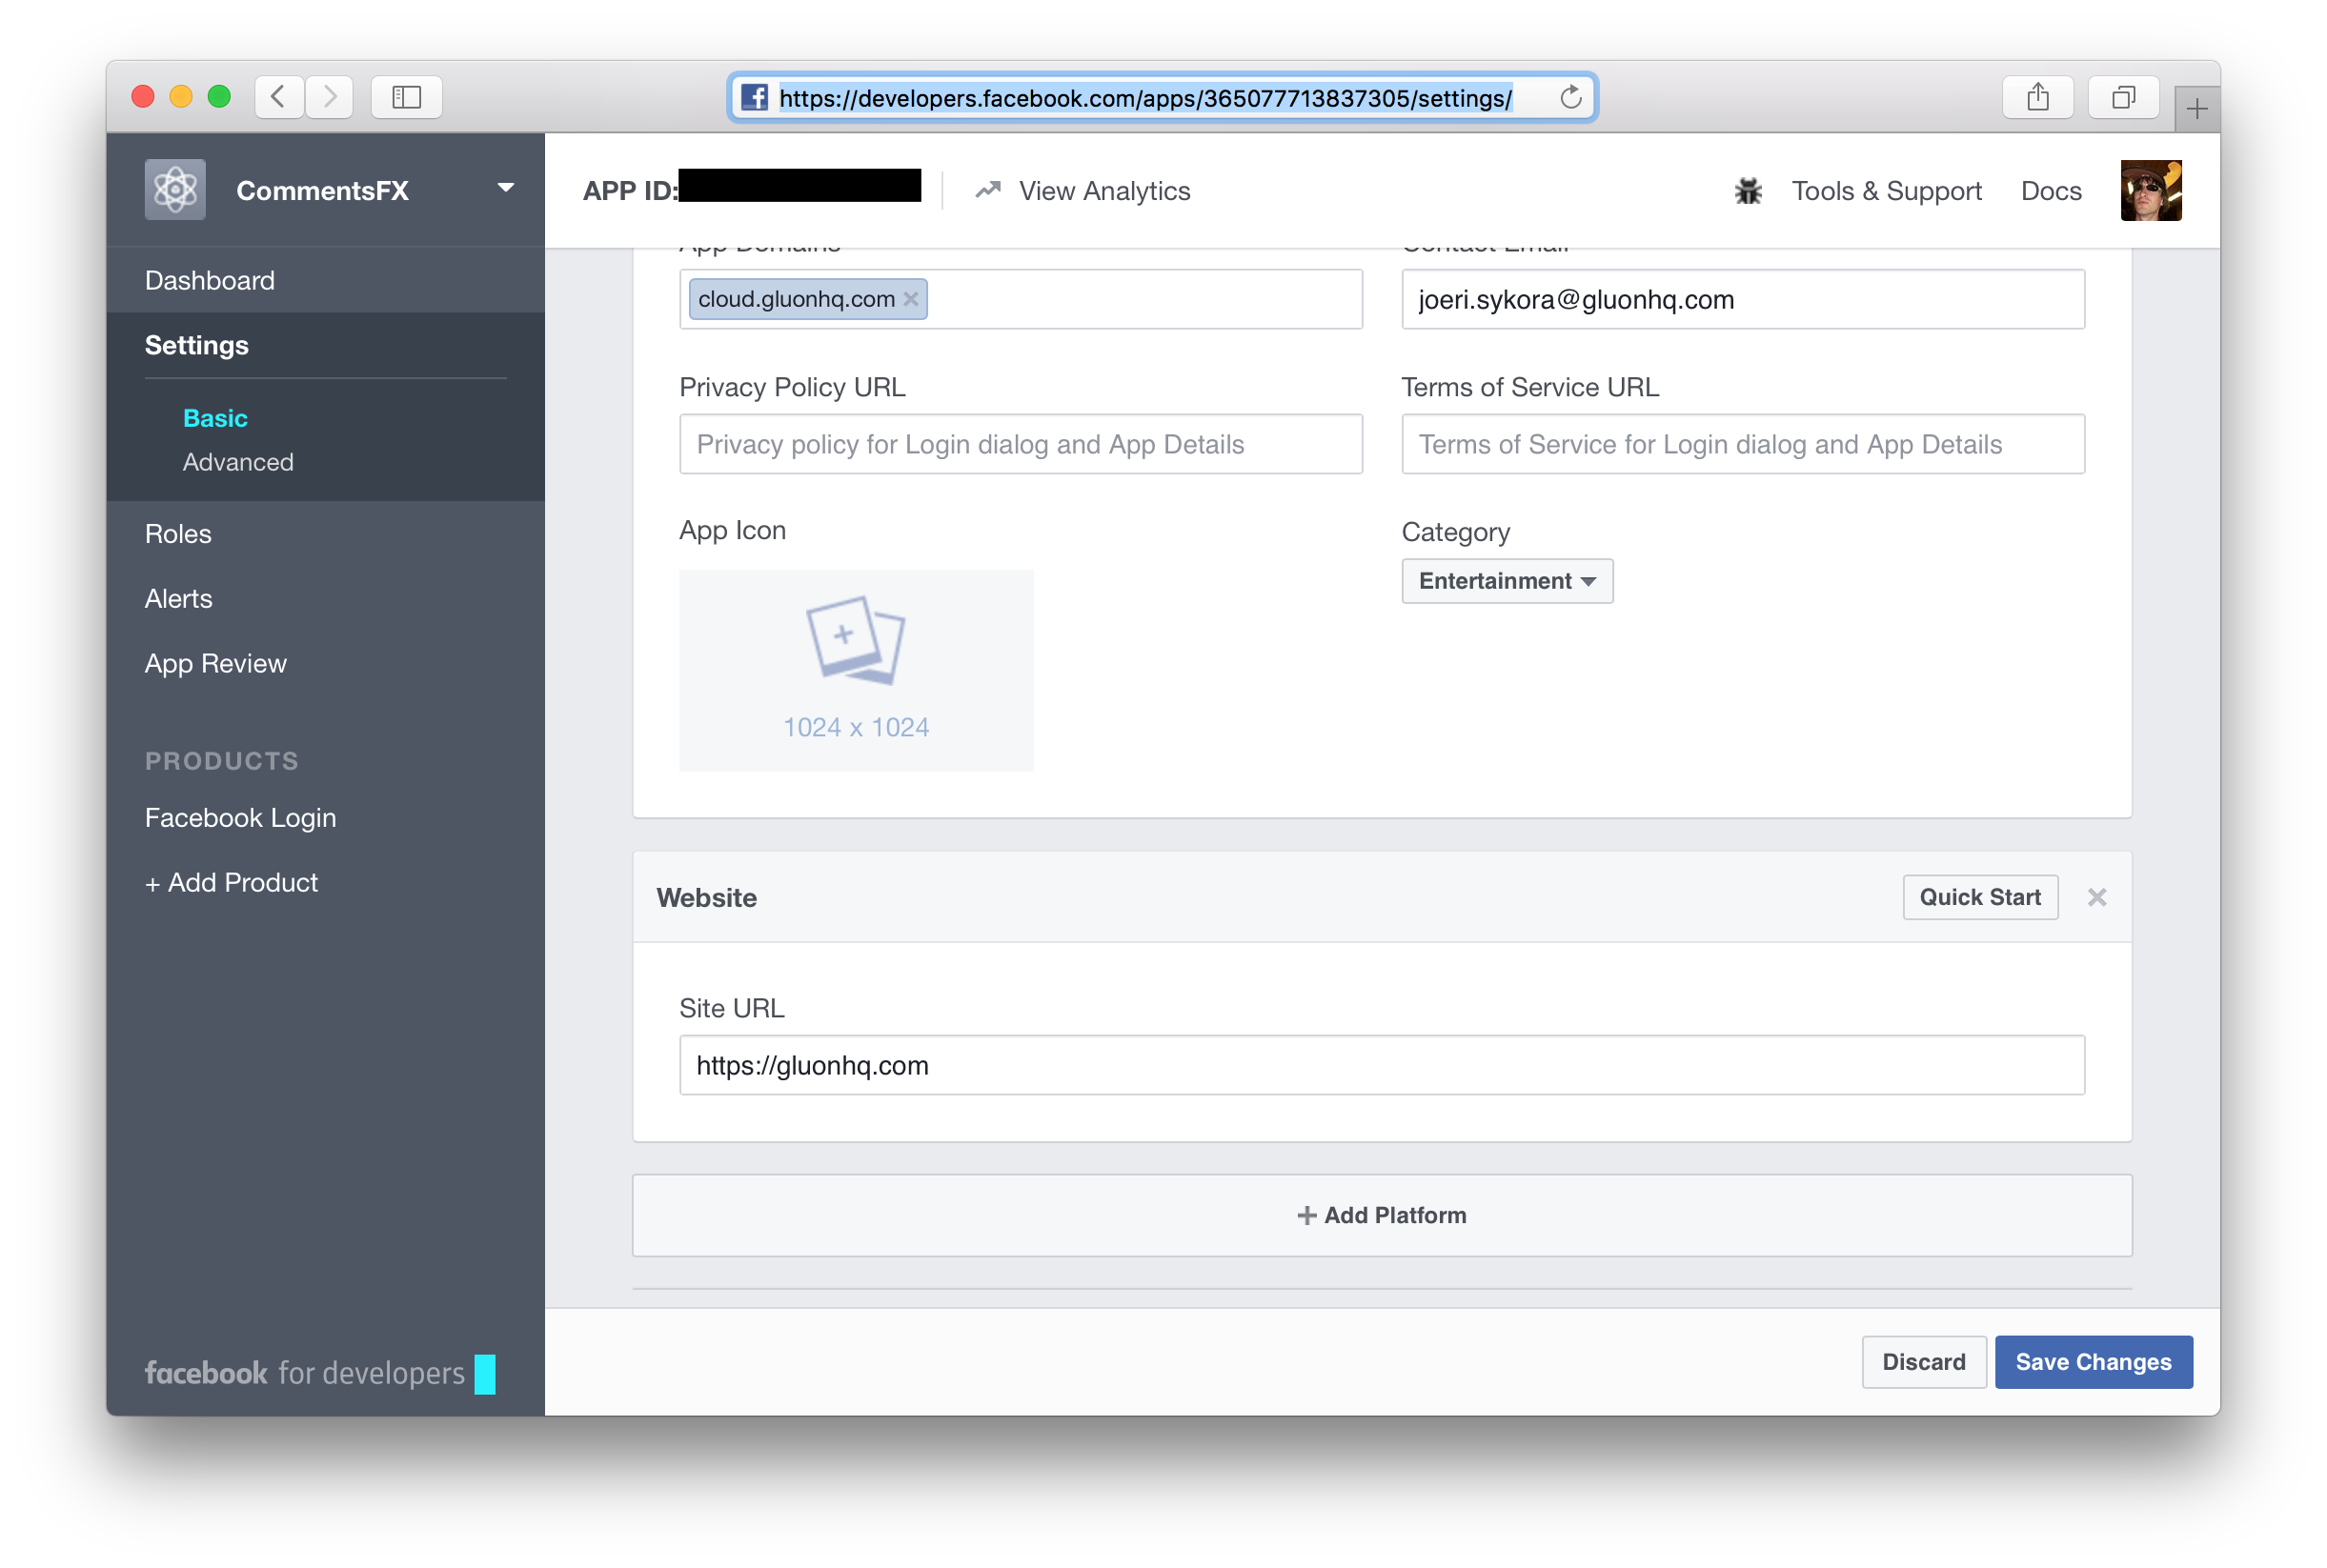
Enter the following URL as the Site URL: https://gluonhq.com
Again, click Save changes to apply the configuration settings. Afterwards, click on the Show button inside the App Secret
text field, to make the application secret of your Facebook application visible. Insert your Facebook password when prompted.
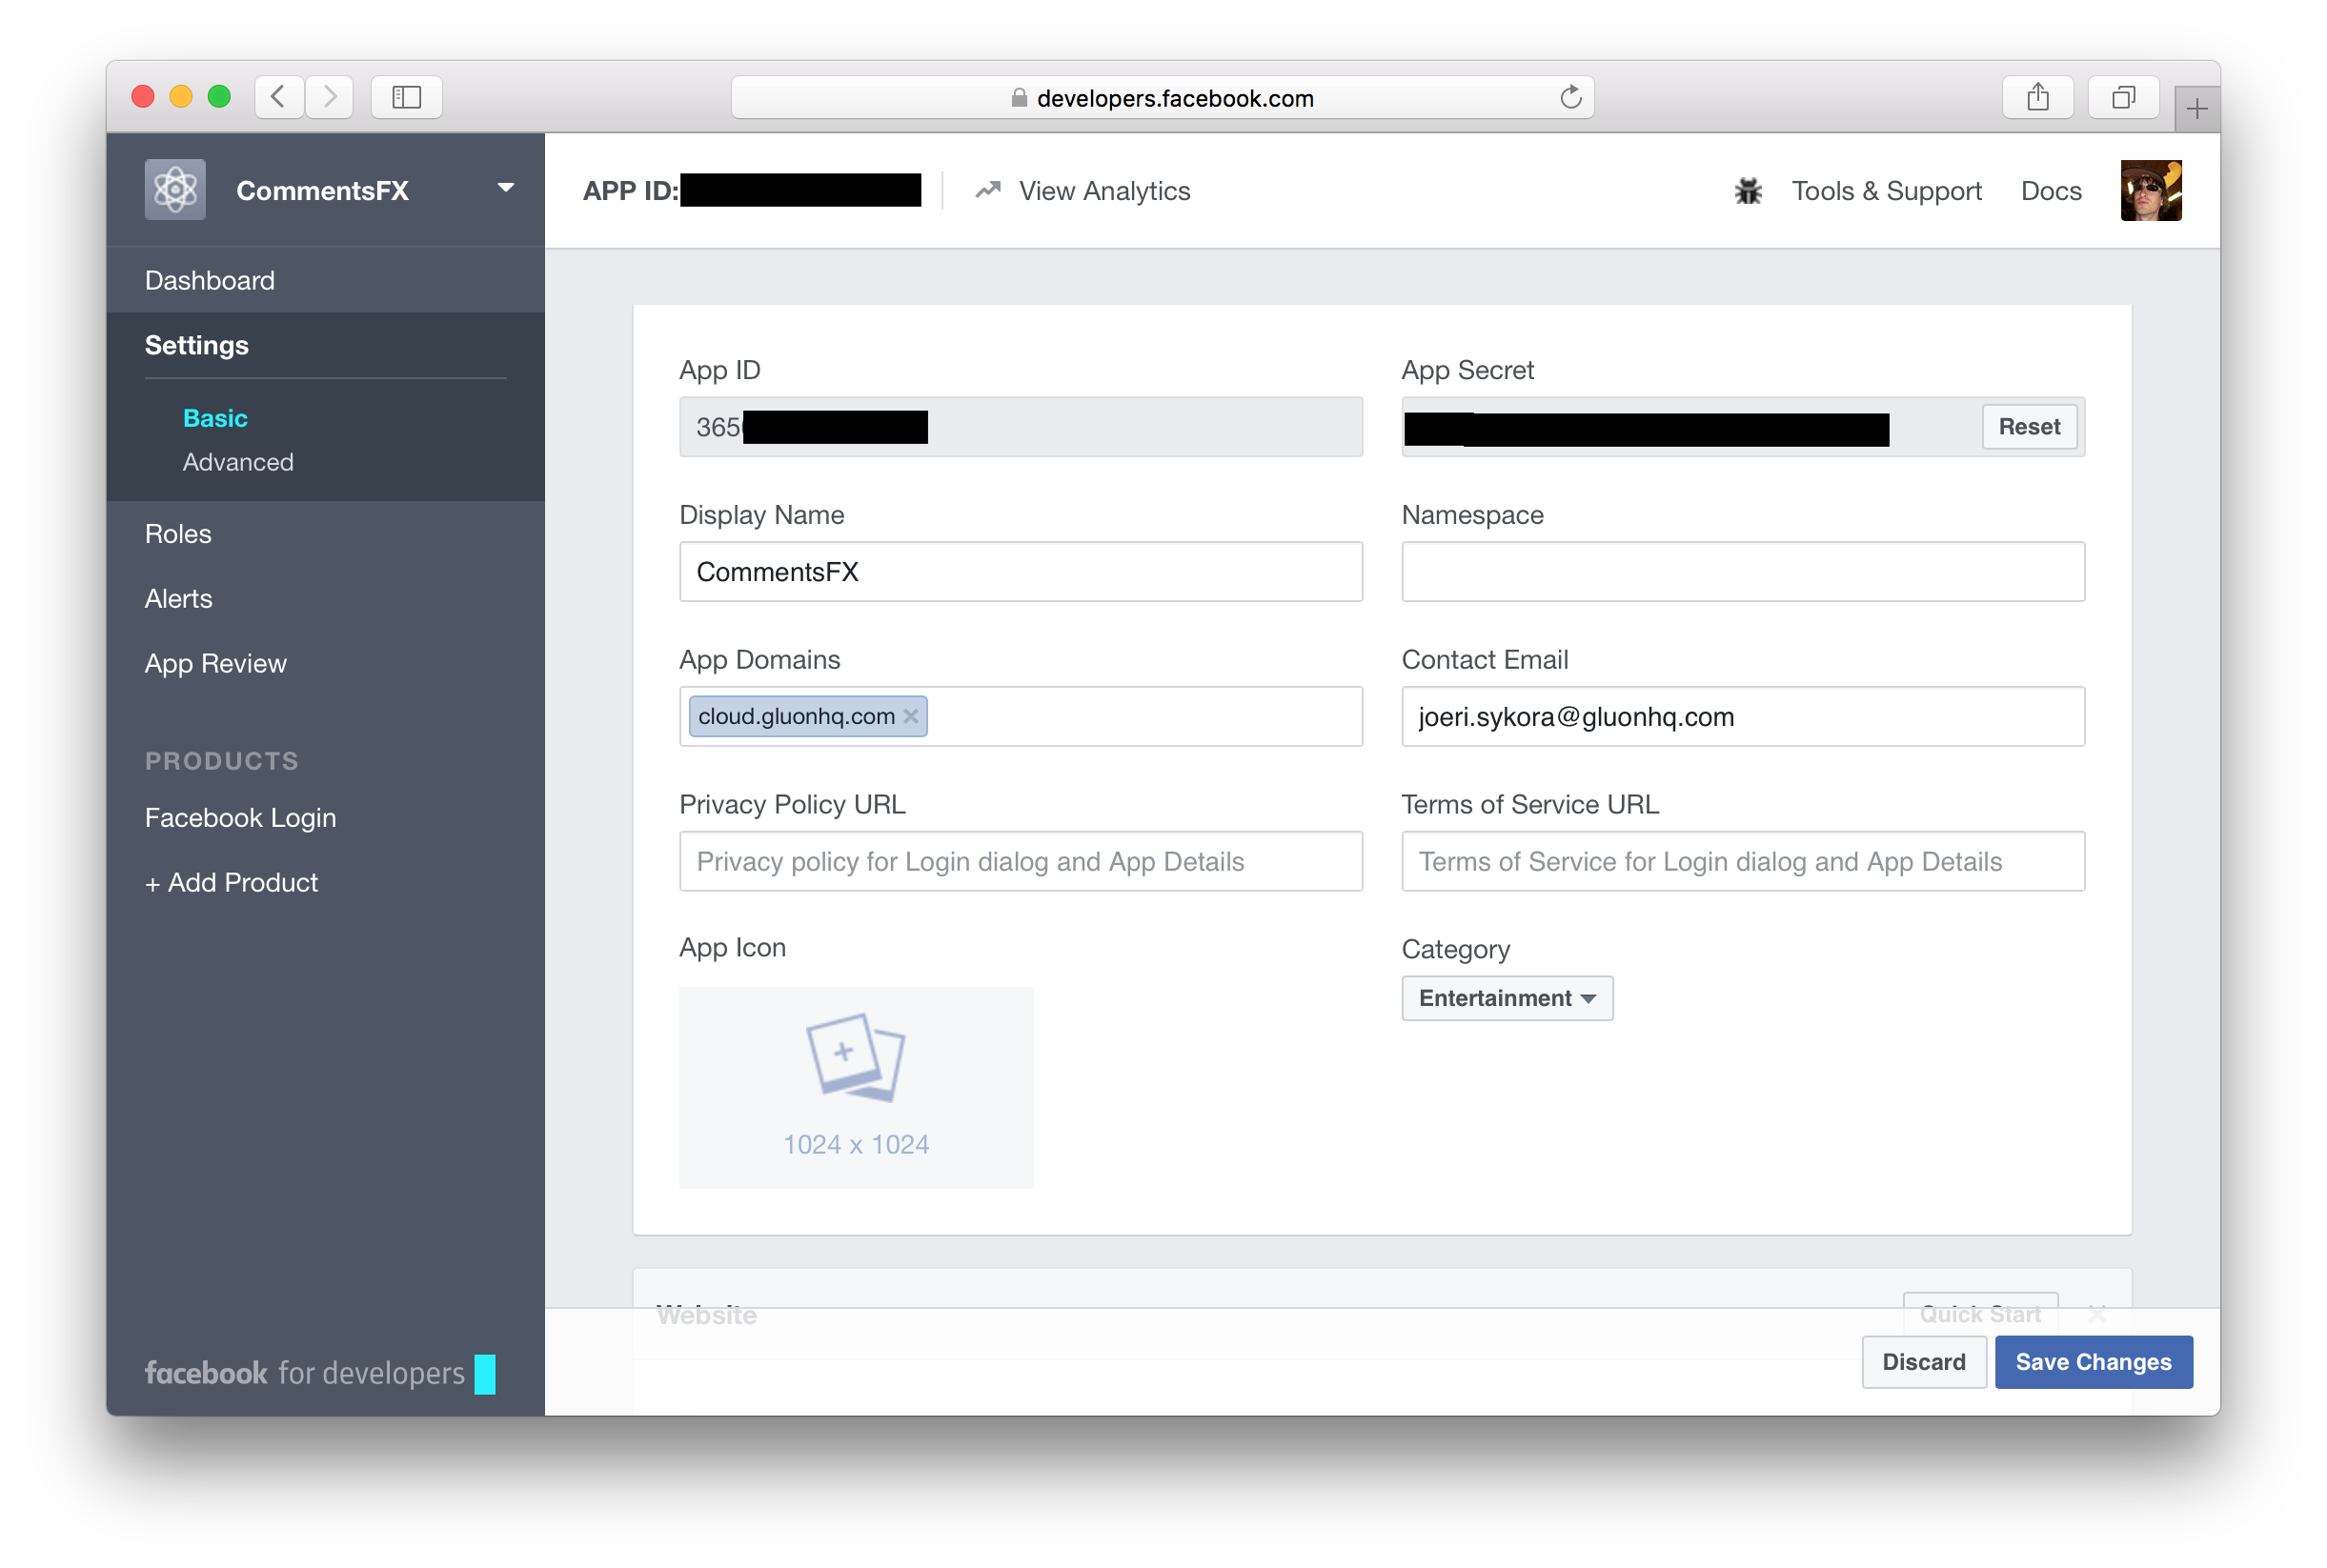
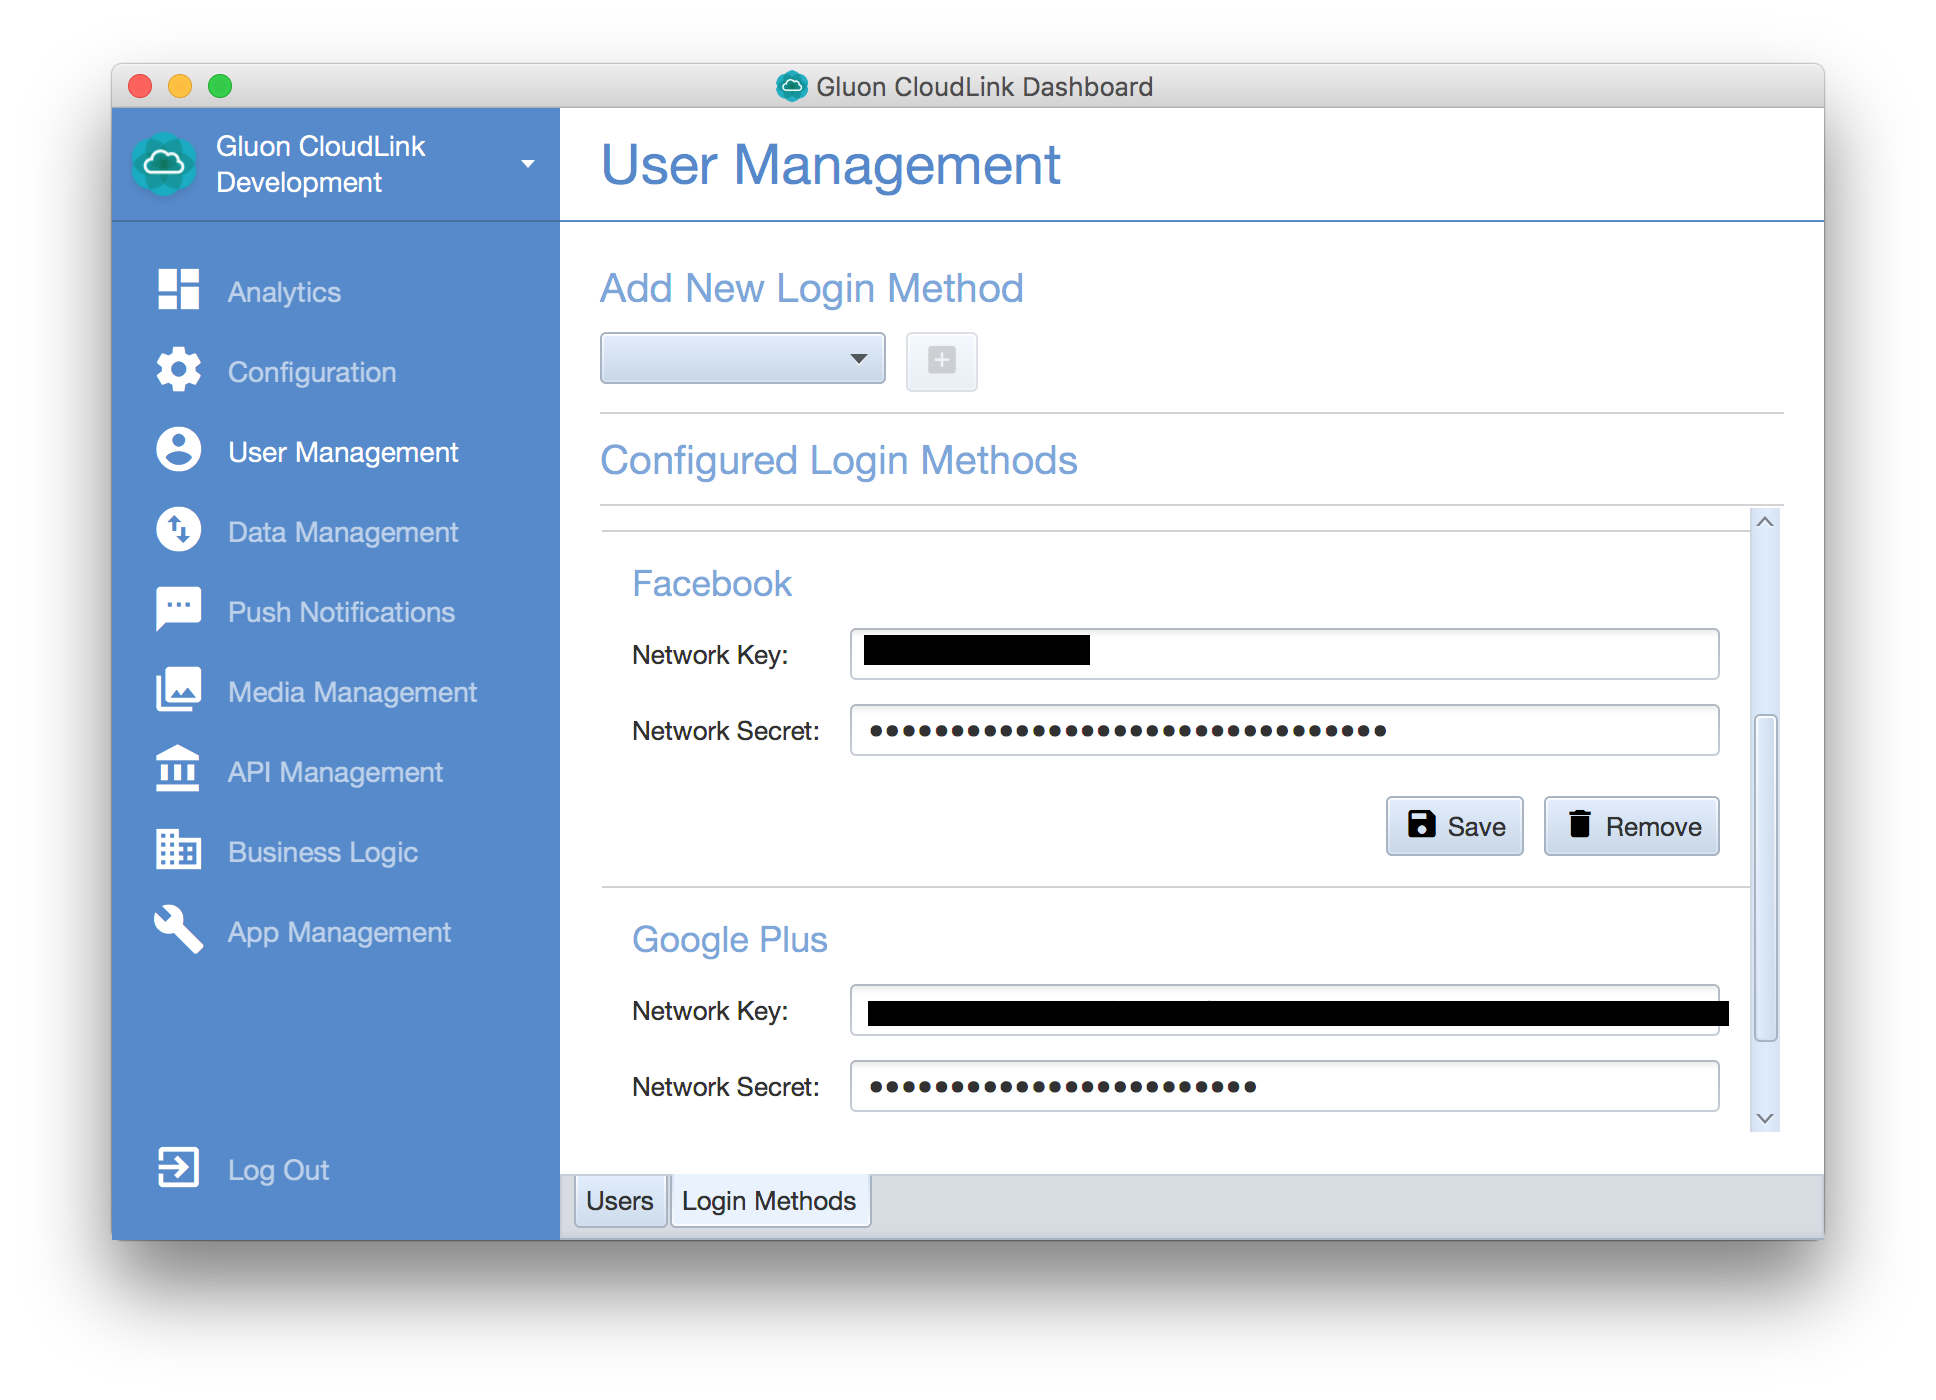
Copy the App Id and the App Secret, and navigate back to the Gluon CloudLink Dashboard application. Add a new
FACEBOOK login method from the drop-down list at the top. Paste the App Id and App Secret in the Network Key and
Network Secret fields respectively. Don’t forget to click the Save button to apply your changes.
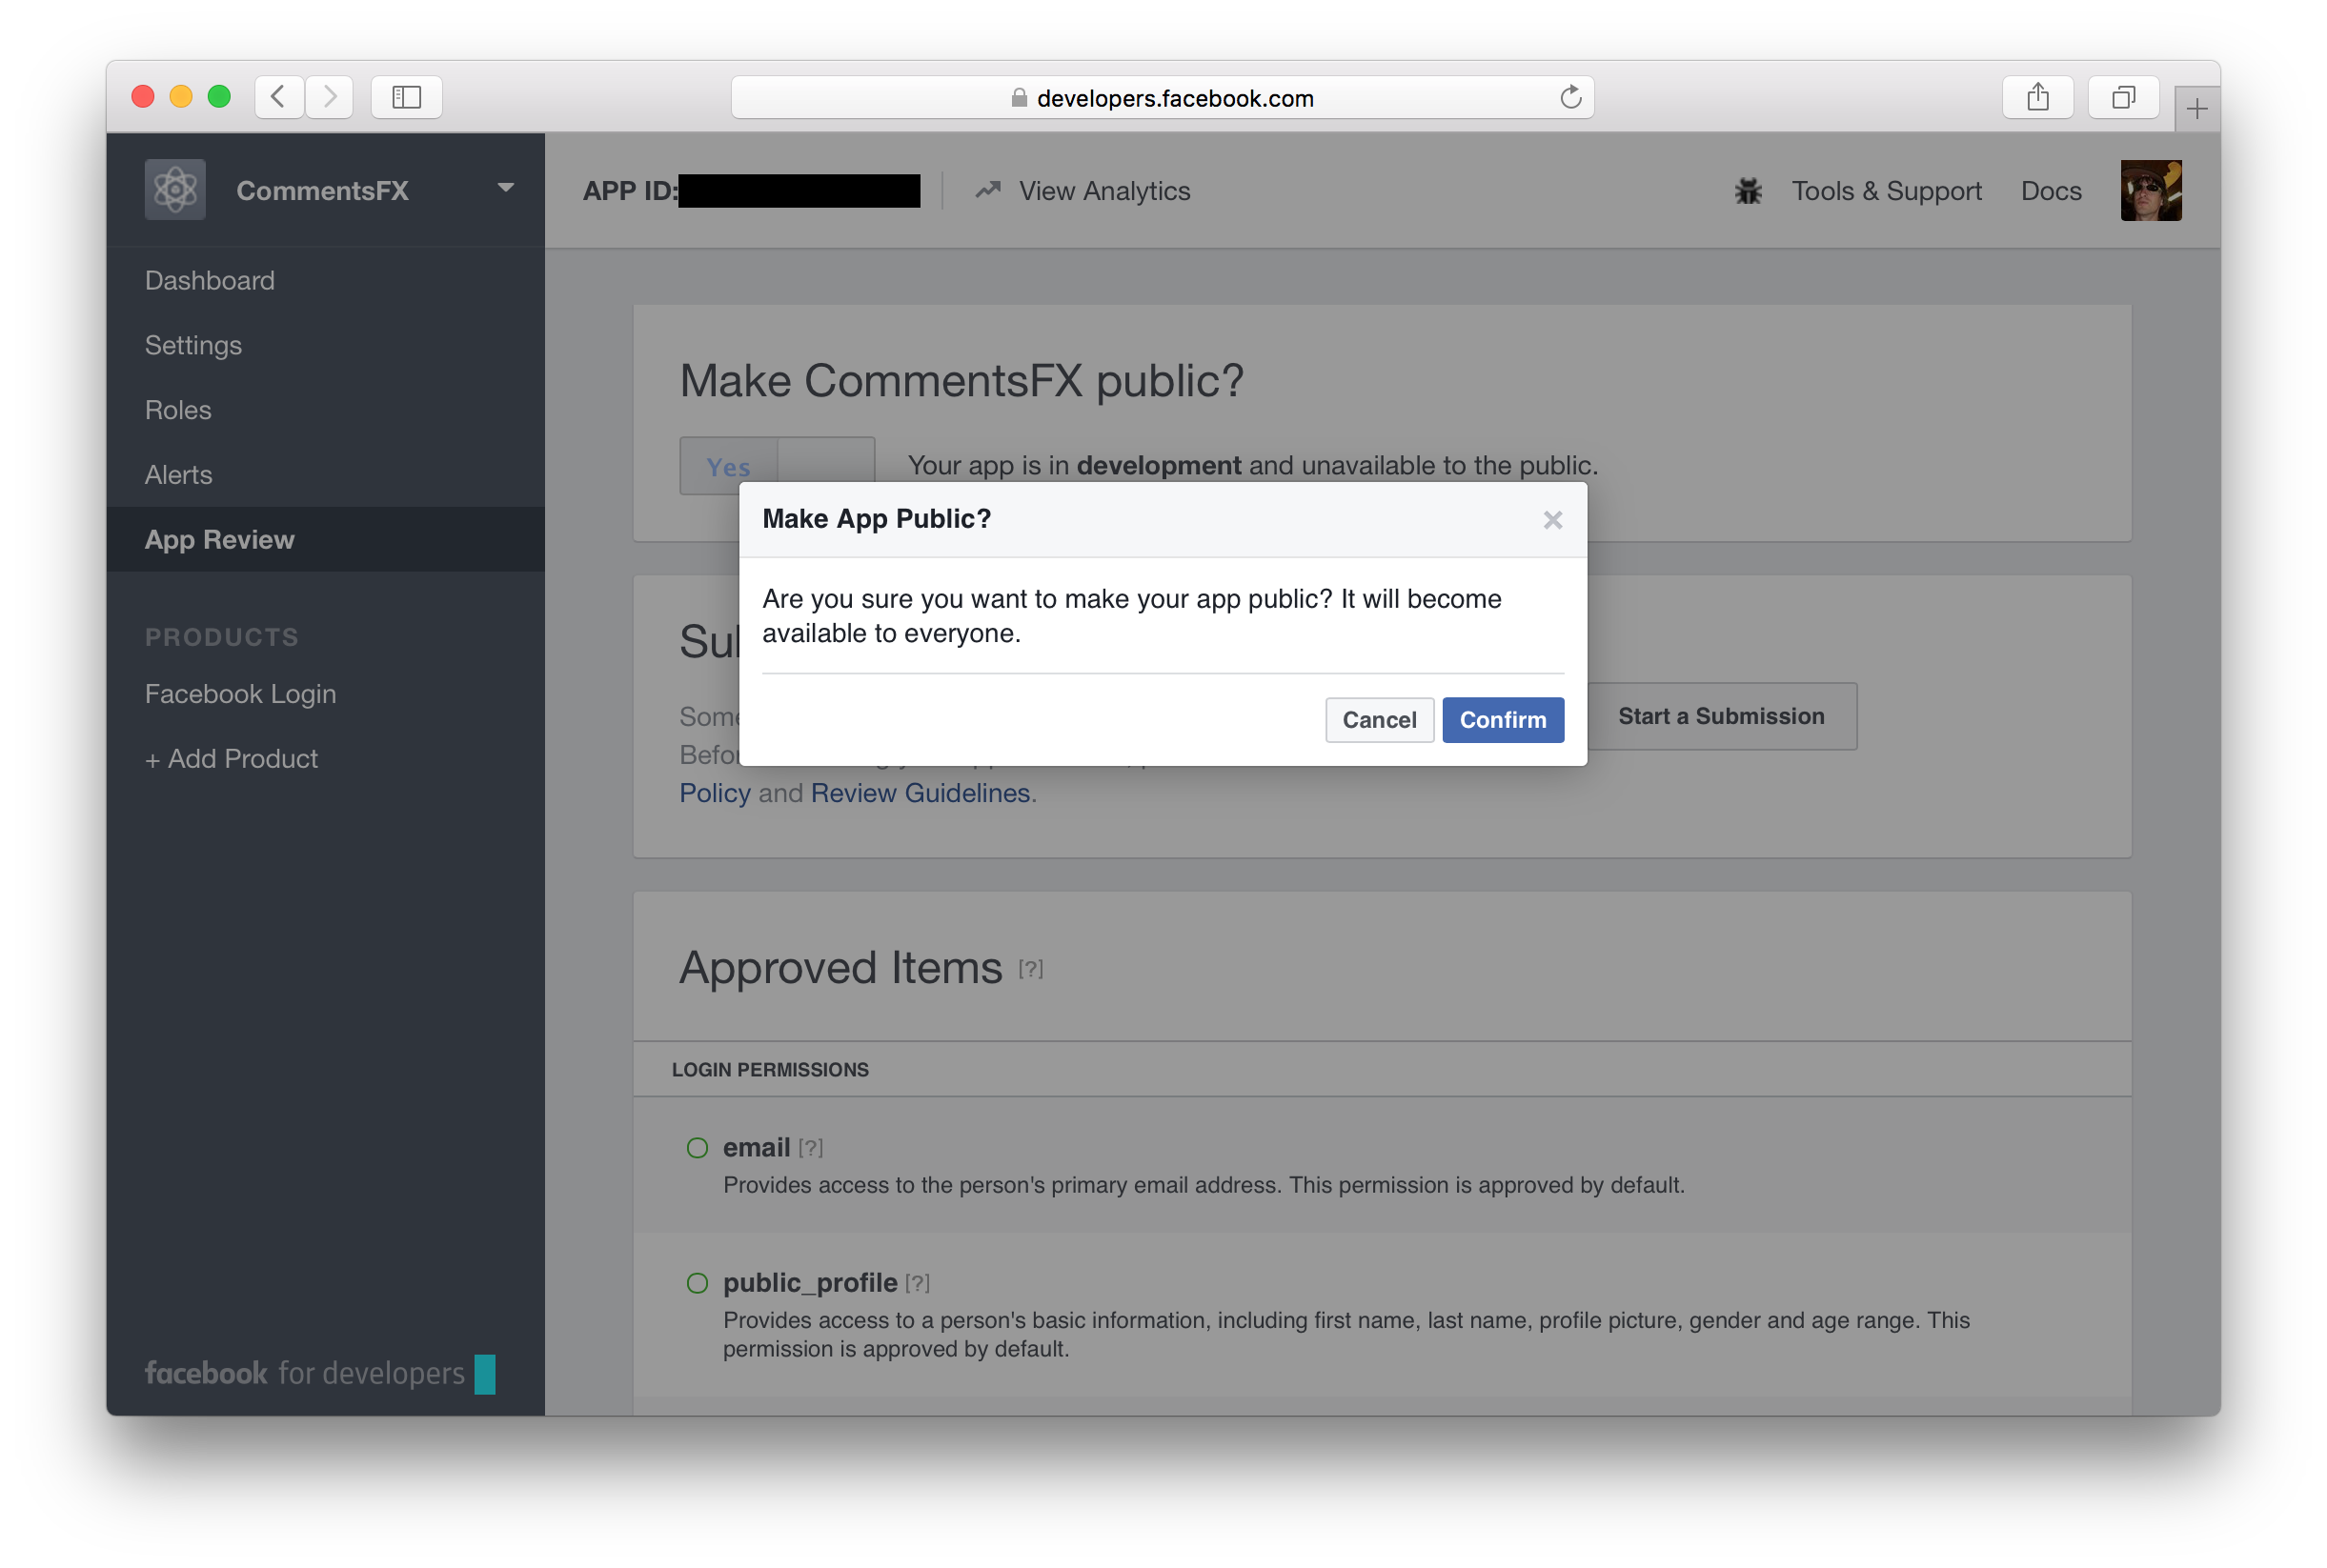
Finally, make sure that you make your Facebook application public. Click the App Review menu item on the
left. Then click the toggle button and confirm the dialog that pops up to make the application public.
Google Authentication
To get started with Google authentication, you first need to create a new Google application.
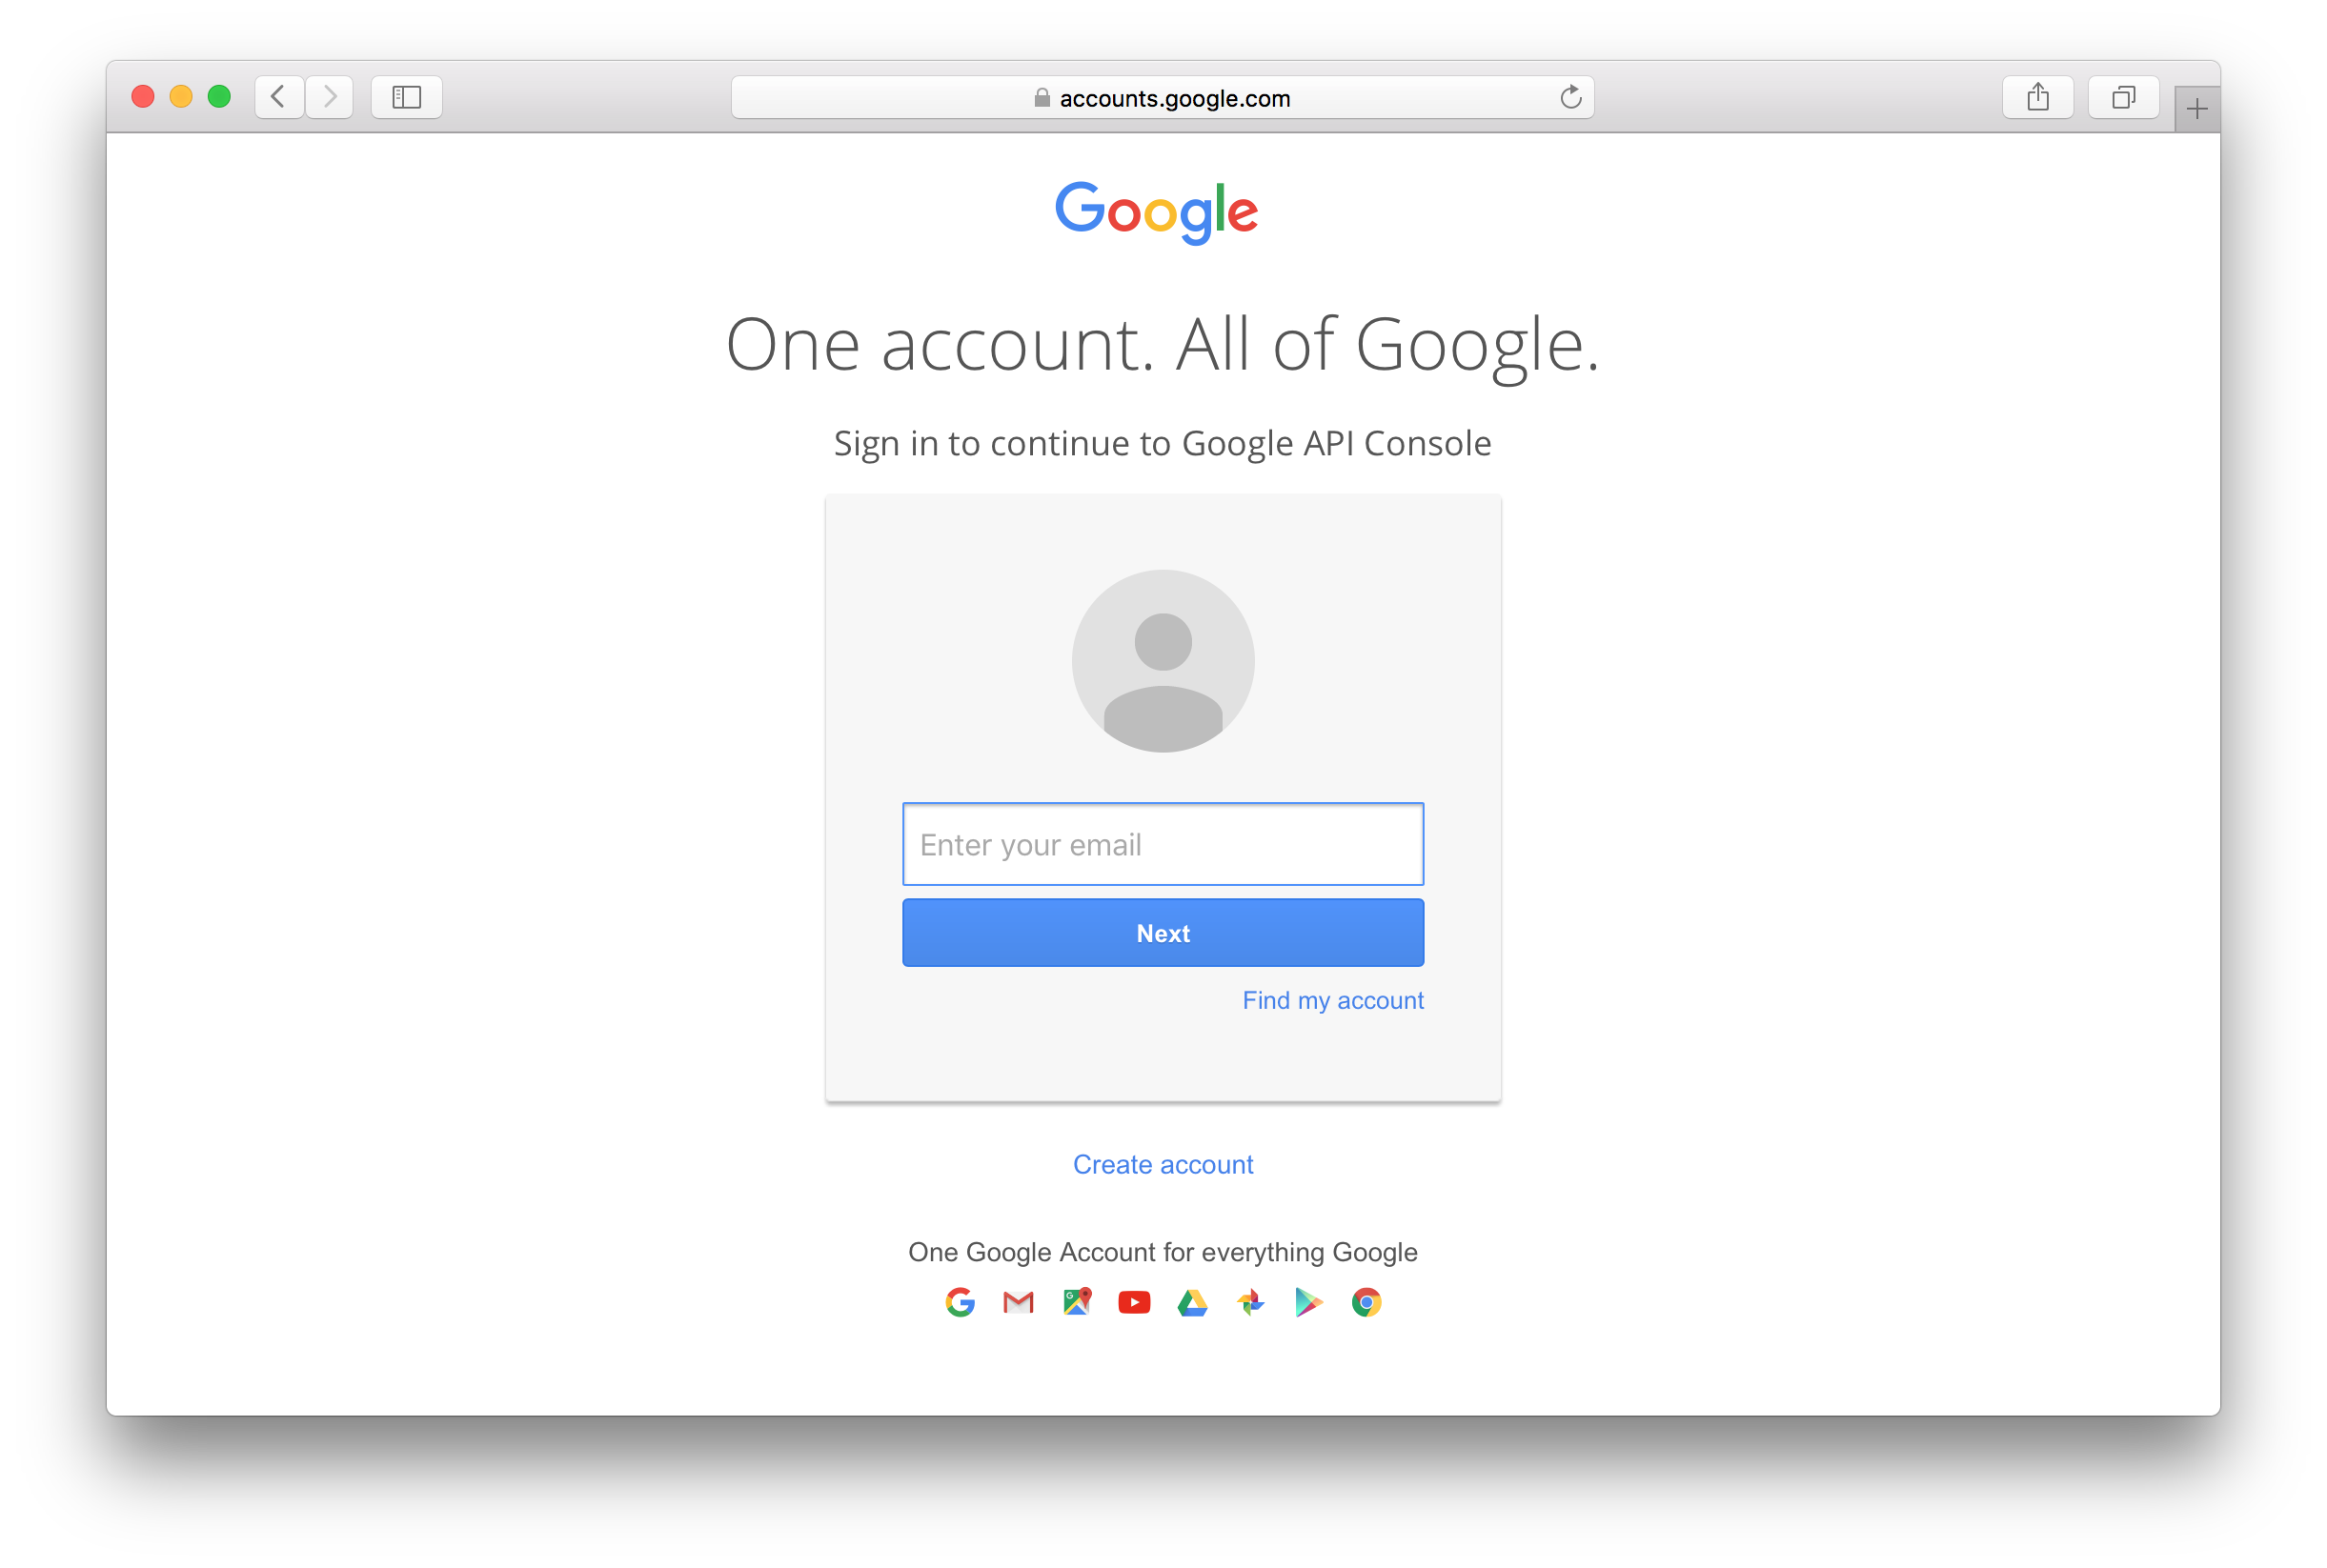
First, sign in with your Google account
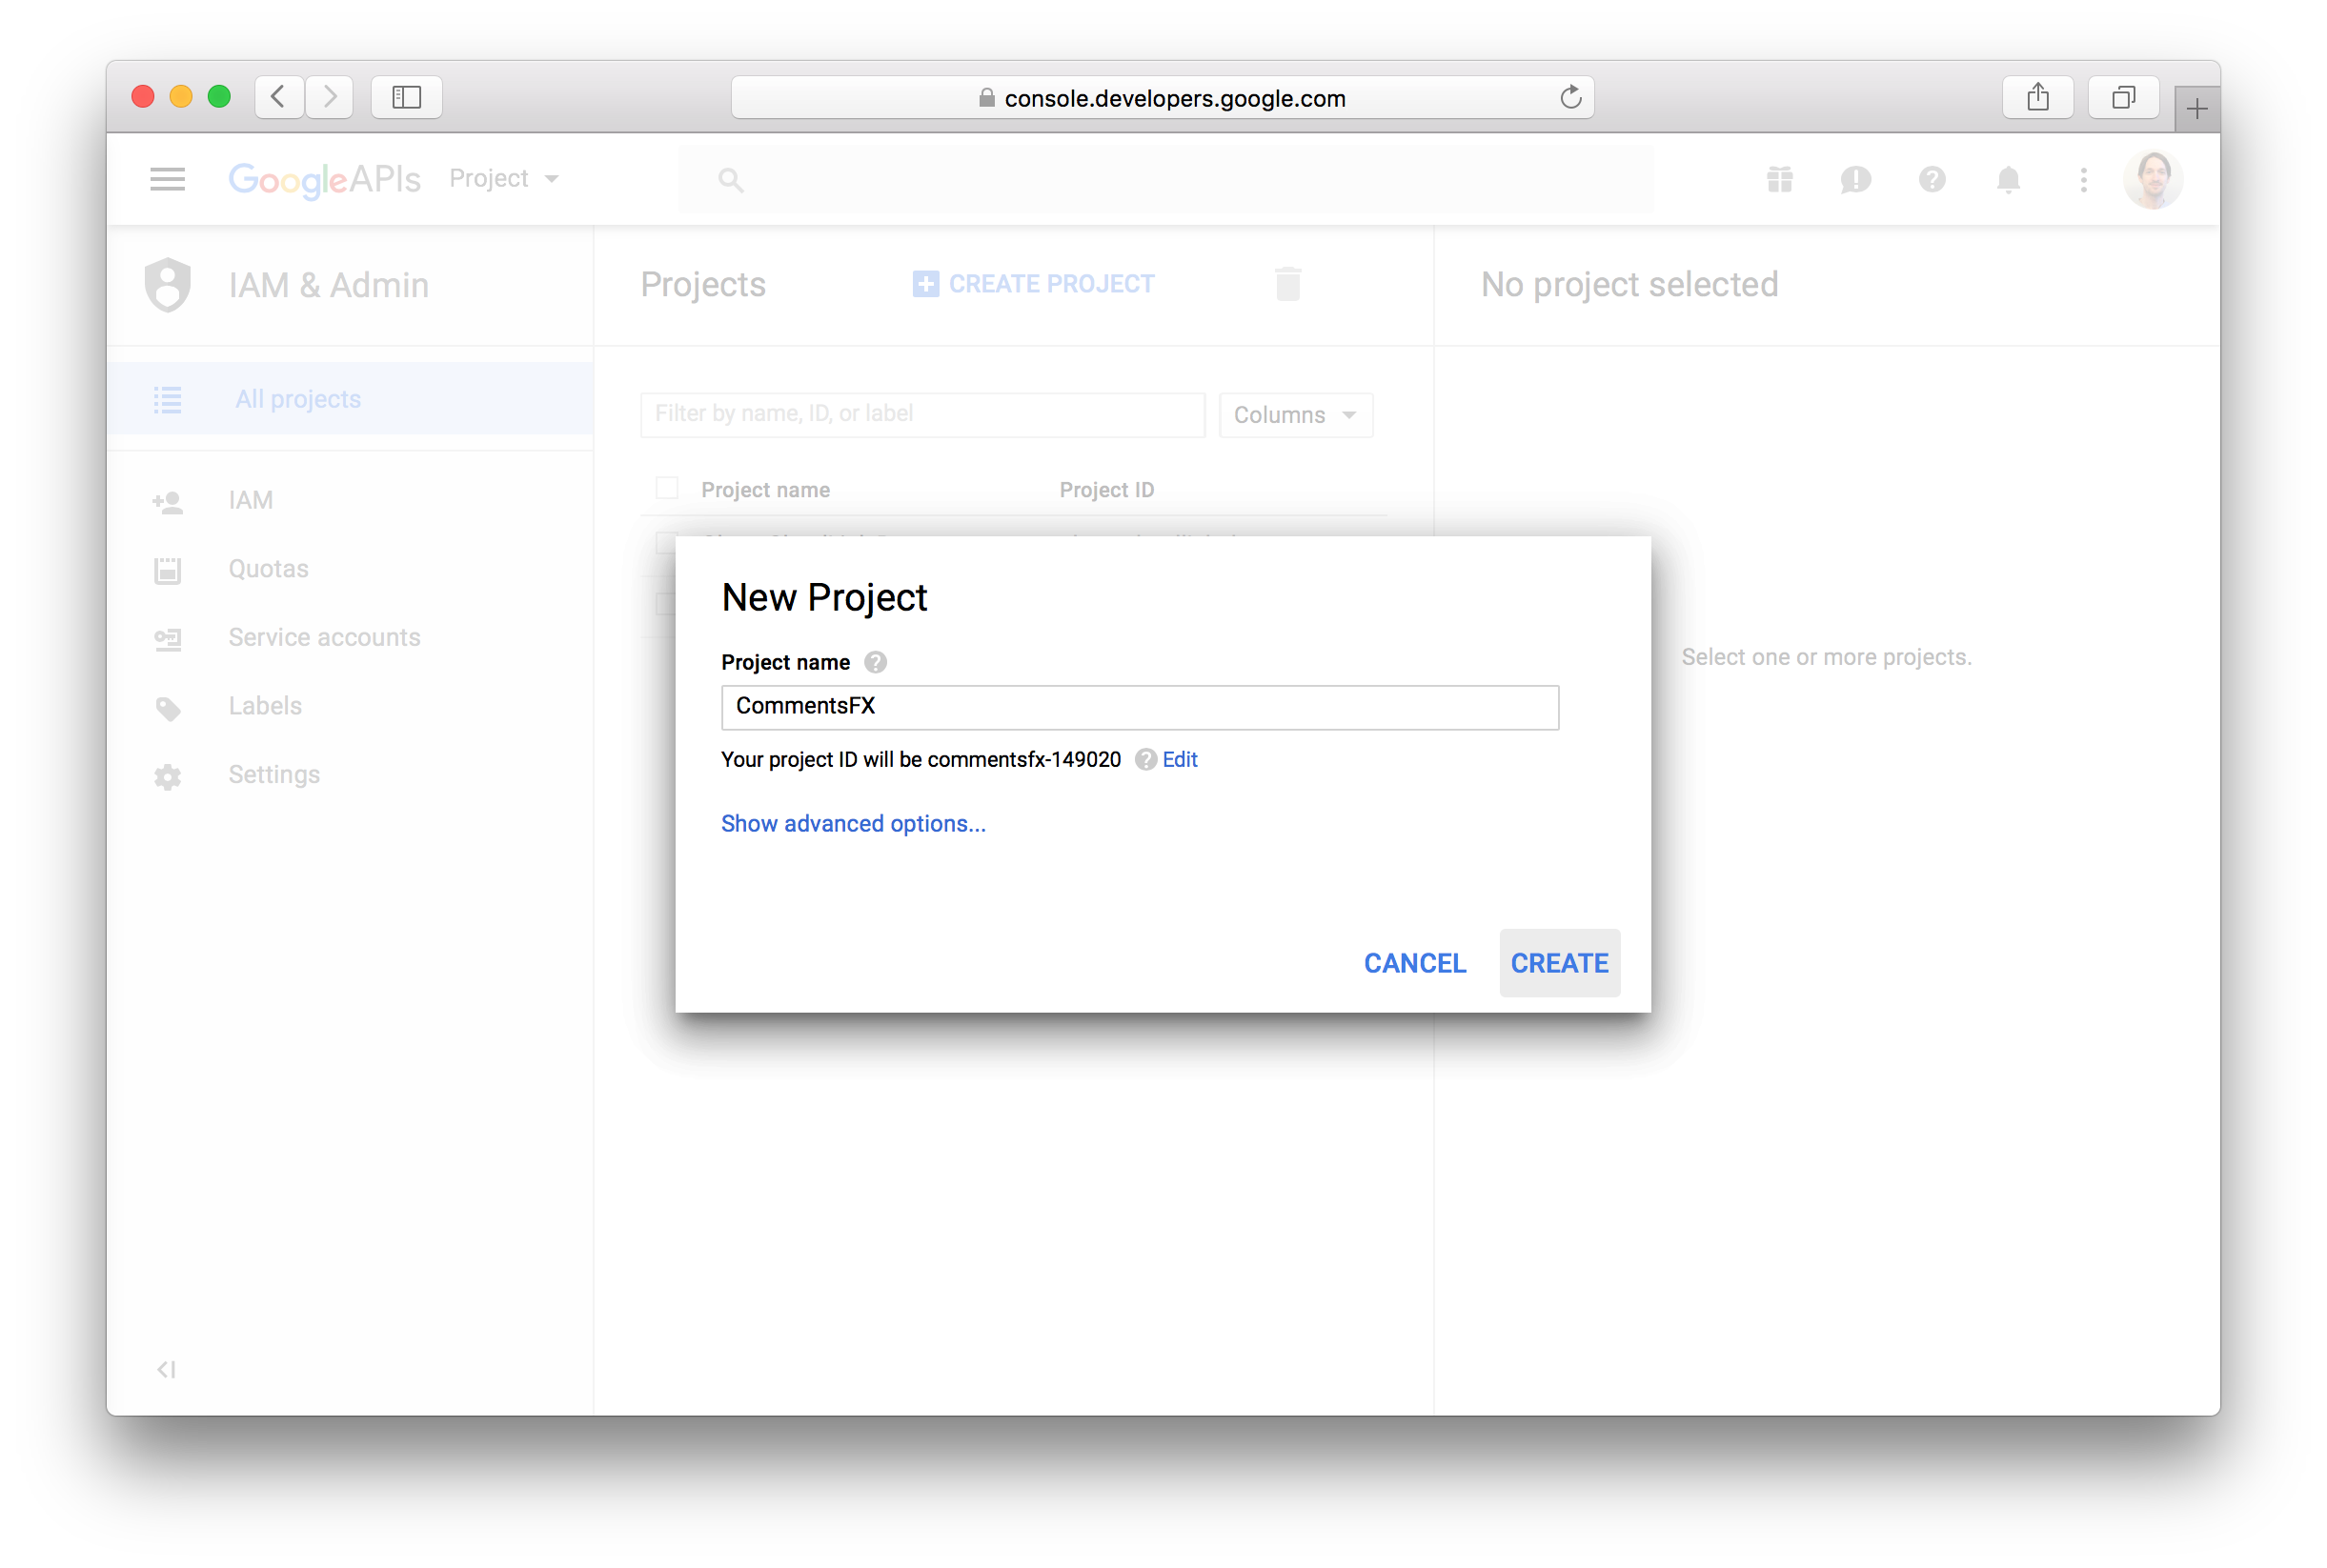
Click the Create Project button at the top of the page:
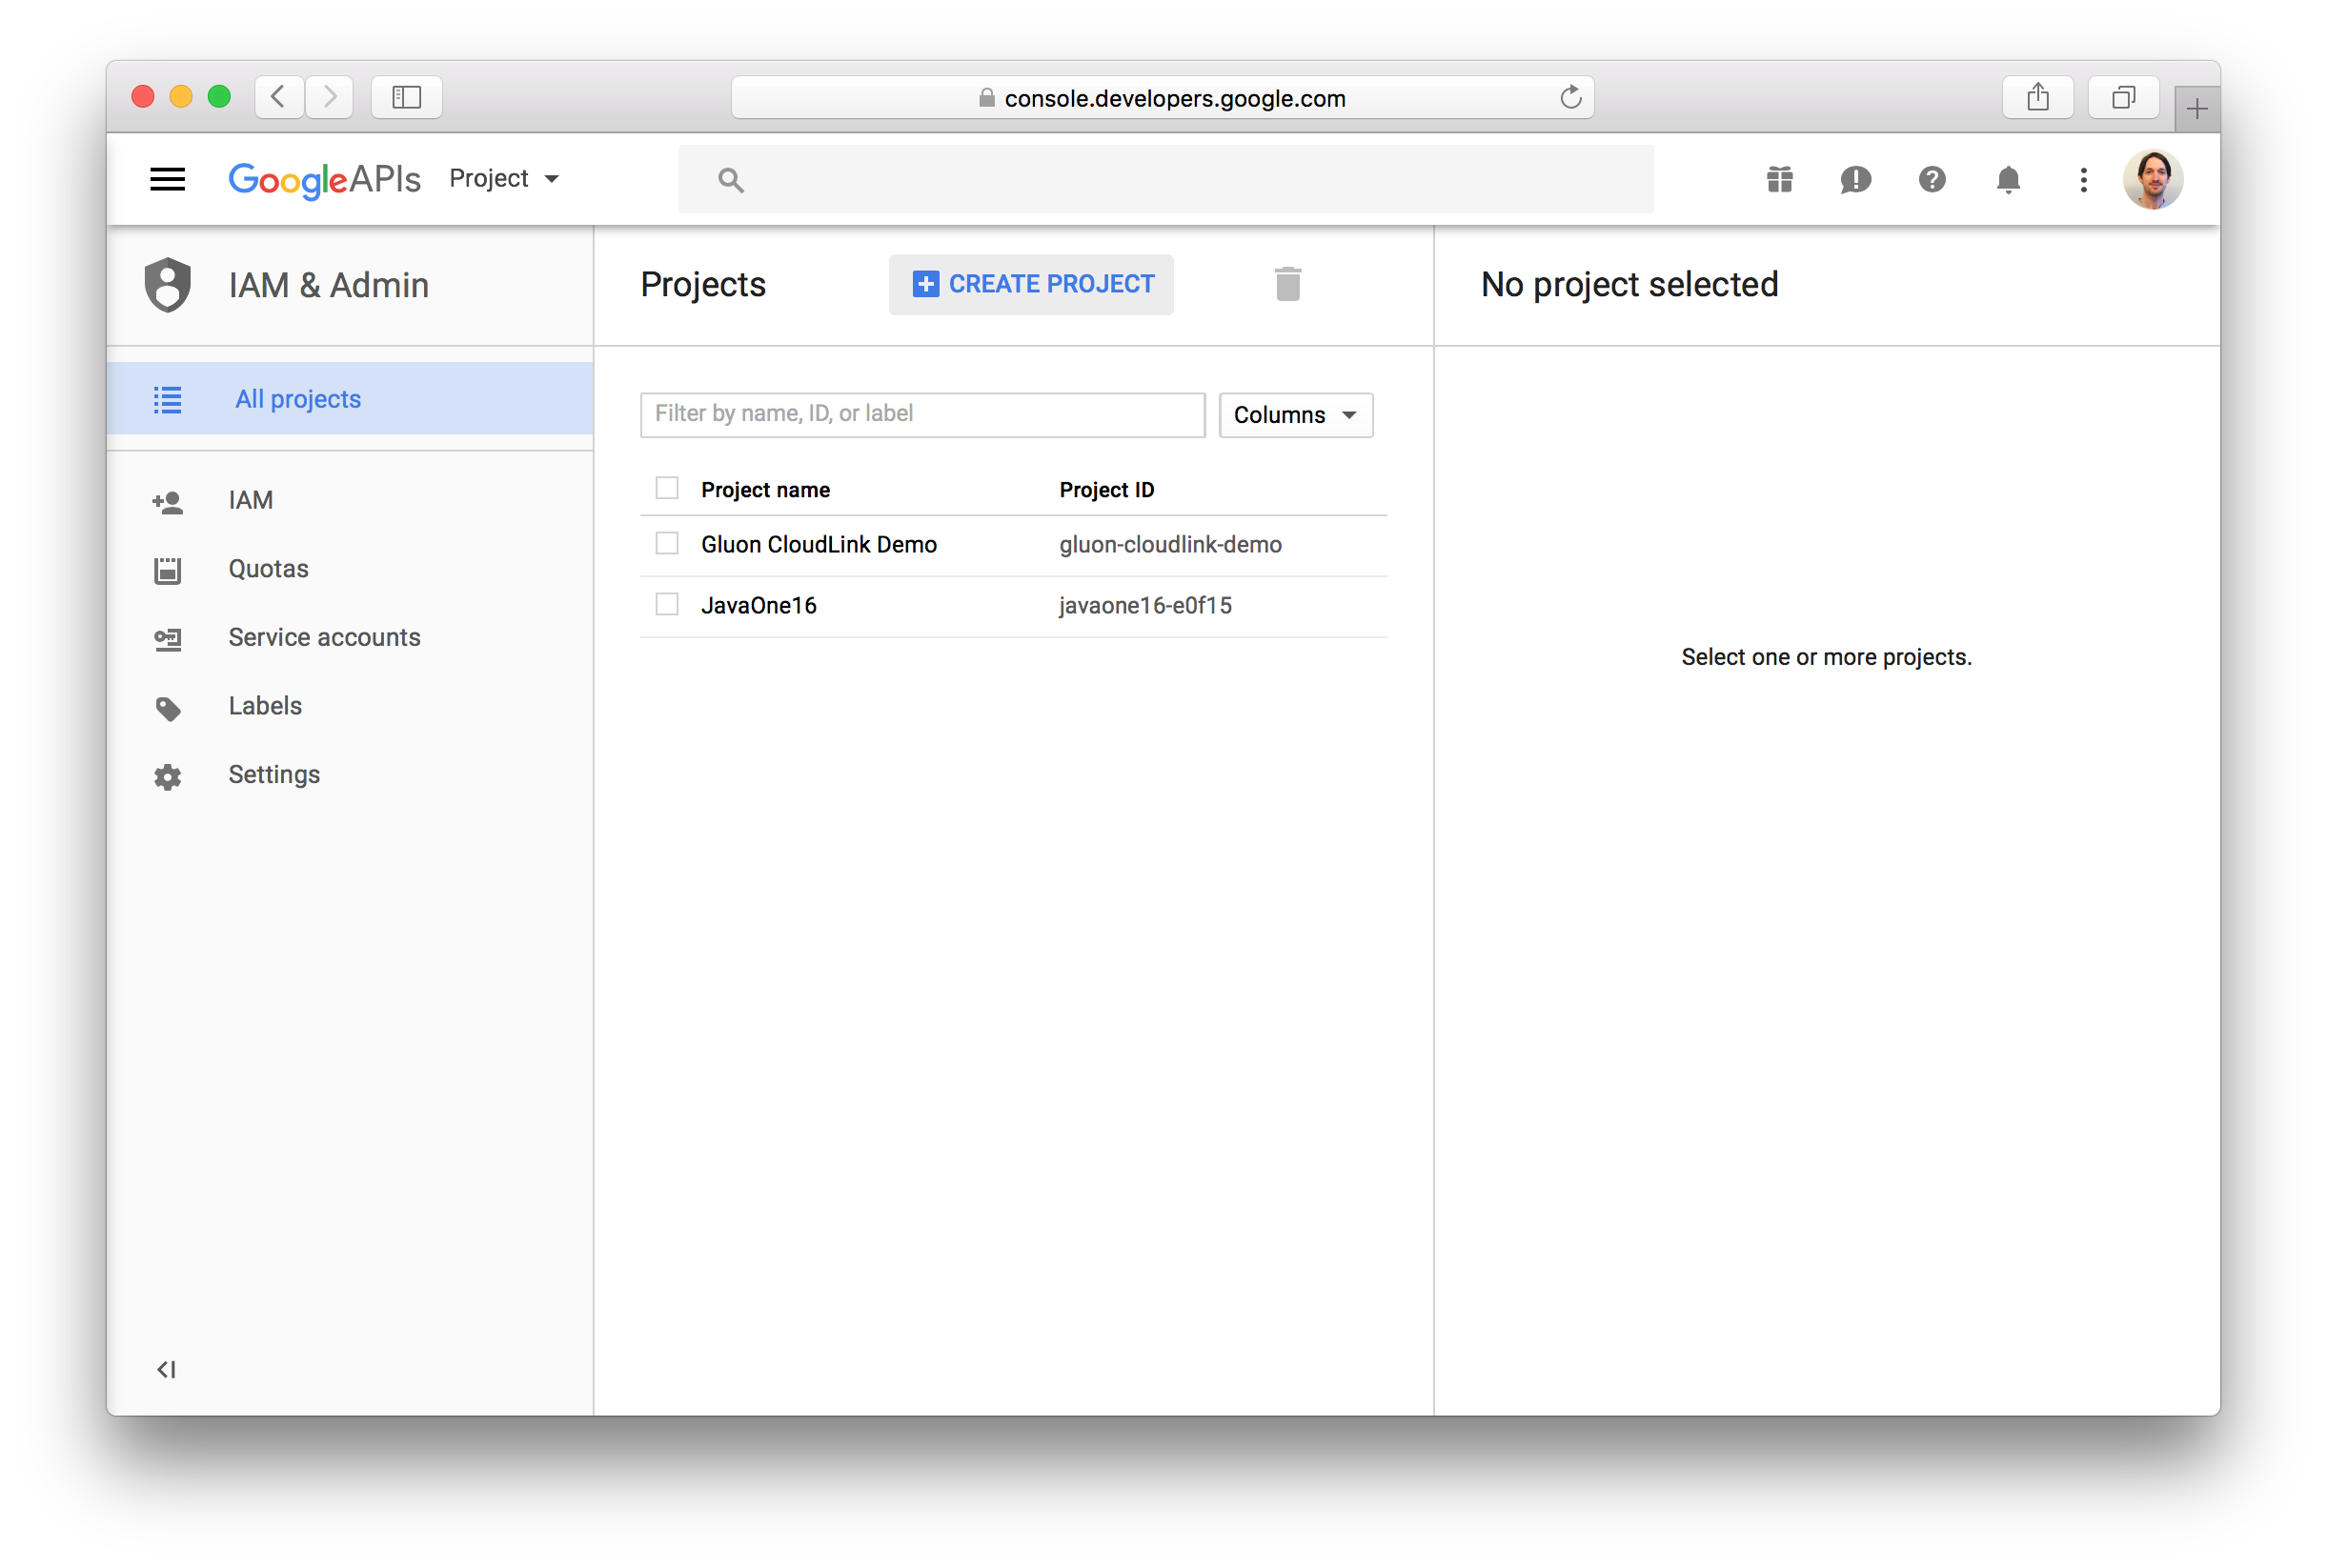
Fill in the name of the project and proceed by clicking the Create button:
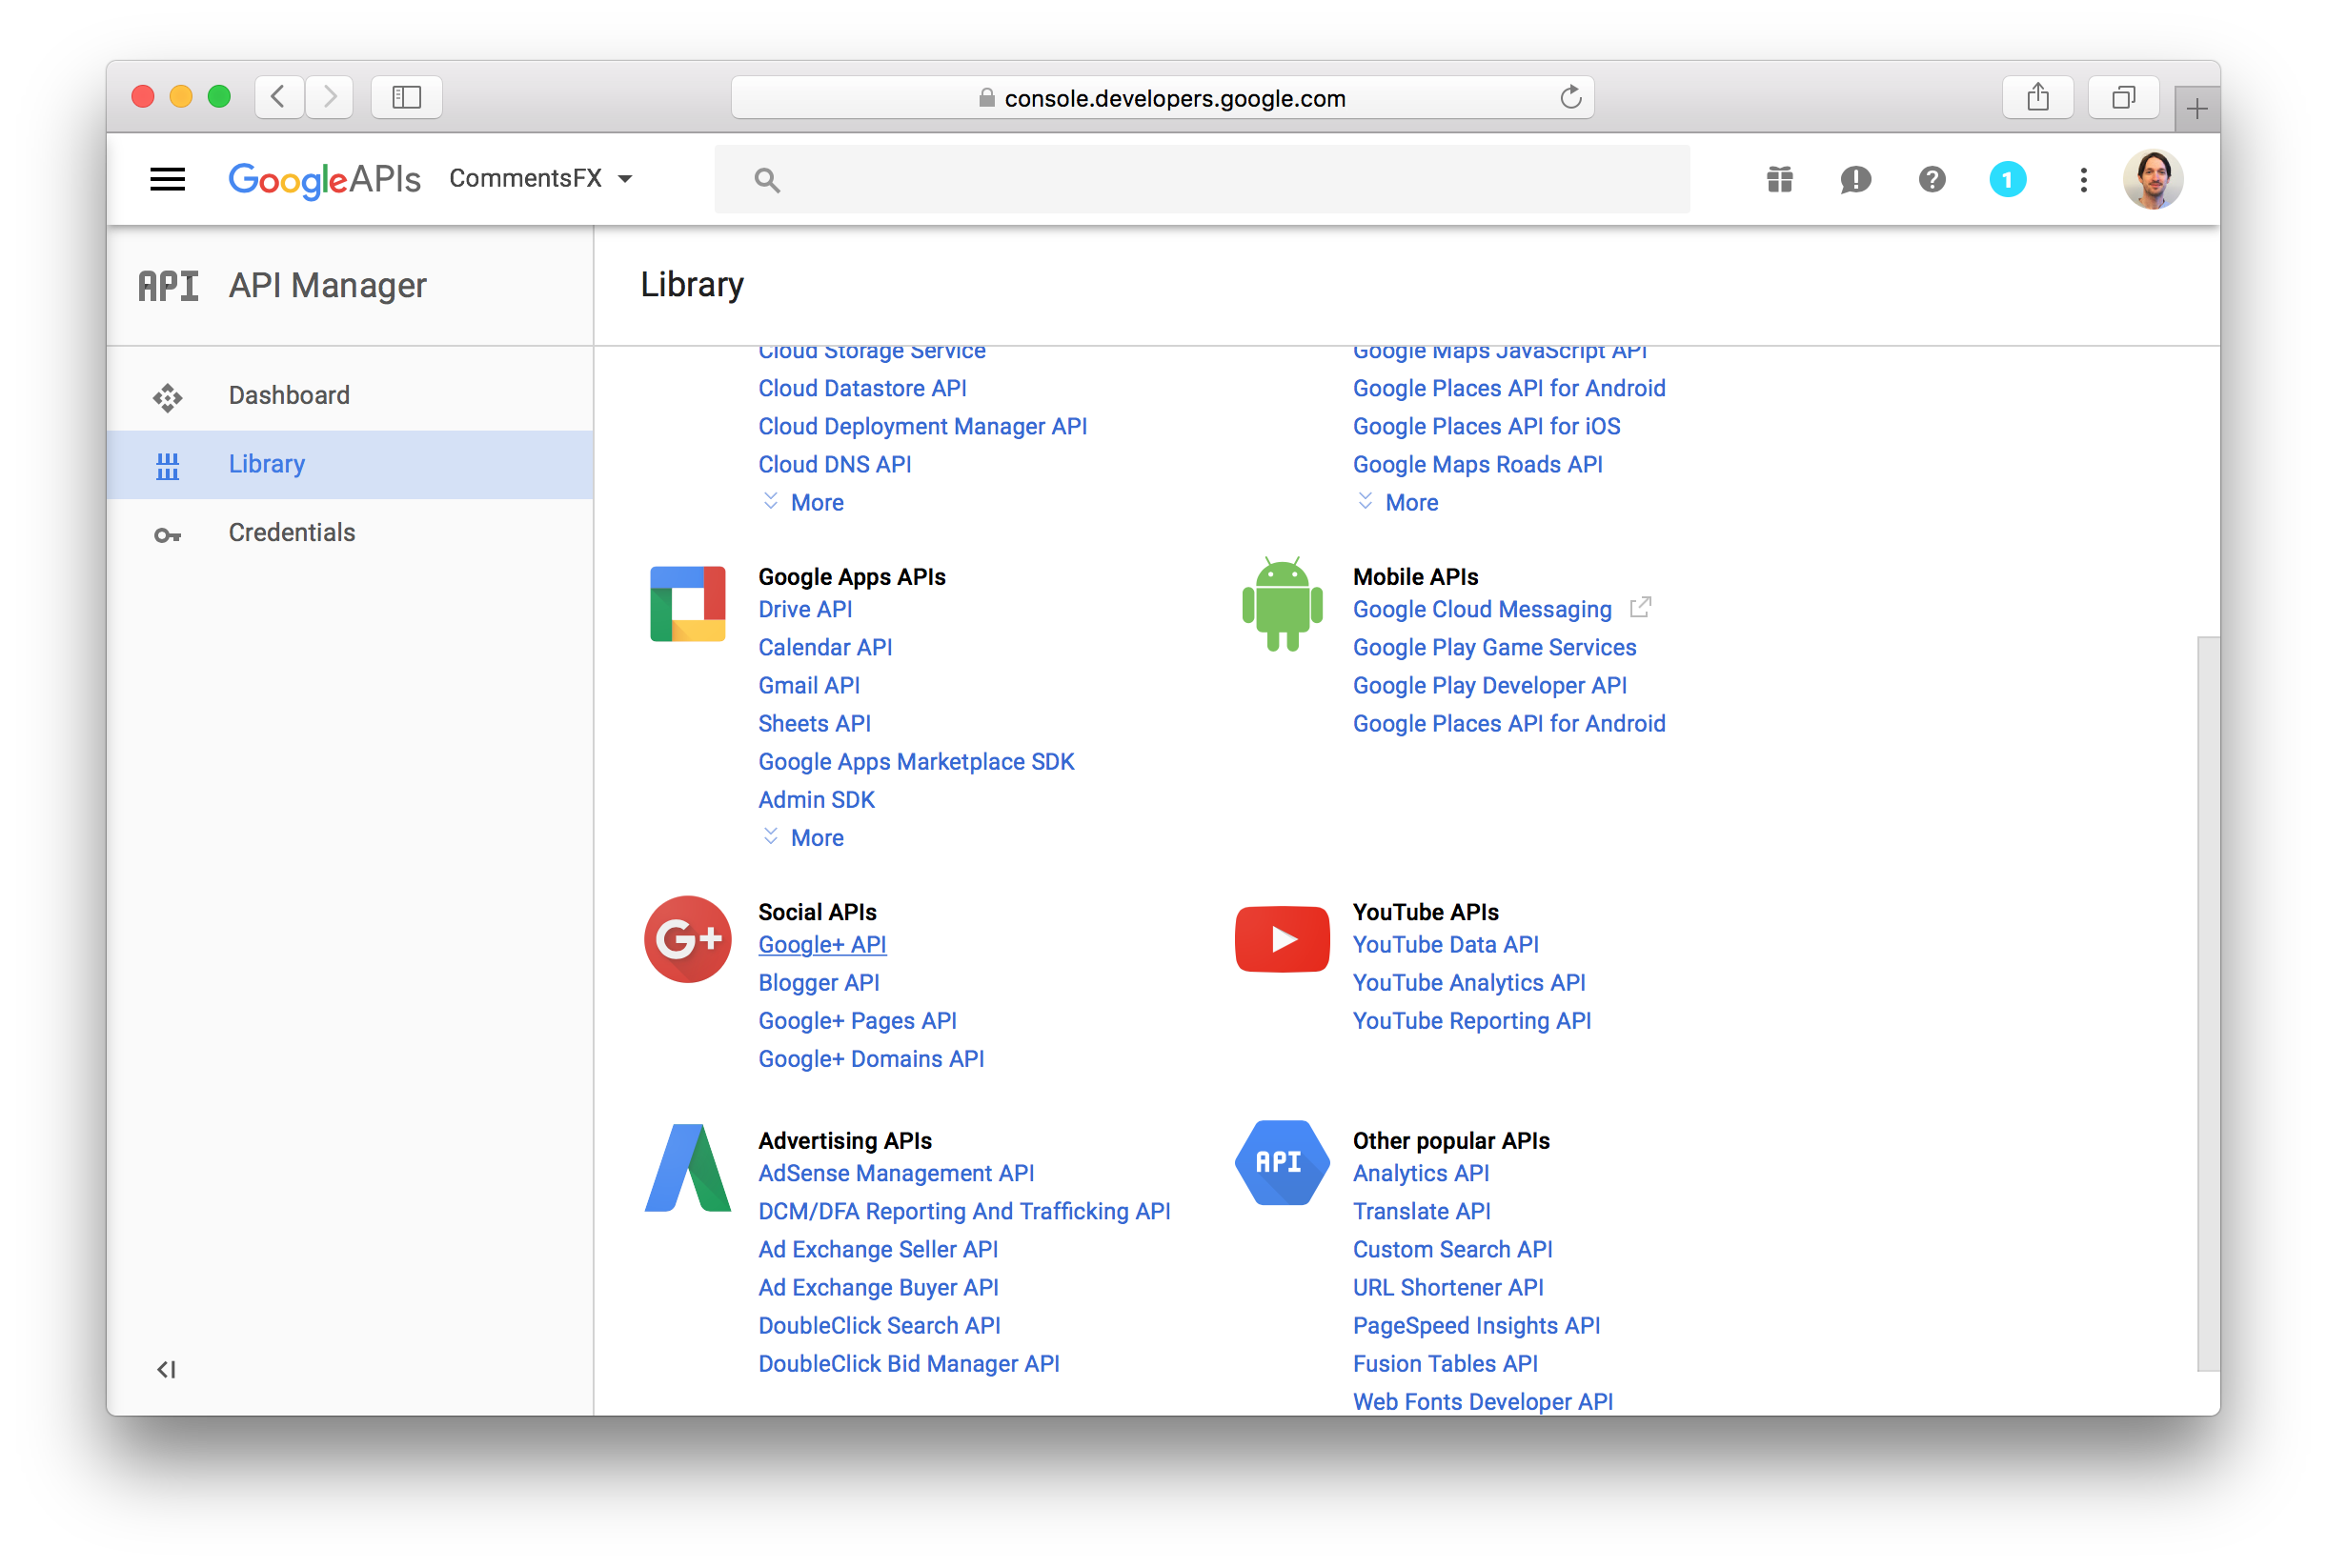
Wait a bit until your application is created. From the list of APIs, choose the Google+ API under the Social APIs
category.
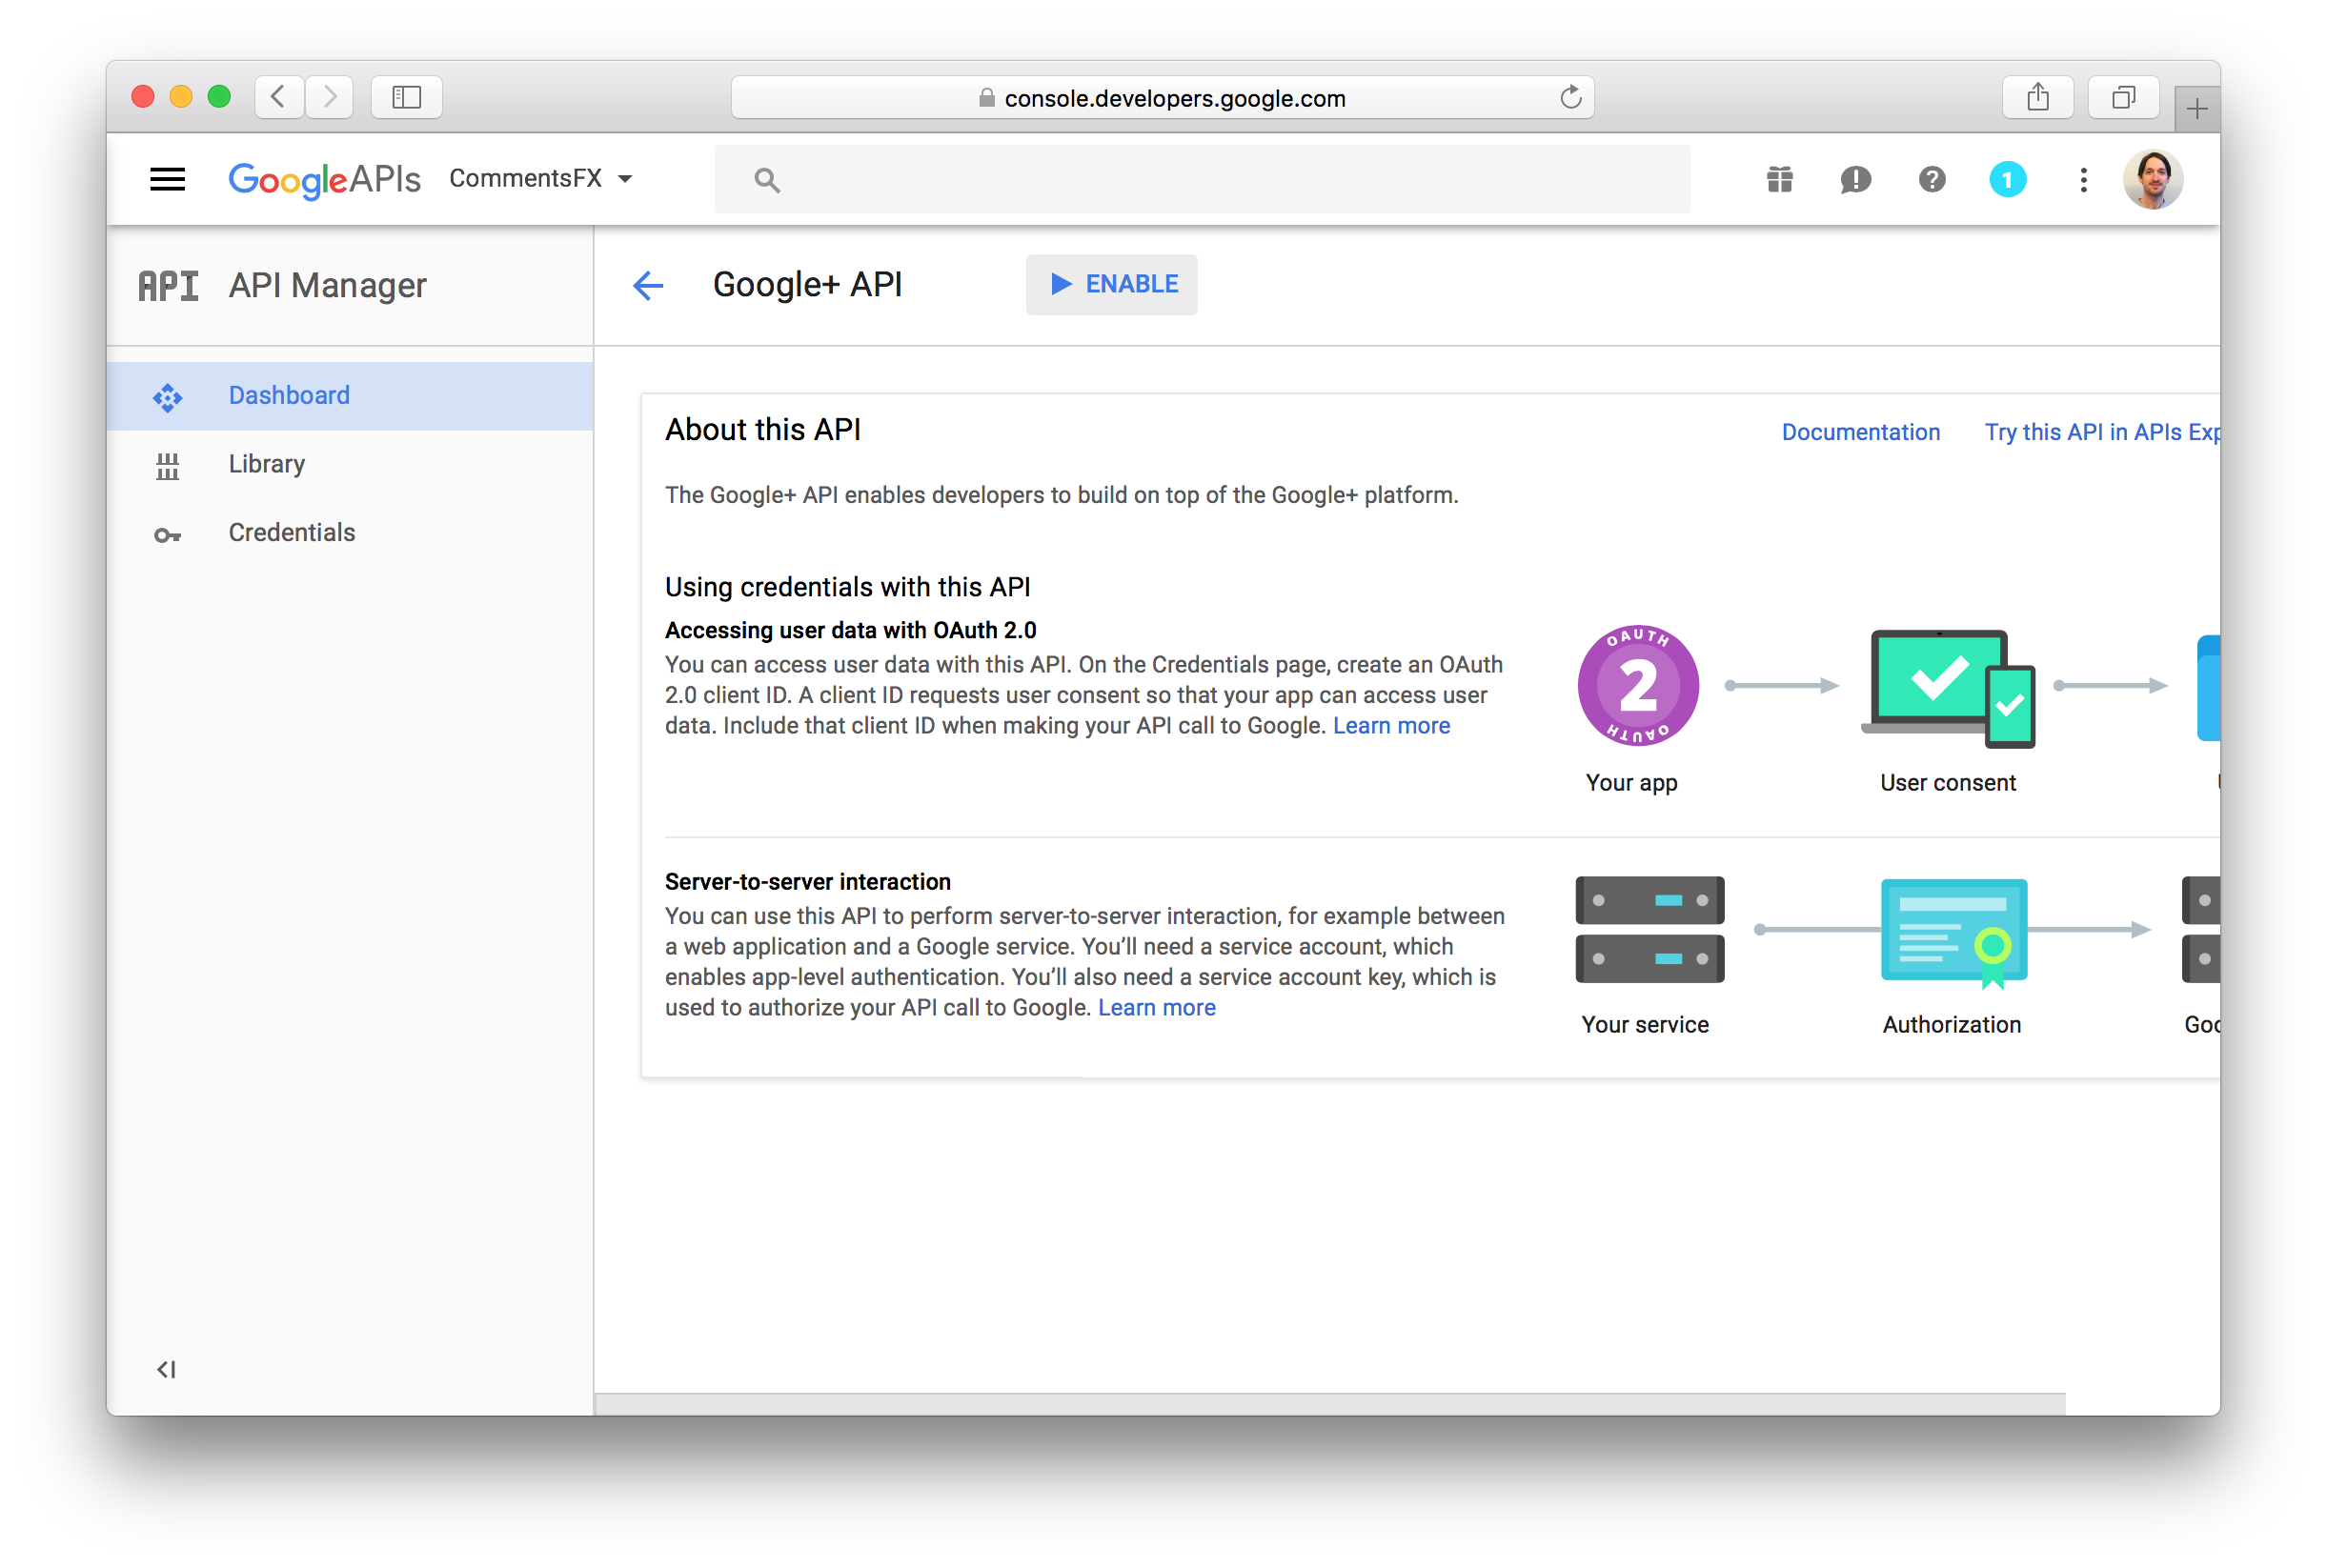
Enable the API for your application by clicking the Enable button at the top.
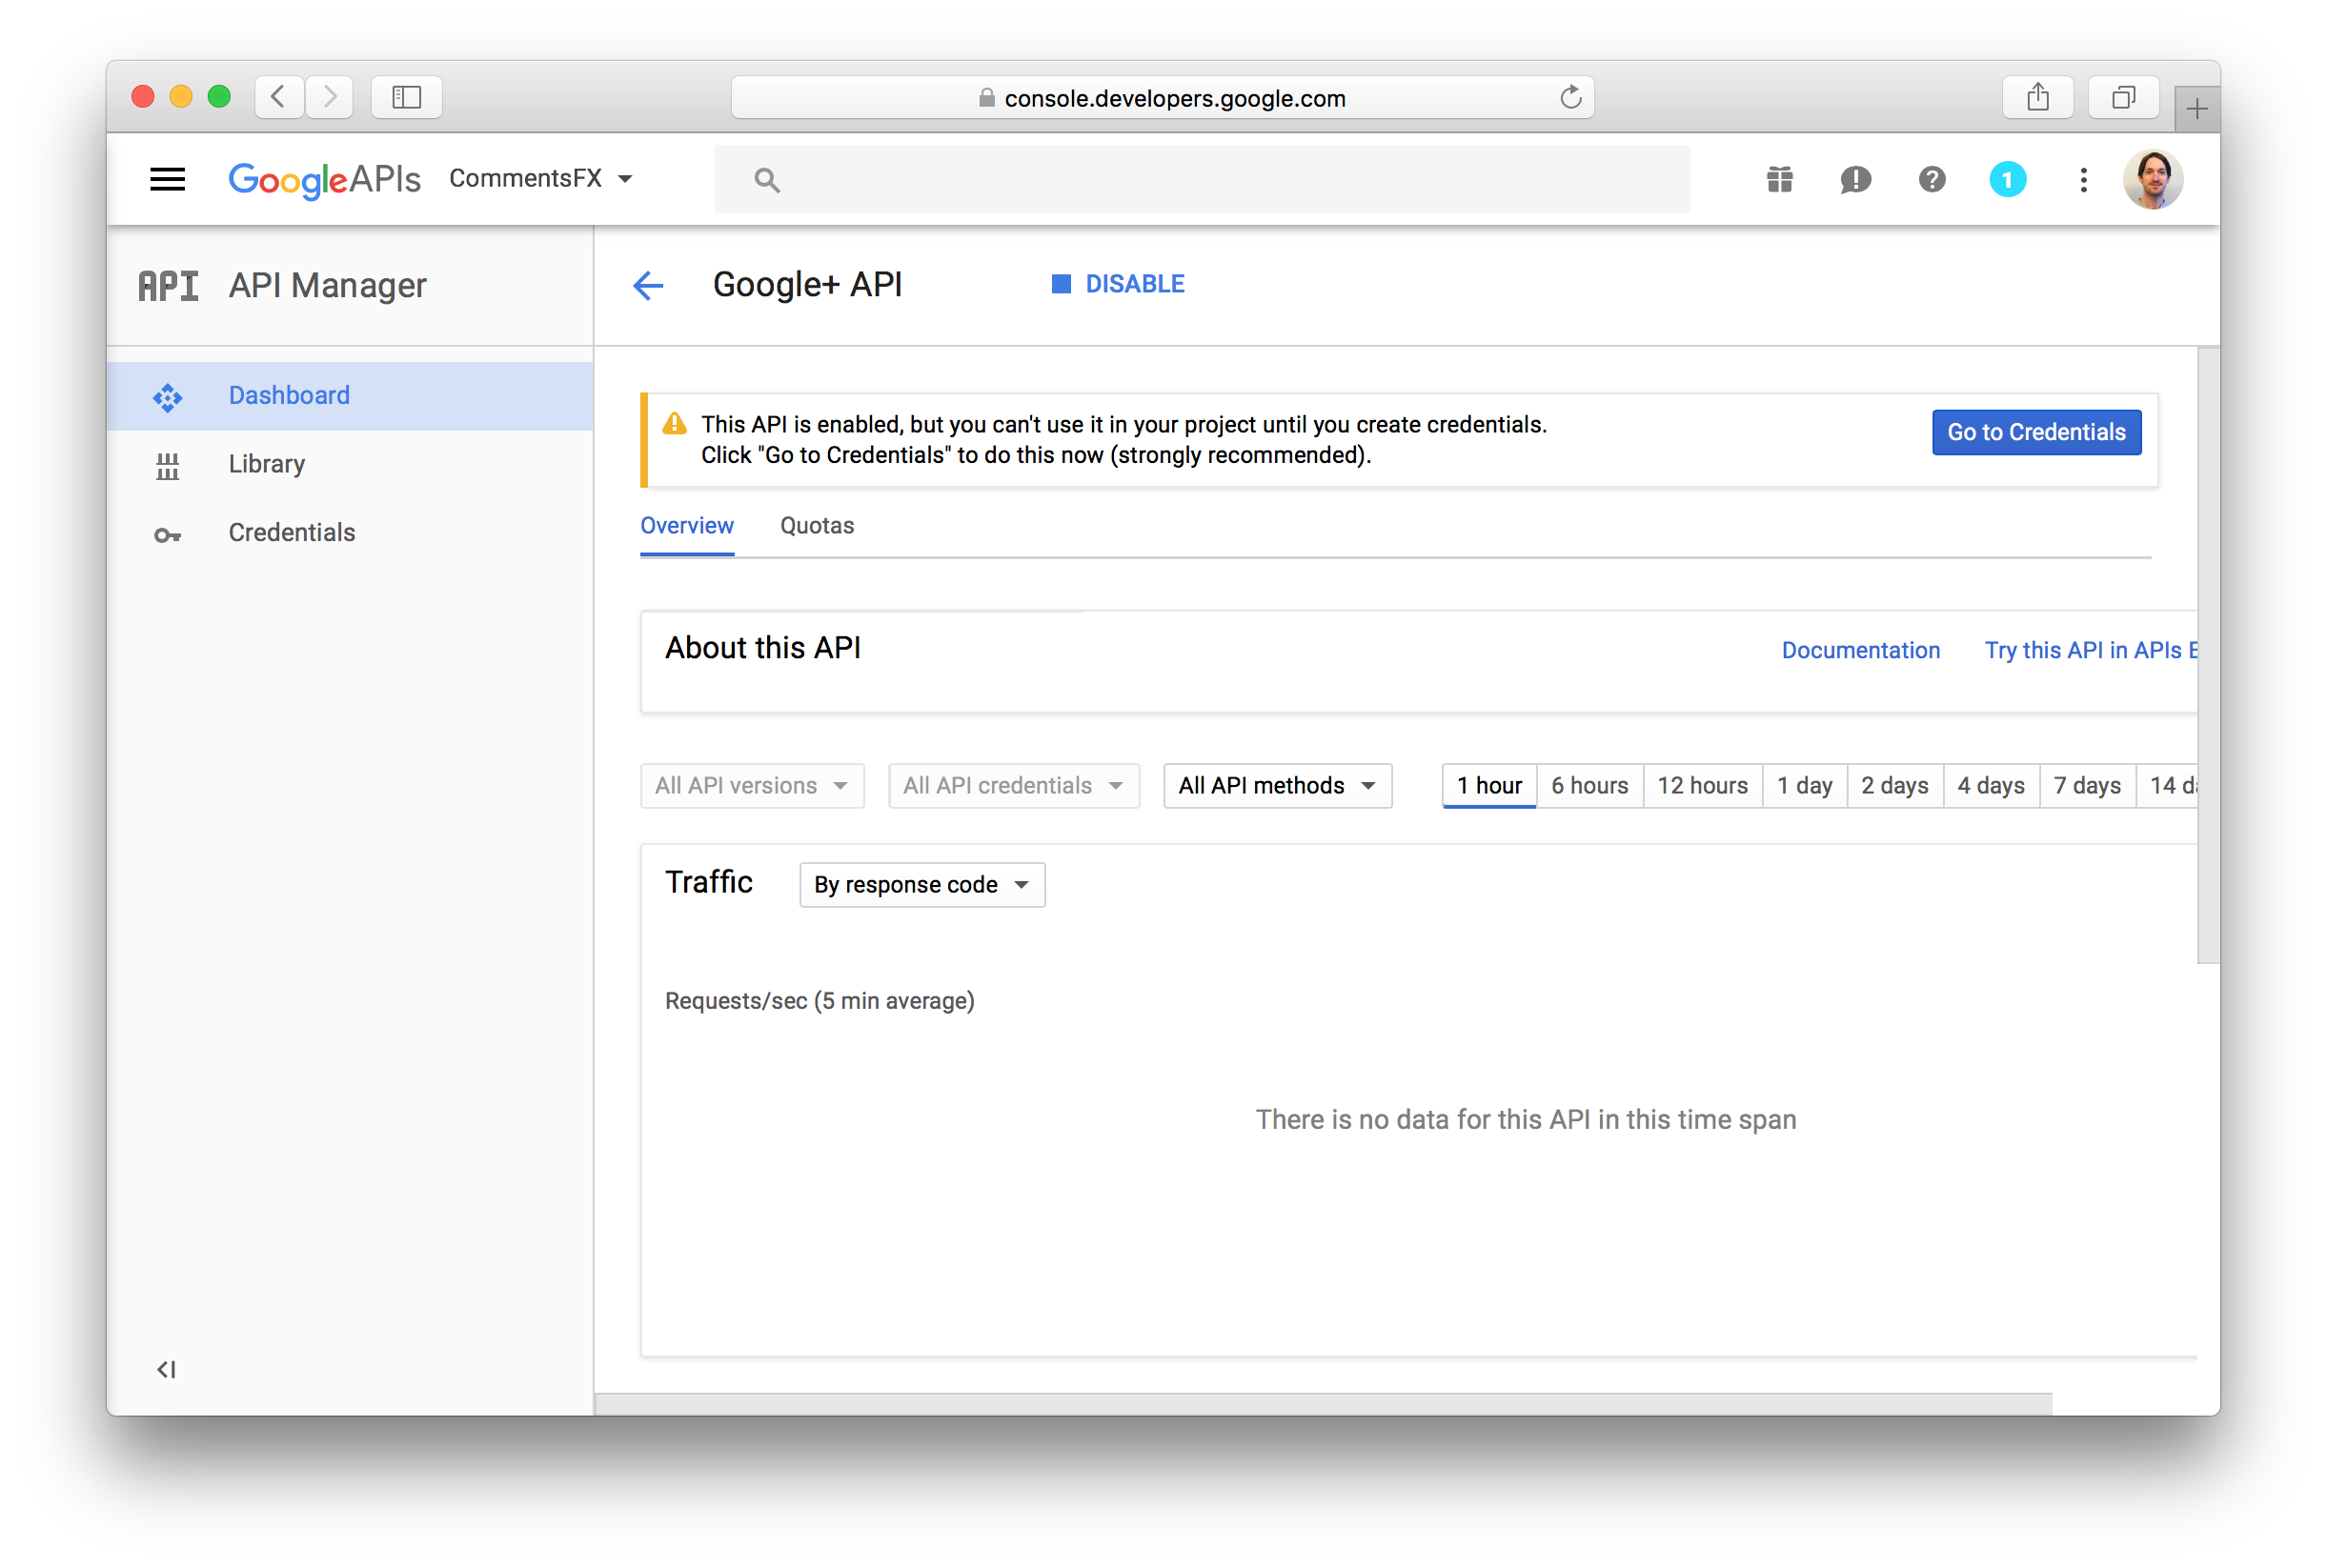
When the Google+ API is enabled, Google will notify you that you need to create credentials before you can use the API.
Do so by clicking the Go to Credentials button.
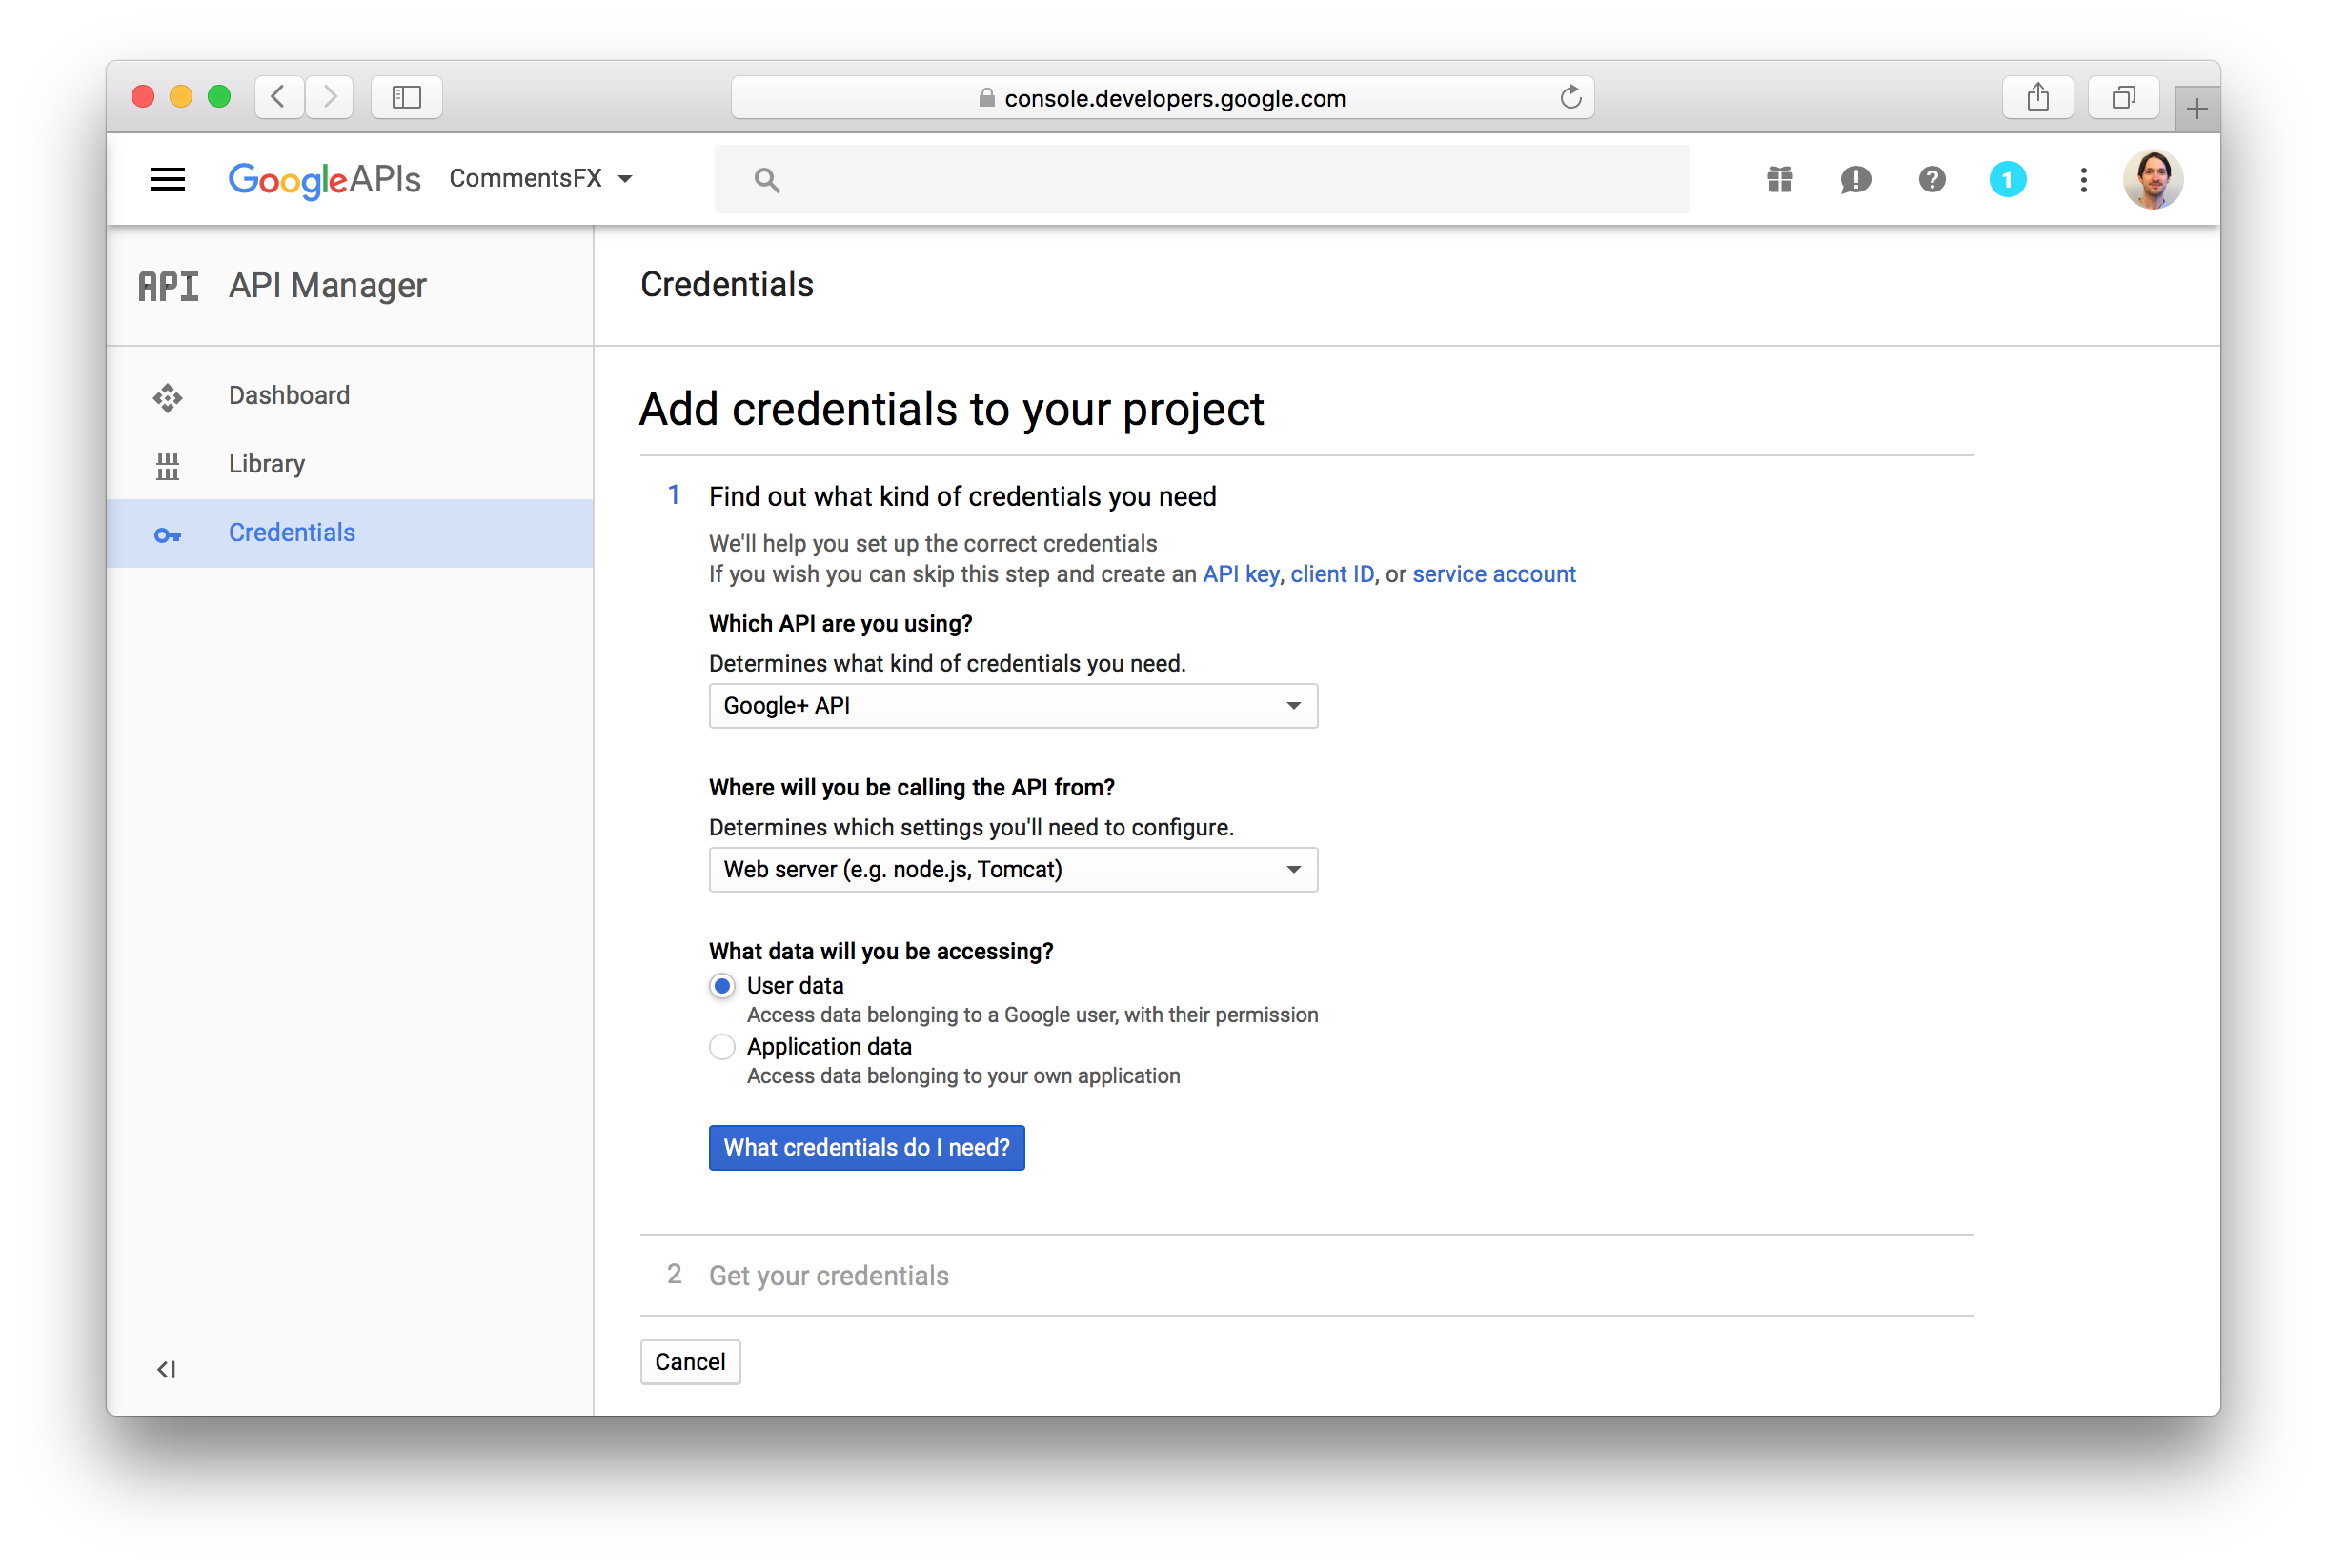
A wizard will be presented to setup the credentials. Choose Google+ API for the API that you want to use and
Web server (e.g. node.js, Tomcat) as the location where the API will be called from. Select the radio button for
accessing User data. Click the button What credentials do I need? to proceed with the creation of the credentials.
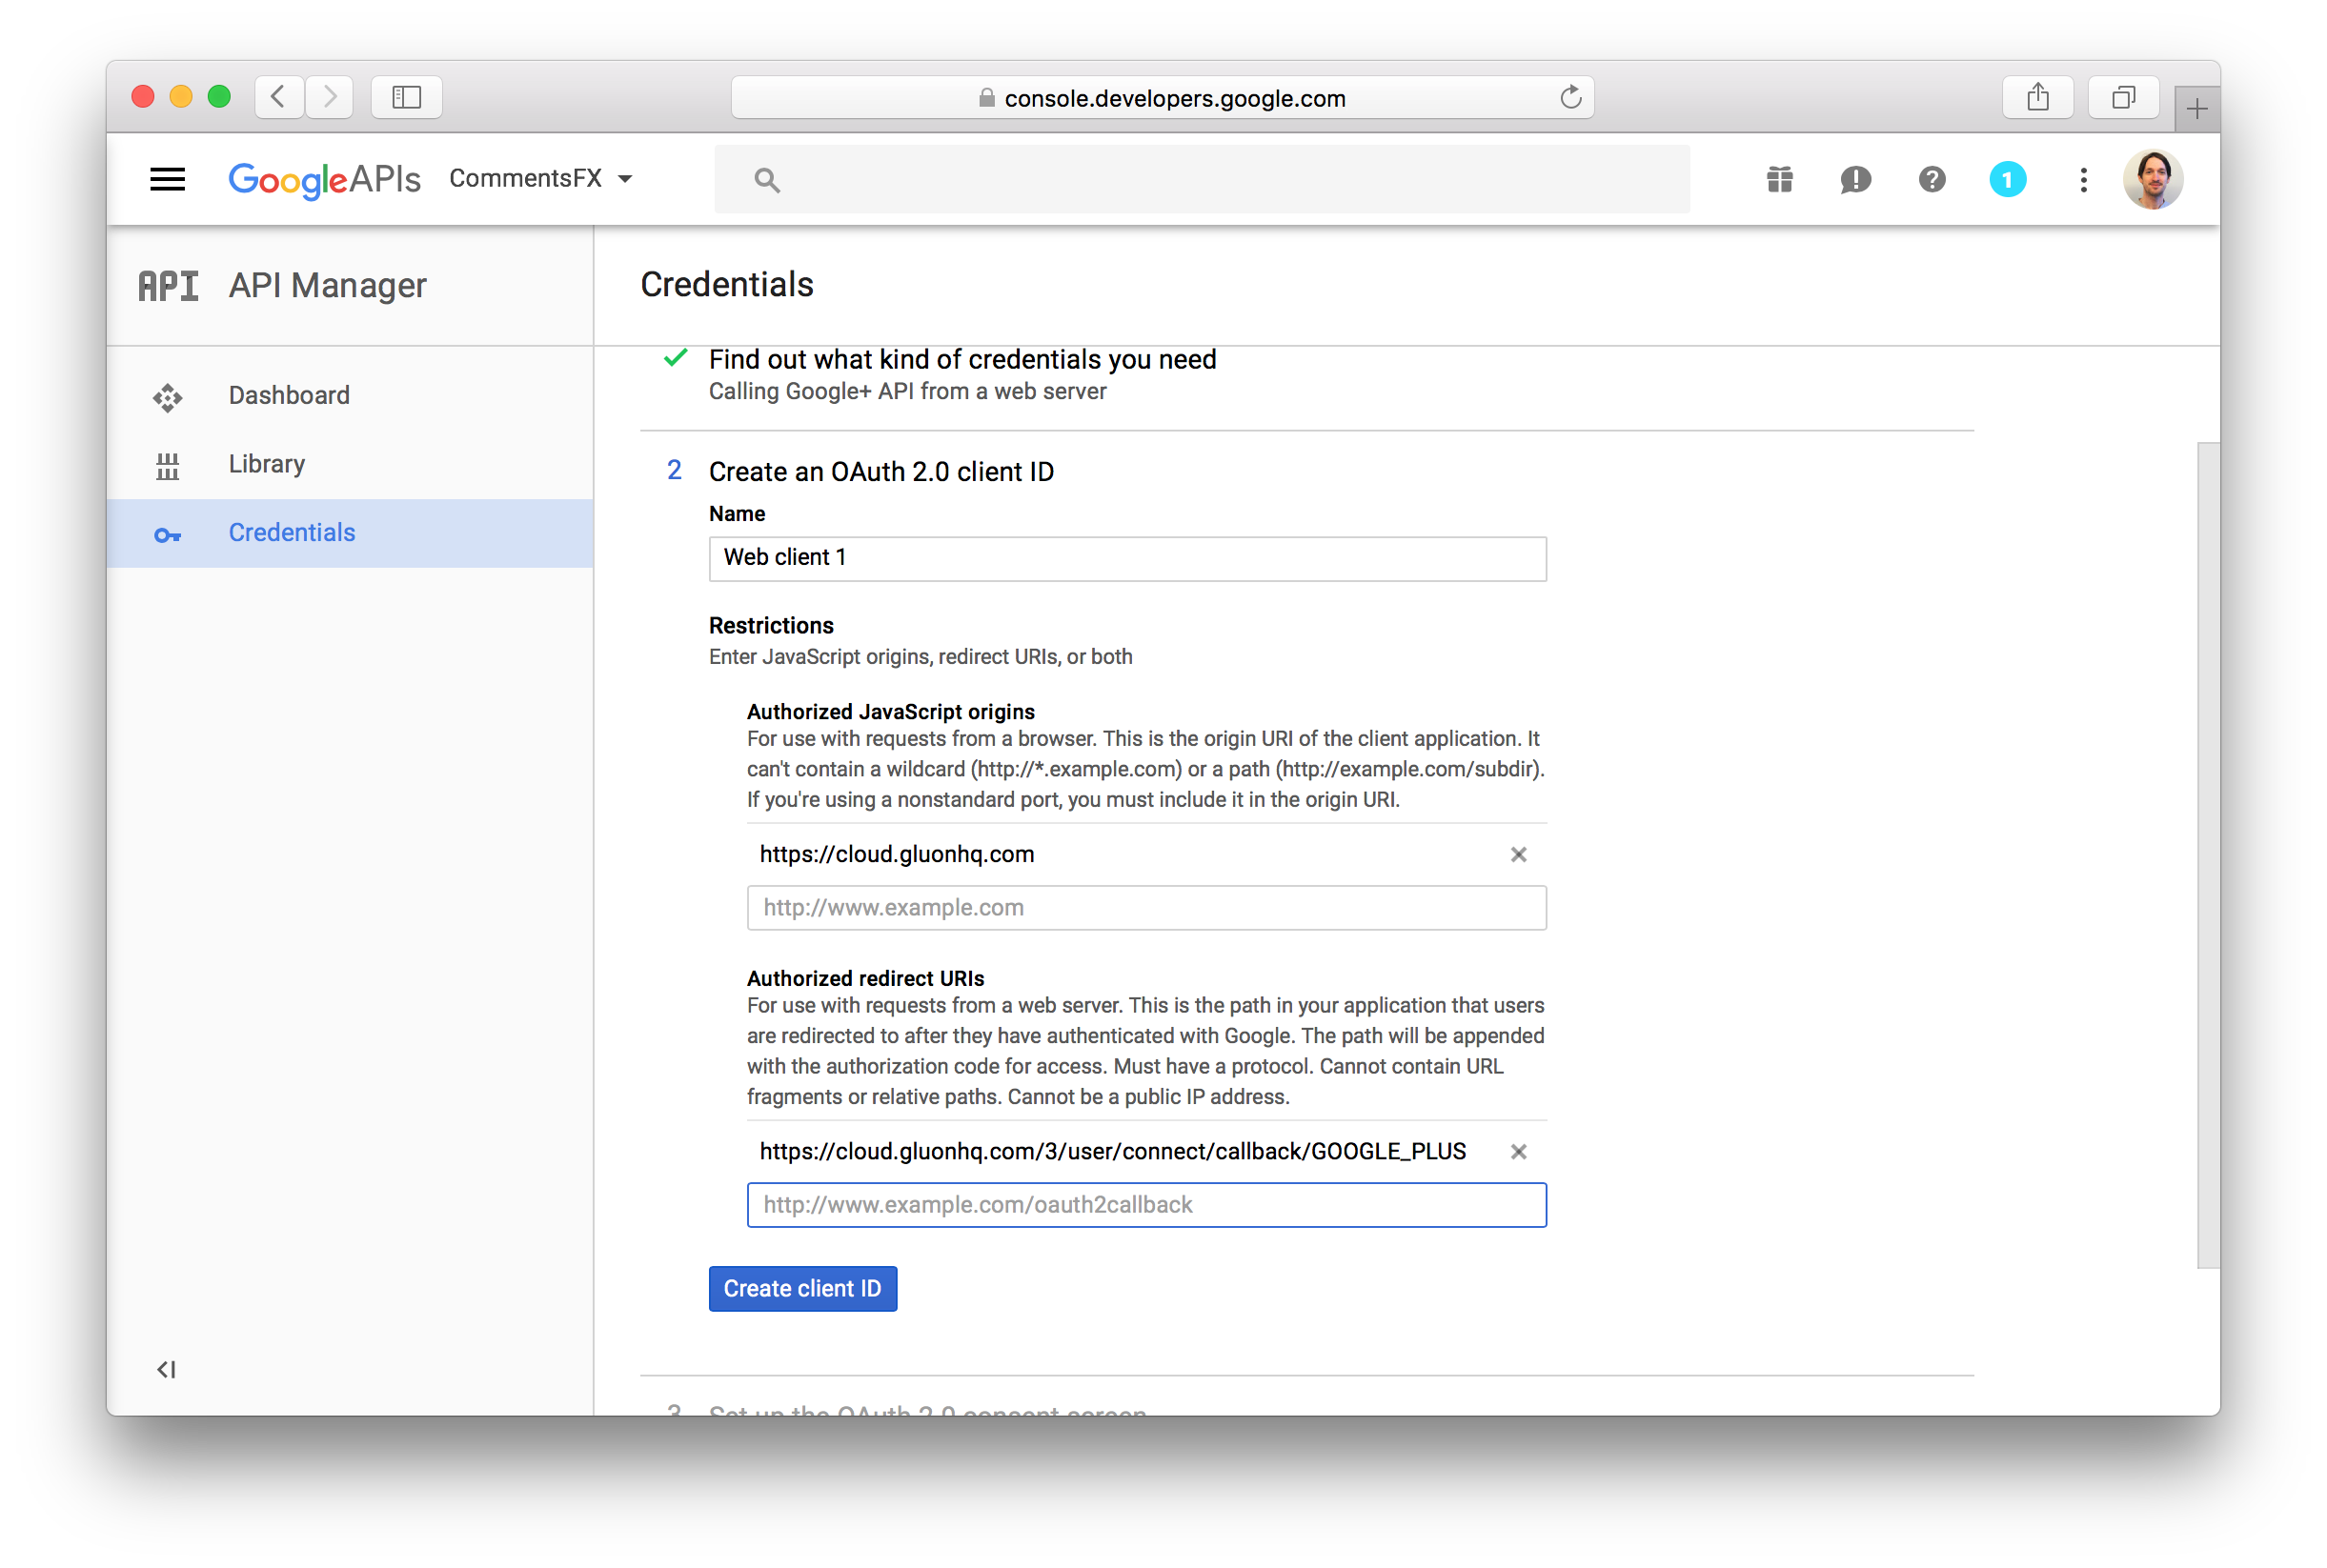
In the next step, enter the URL https://cloud.gluonhq.com as an authorized JavaScript origin and
https://cloud.gluonhq.com/3/user/connect/callback/GOOGLE_PLUS as an authorized redirect URI. Click the
Create client ID button to proceed to step 3.
In the next step, you configure the consent screen. This is the screen that will be presented to the user when he is trying to login using his Google+ account. You need to fill in at least an email address and the product name.

When you click Continue, the credentials will be created. You can skip the Download credentials step, by clicking
the I’ll do this later link. You will now see your credentials.
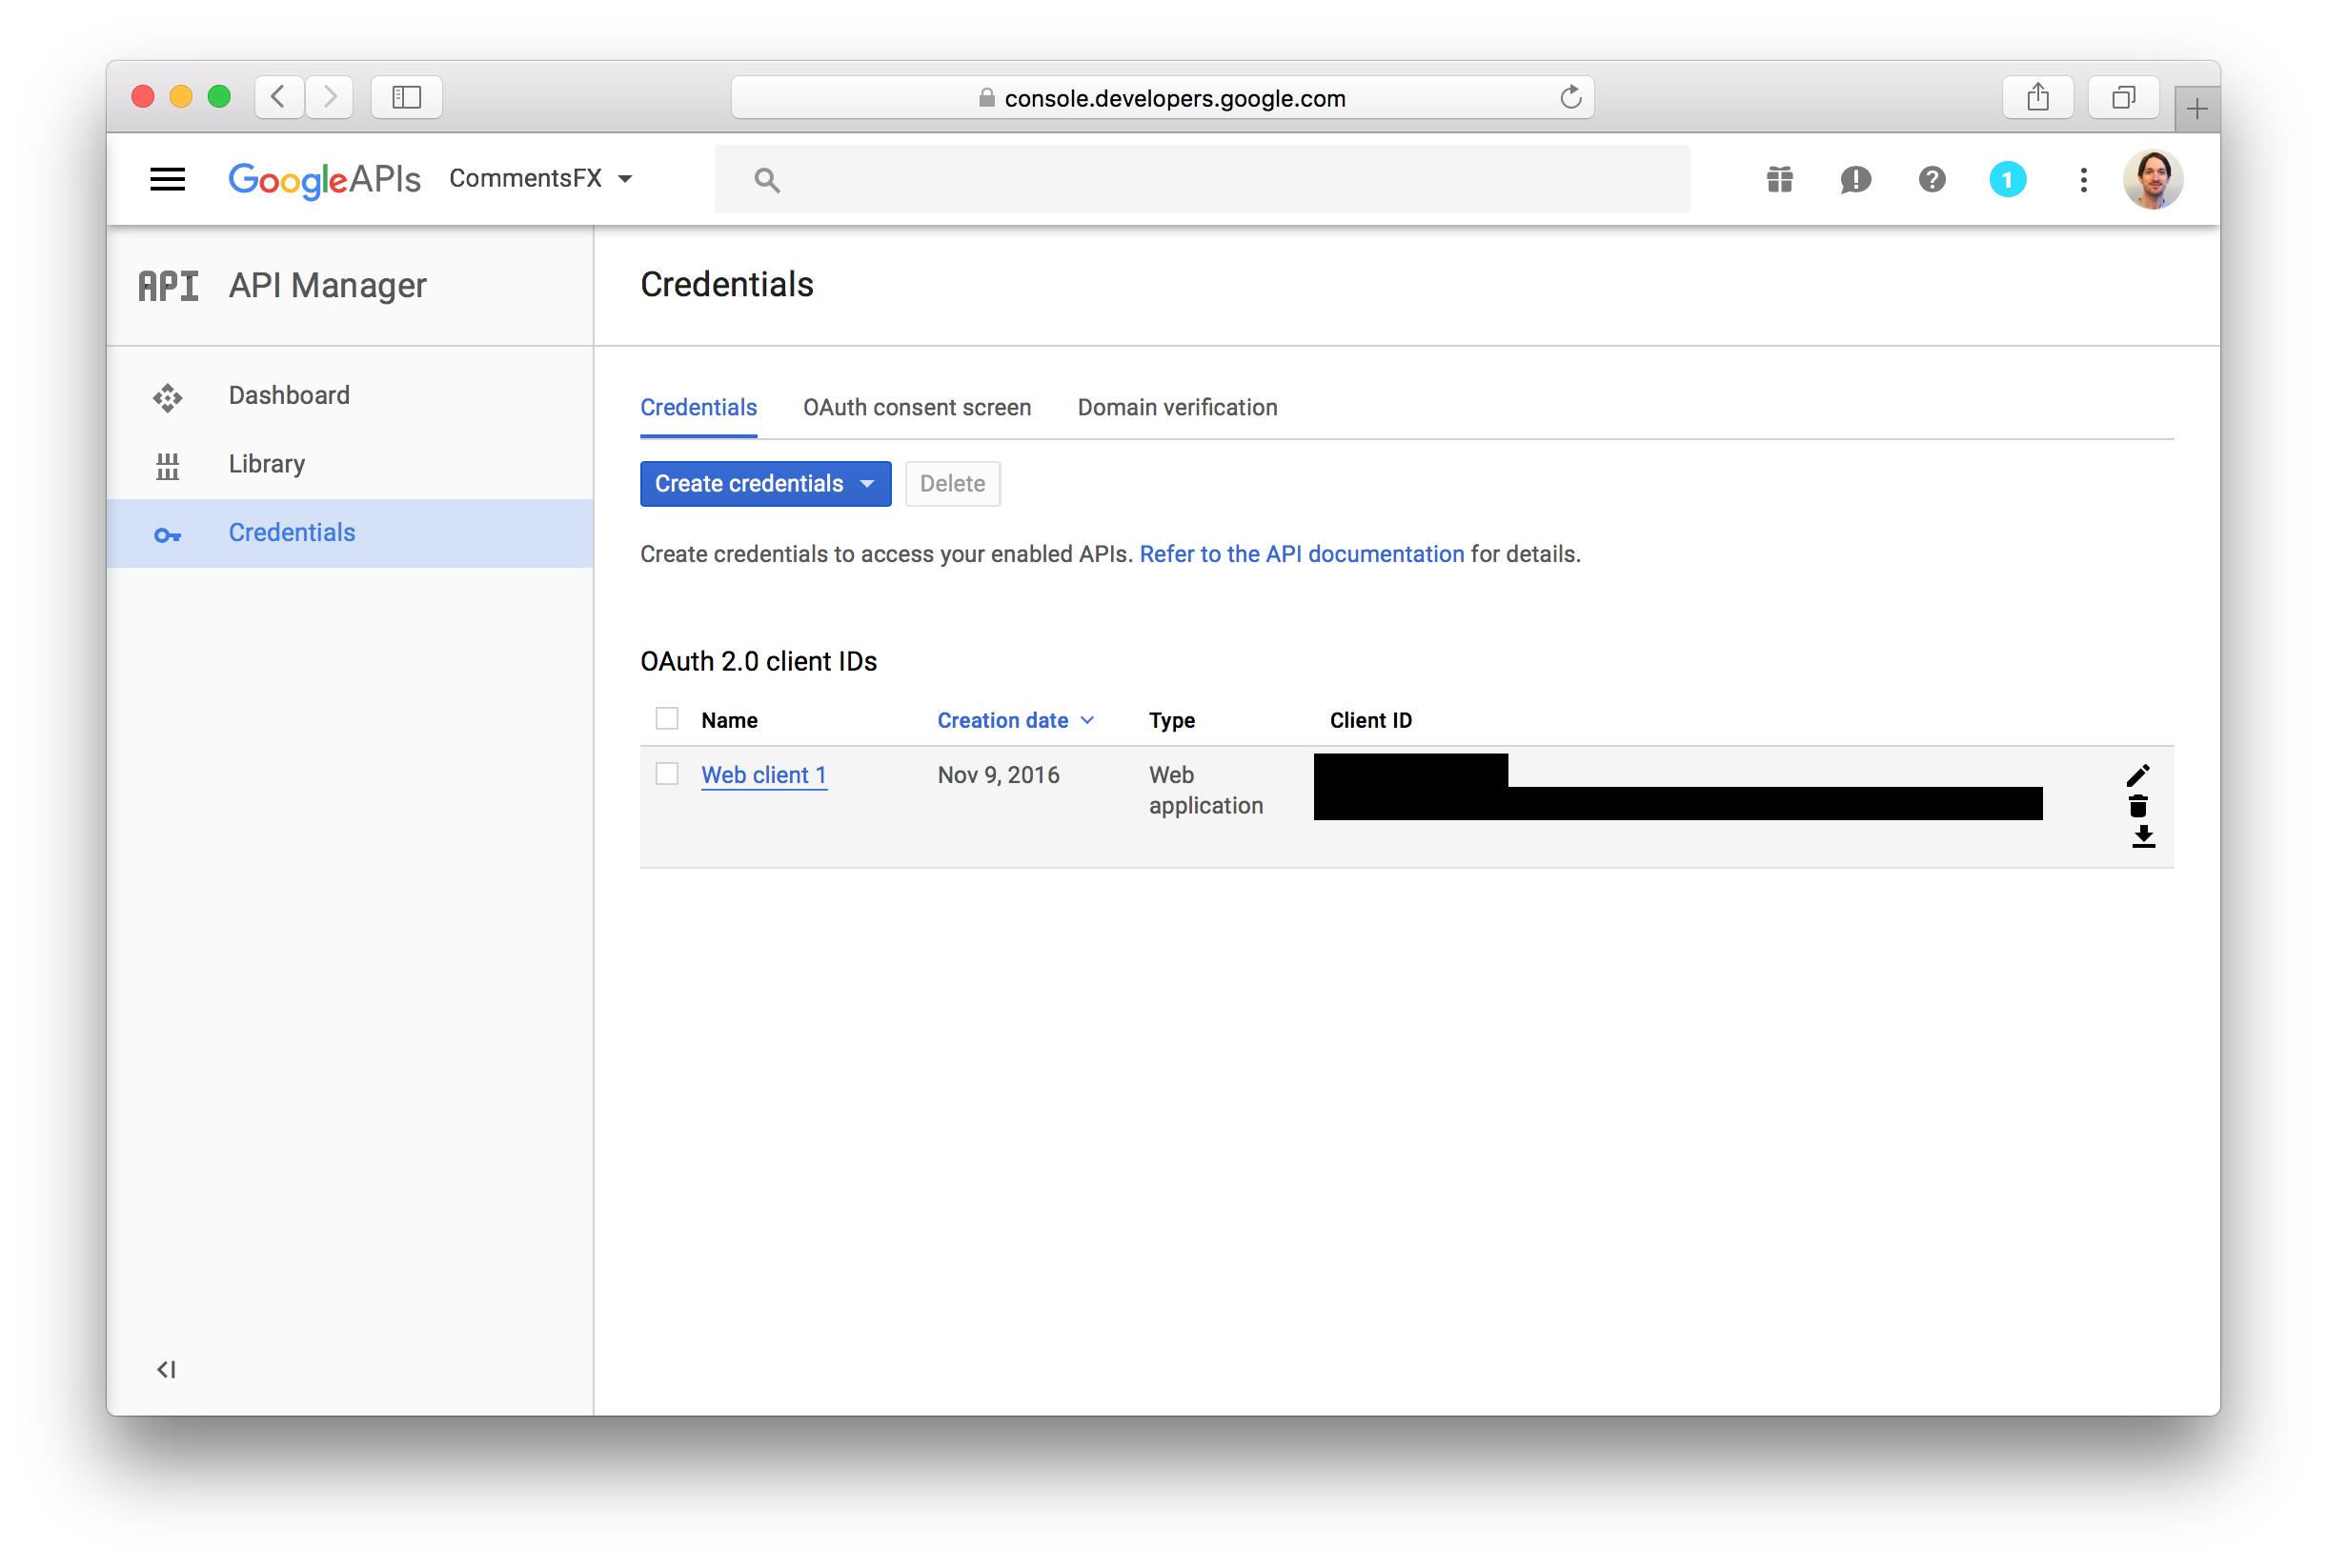
Click on the name of the credentials to open up the details.
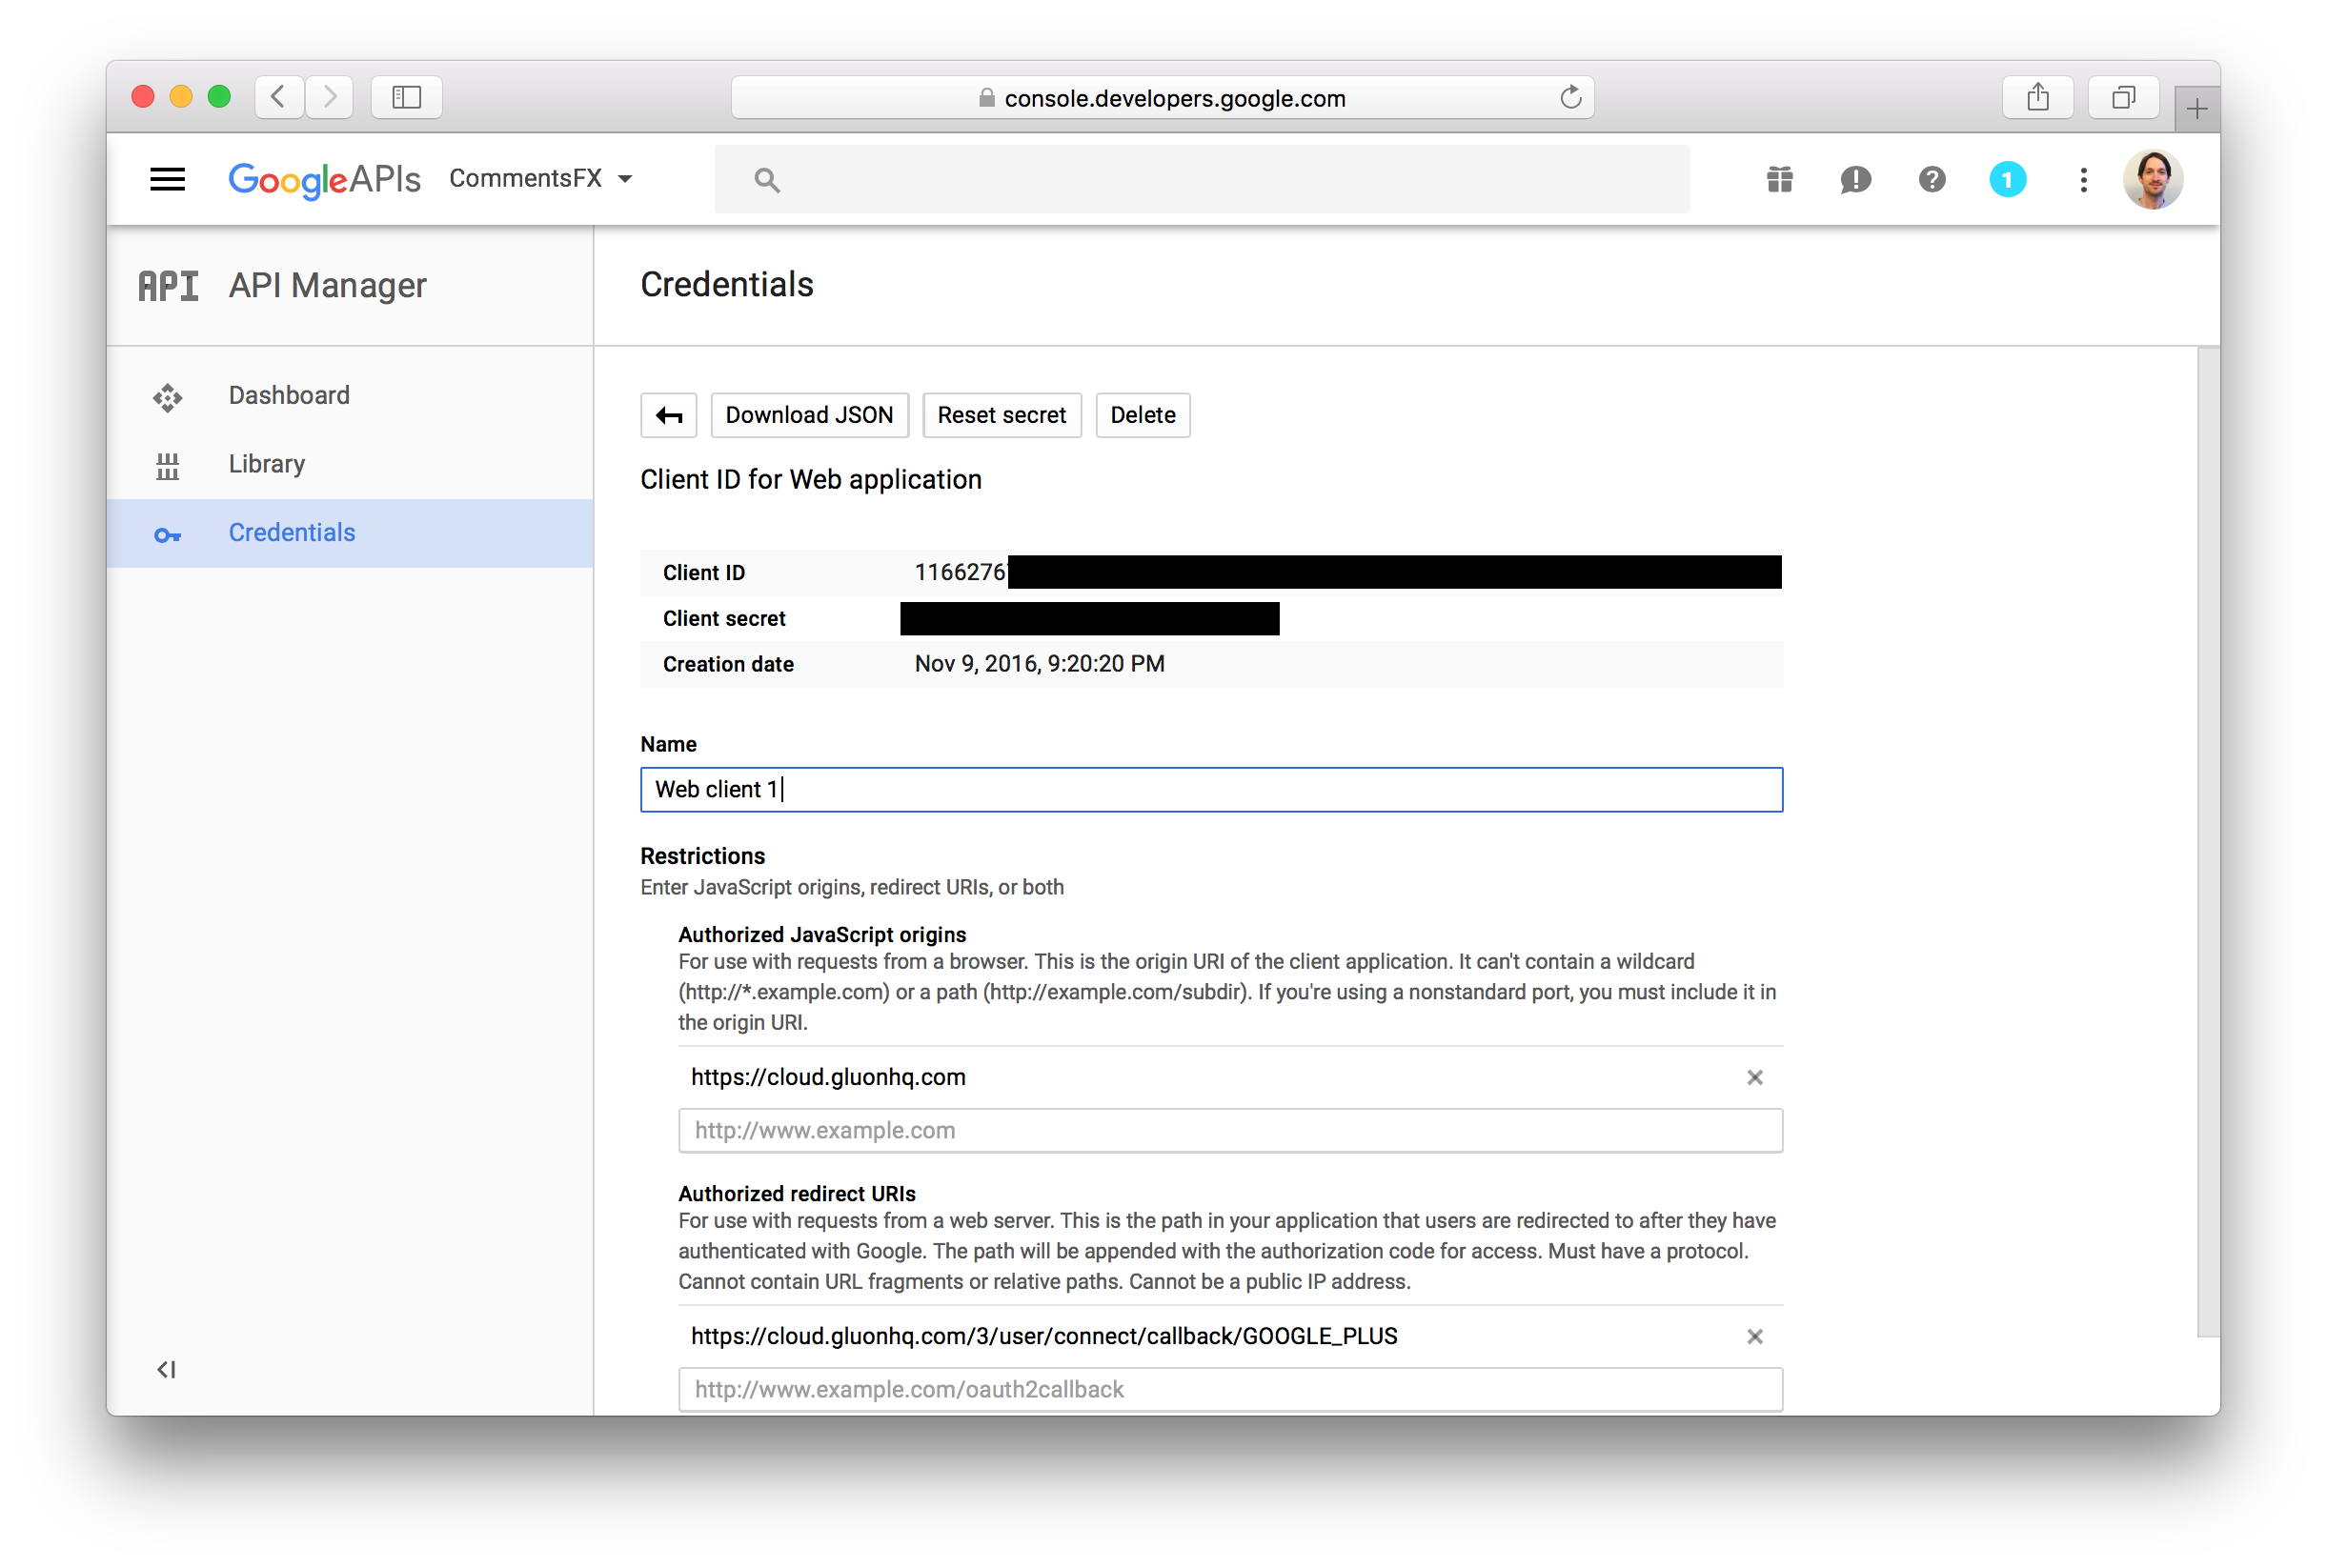
Copy the Client ID and the Client secret, and navigate back to the Gluon CloudLink Dashboard application. Add a new
GOOGLEPLUS login method from the drop-down list at the top. Paste the Client ID and Client secret in the
Network Key and Network Secret fields respectively. Don’t forget to click the Save button to apply your changes.
Summary
For Twitter, Facebook or Google+, we have created and authorized an application, obtaining a key and secret token from each social network. In the Gluon CloudLink Dashboard application, we have added the login methods and configured them with the key and secret tokens obtained from the respective social network.
The next time you run your Gluon Mobile application with USER authentication mode enabled, you will see the
authentication view with a list of buttons for all the login methods that are configured.
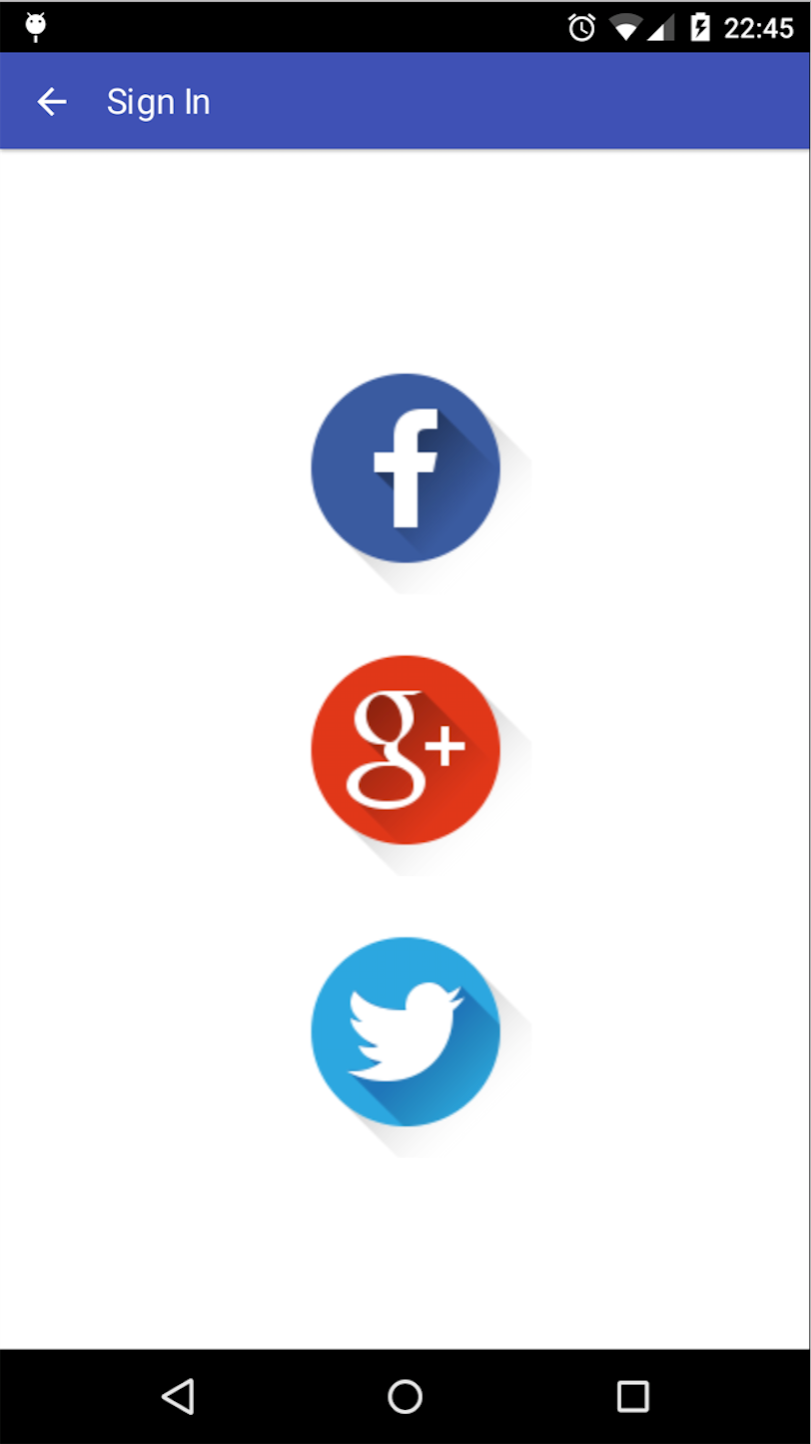
Users of the application can select one of the login methods and sign in by providing their credentials.