The Track Usage App is a Gluon code sample. Refer to the Gluon website for a full list of Gluon code samples.
In this tutorial, we’ll explain how you can send usage information about the application to the Gluon CloudLink Usage Analytics service. Only generic details about the device like the platform or the version of the platform will be sent.
CloudLink will gather all the usage results from all the different clients that use the app, and will display different charts with them.
Before you start, make sure to check the list of prerequisites for each platform, and you have also installed the Gluon plugin for your IDE.
Note: This tutorial will also use the plugin for IntelliJ, but it works as well on NetBeans and Eclipse.
Code: The code for this project can be found in the samples repository at GitHub.
The sample is located under the directory trackusage. The reader can clone this repository or create the entire project from scratch, based on the following steps.
Creating the project
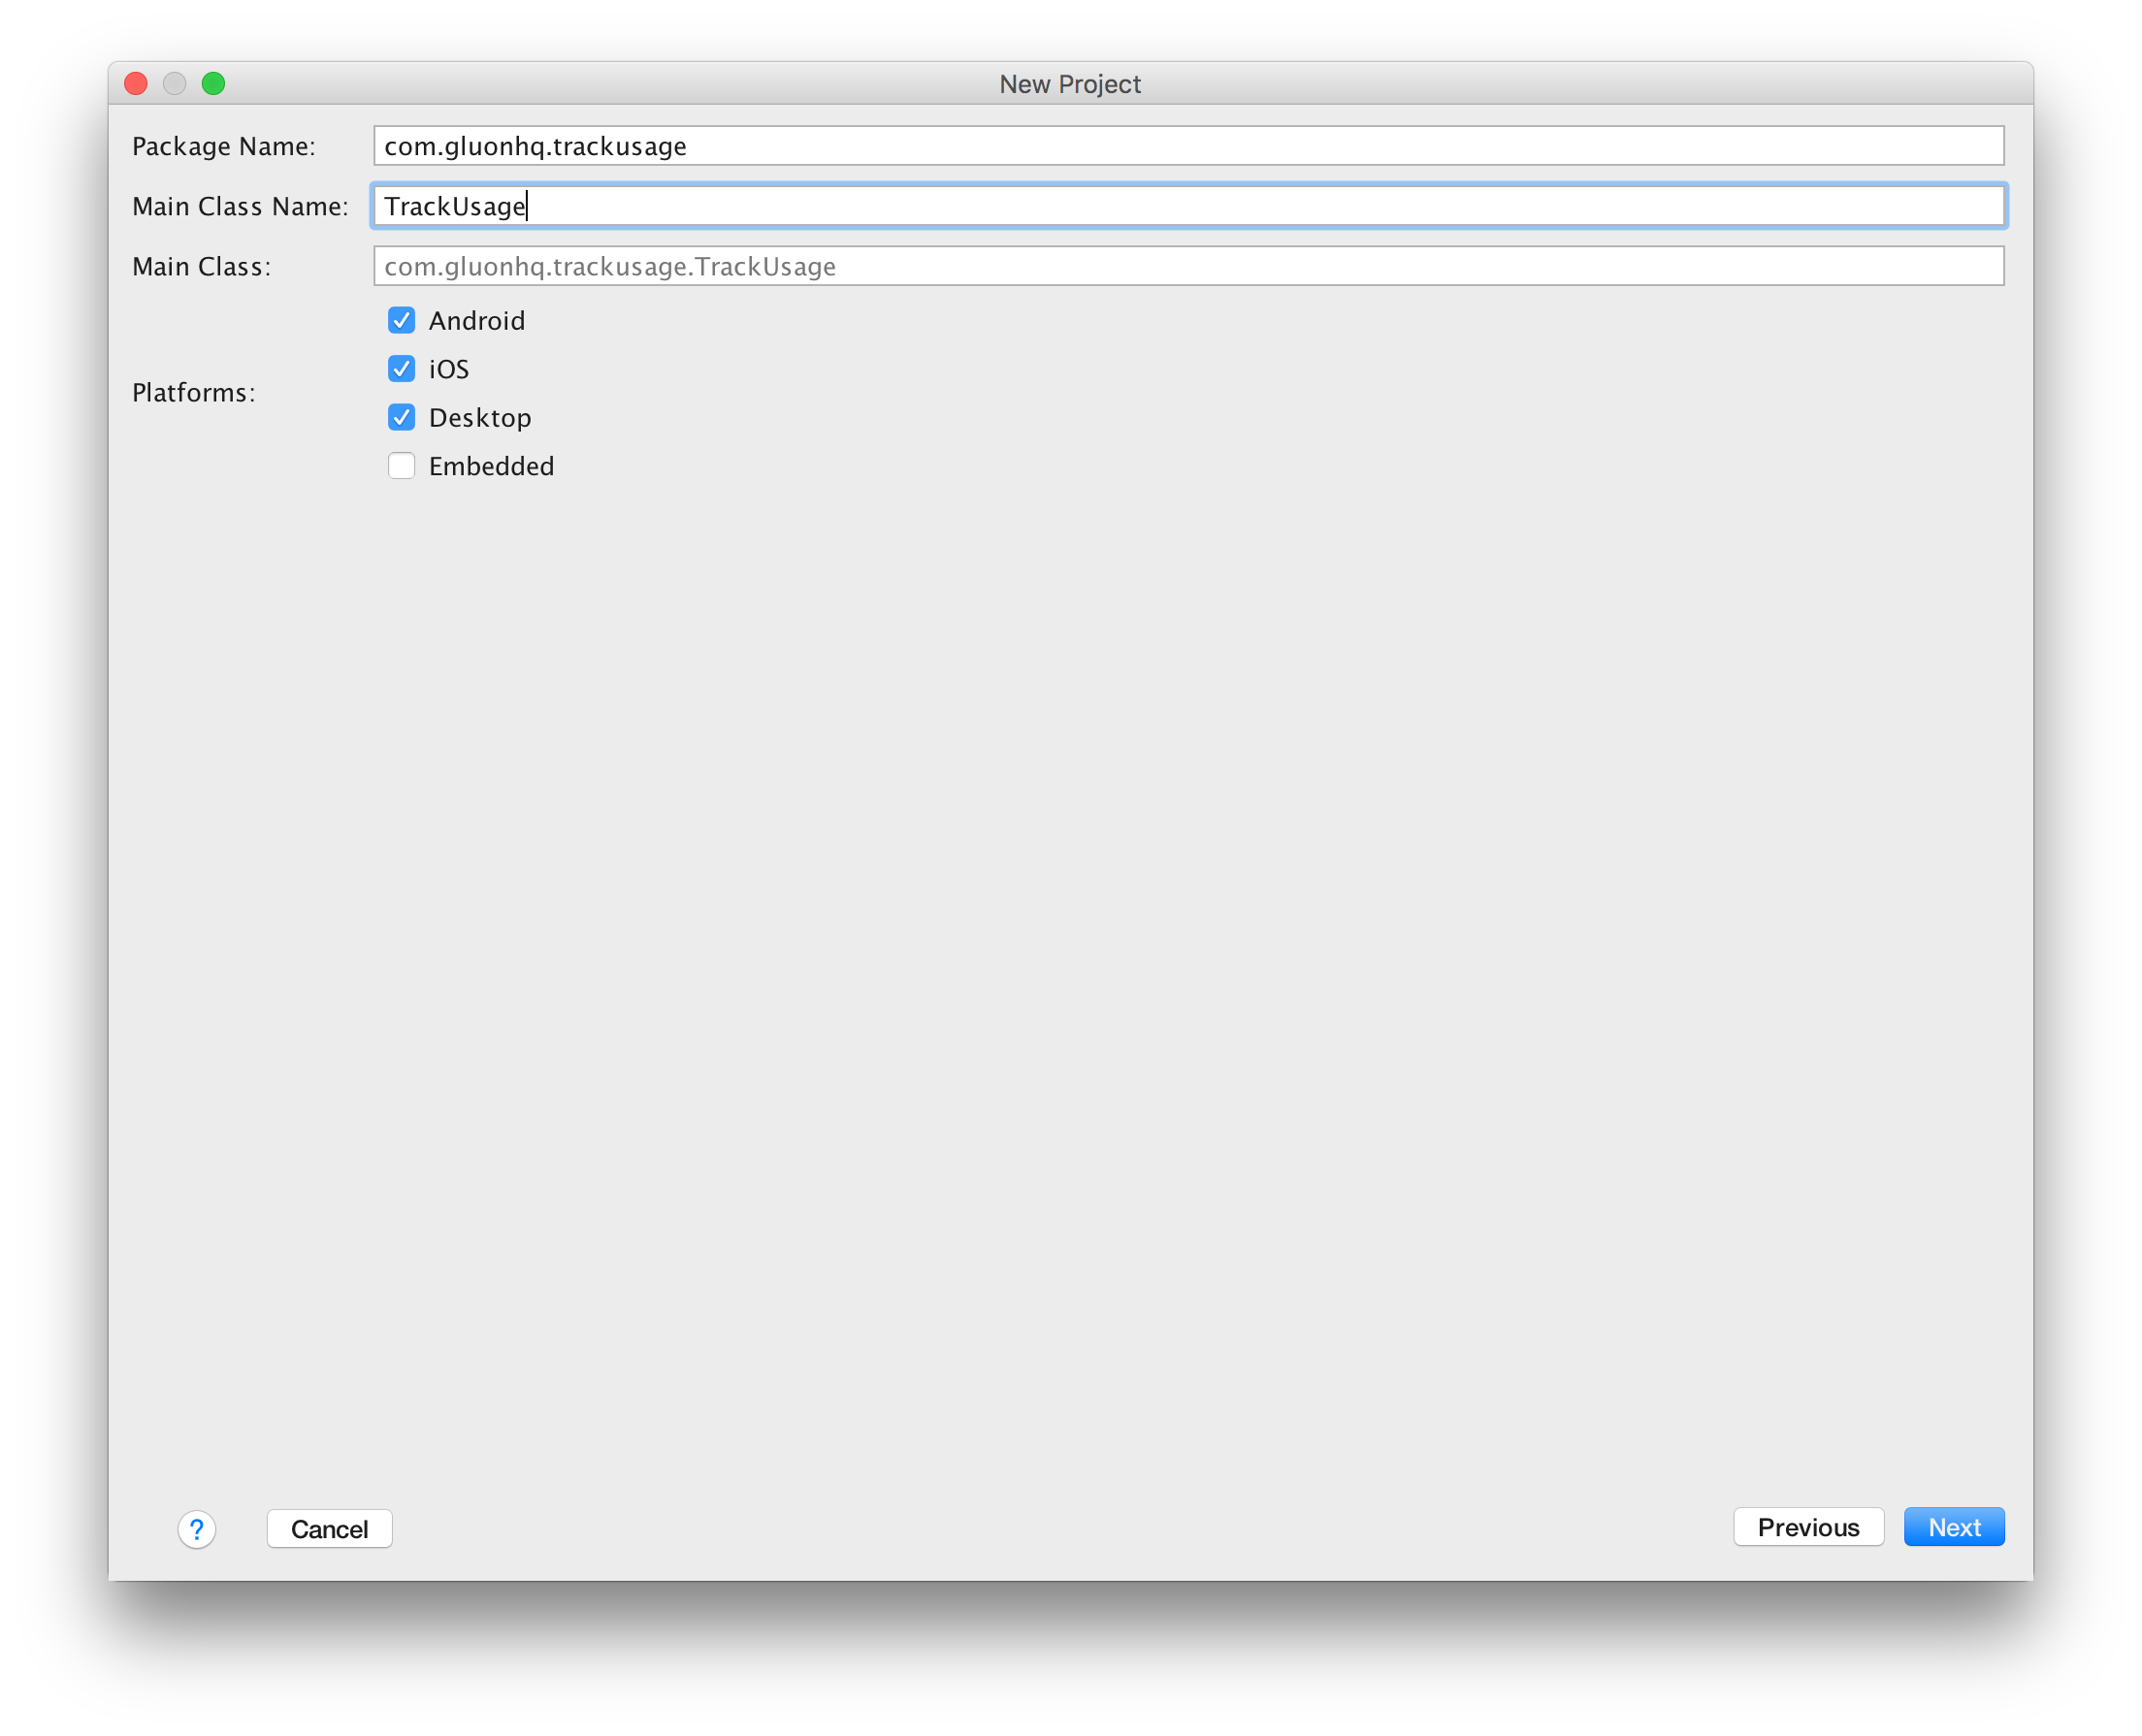
Let’s create a new project using the Gluon plugin. Open IntelliJ and click Create New Project… and select Gluon on the left. Select Gluon Mobile - Single View Project from the list of available Projects:

Add the package name and change the main class name.
Press Next and select a valid JDK 8:

Press Next and add the project name, and modify the location if required.

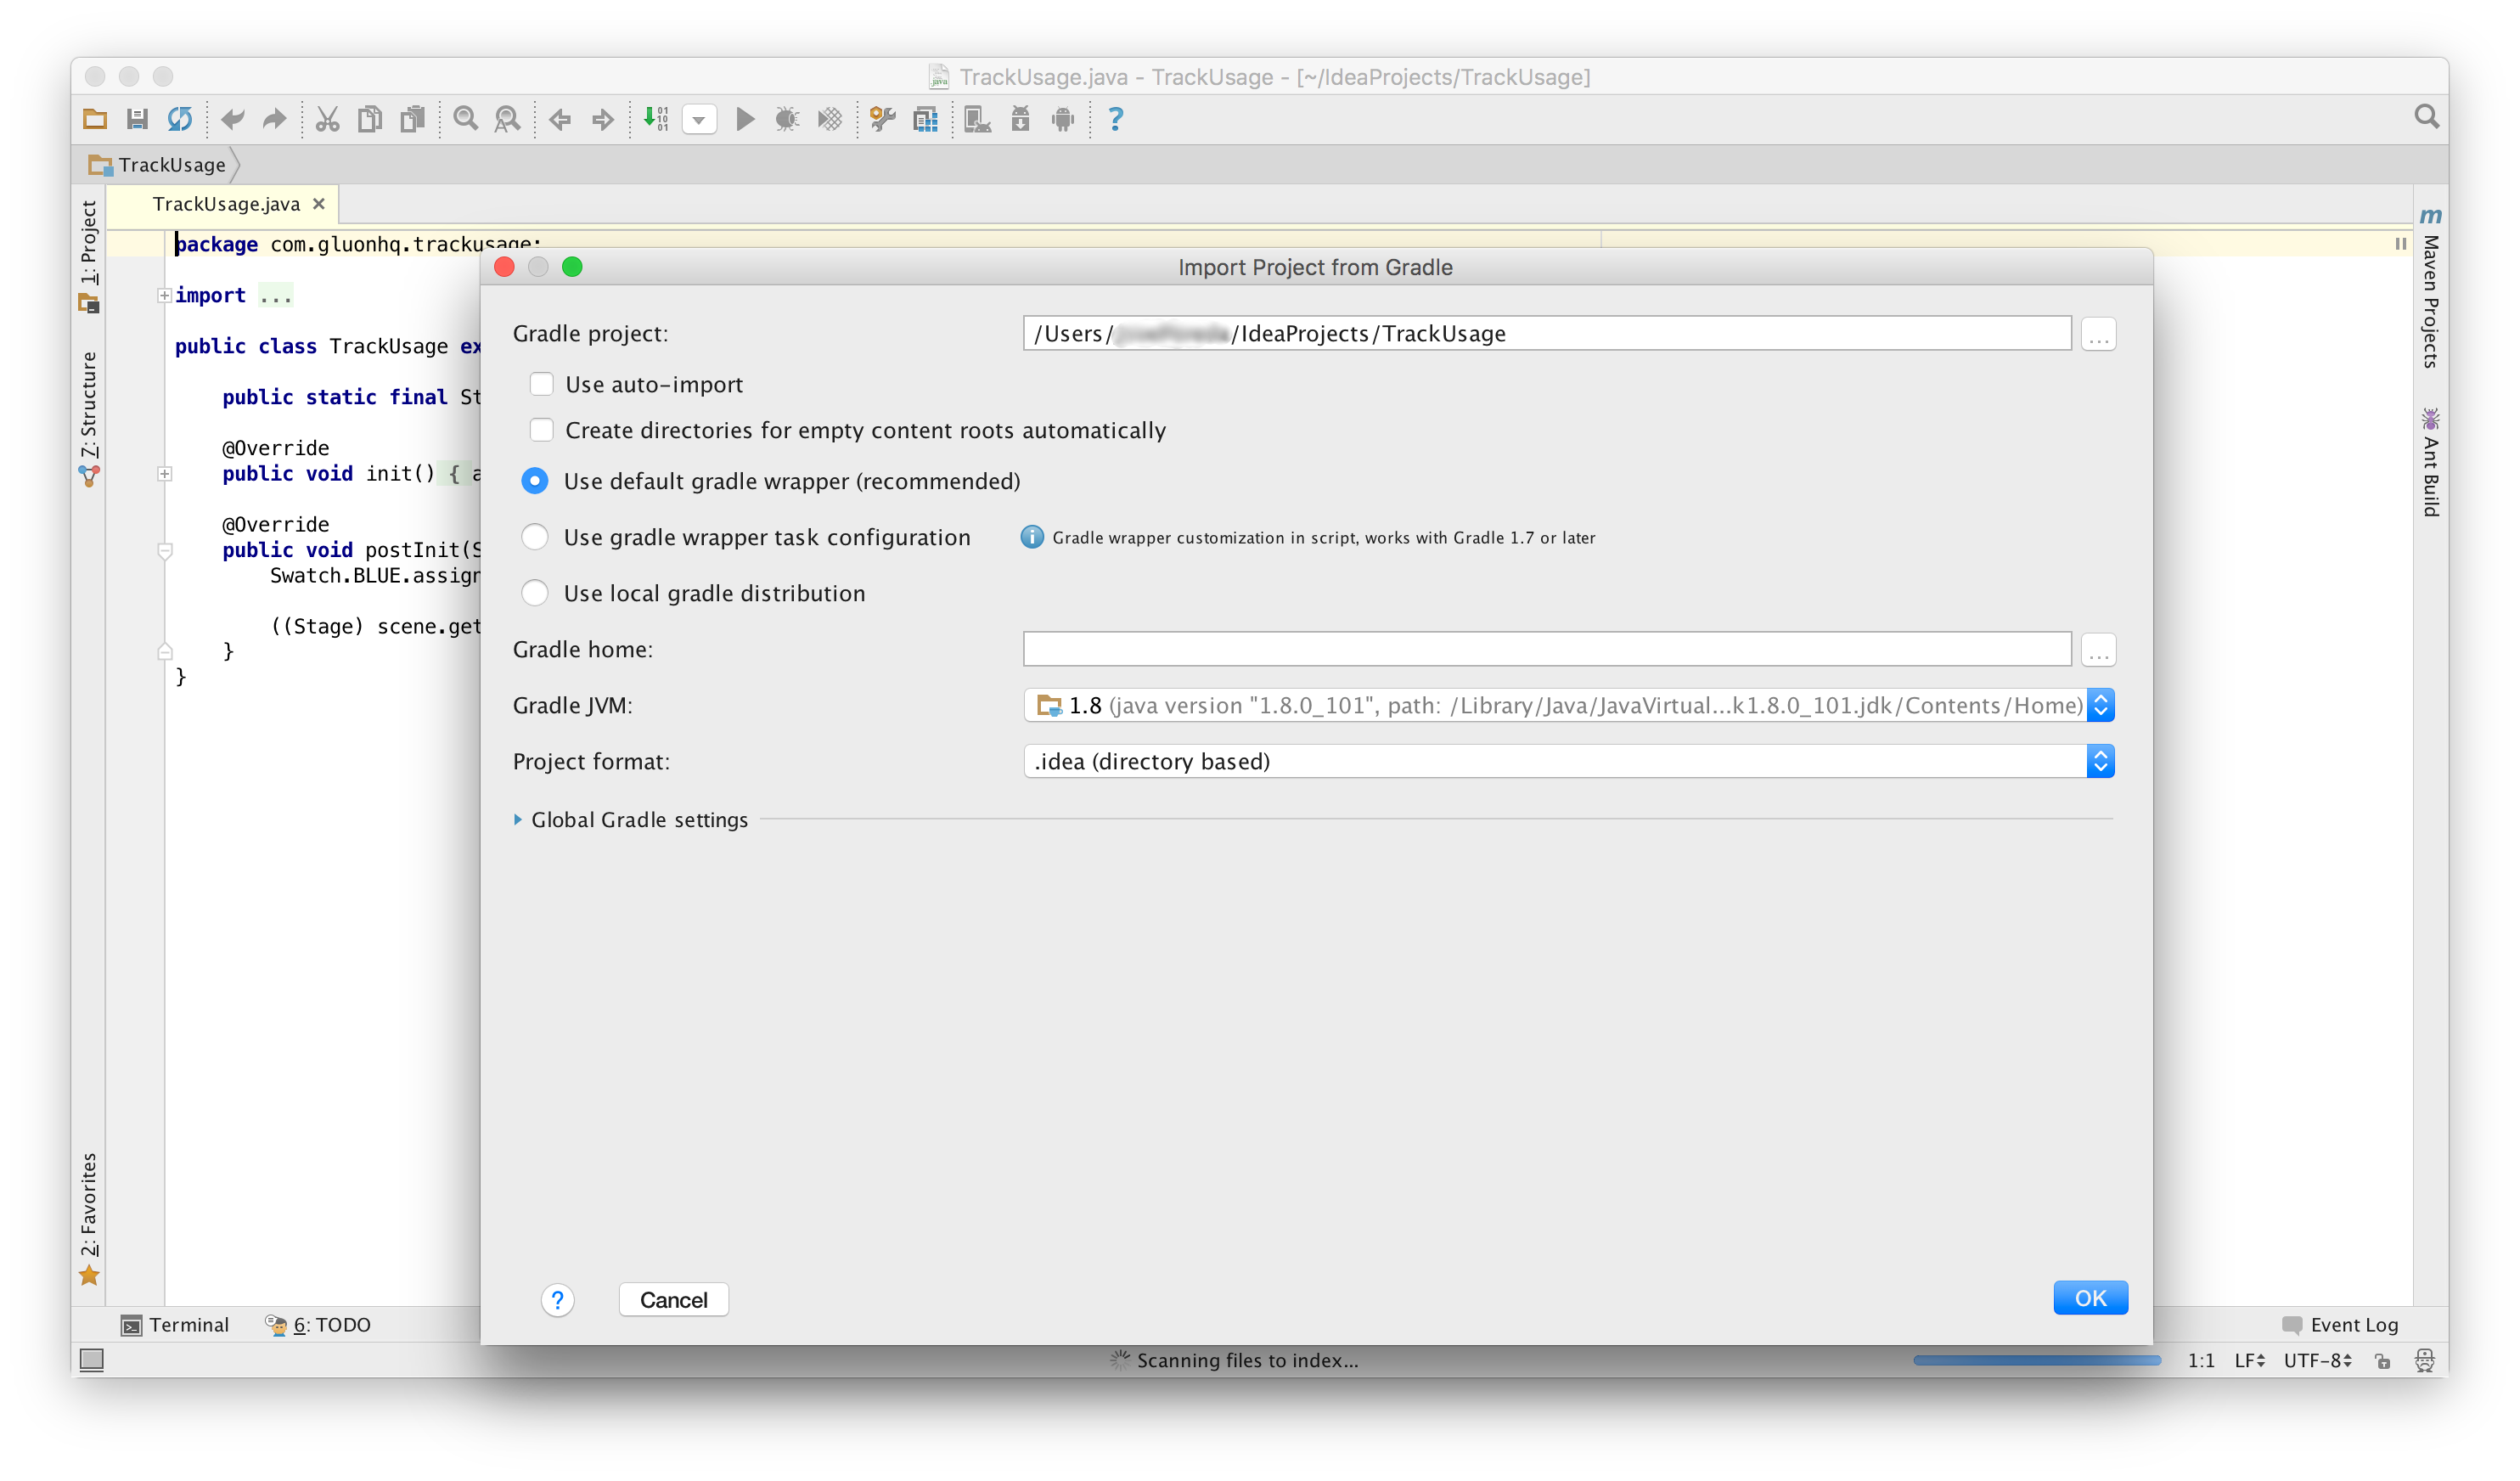
Press Next, and finally import the gradle project. Review the settings and click Ok.
The project will be created and opened. The main class TrackUsage is shown, containing the code to instantiate the view BasicView.

Modifying the project
Let’s start modifying the project to allow usage tracking from Gluon CloudLink.
CloudLink Dashboard
First of all, you need a valid subscription to Gluon CloudLink. If you don’t have it yet, get it from here (there is also a 30-day free trial). Sign up and get a valid account on Gluon CloudLink and a link to download and install the Gluon CloudLink Dashboard.
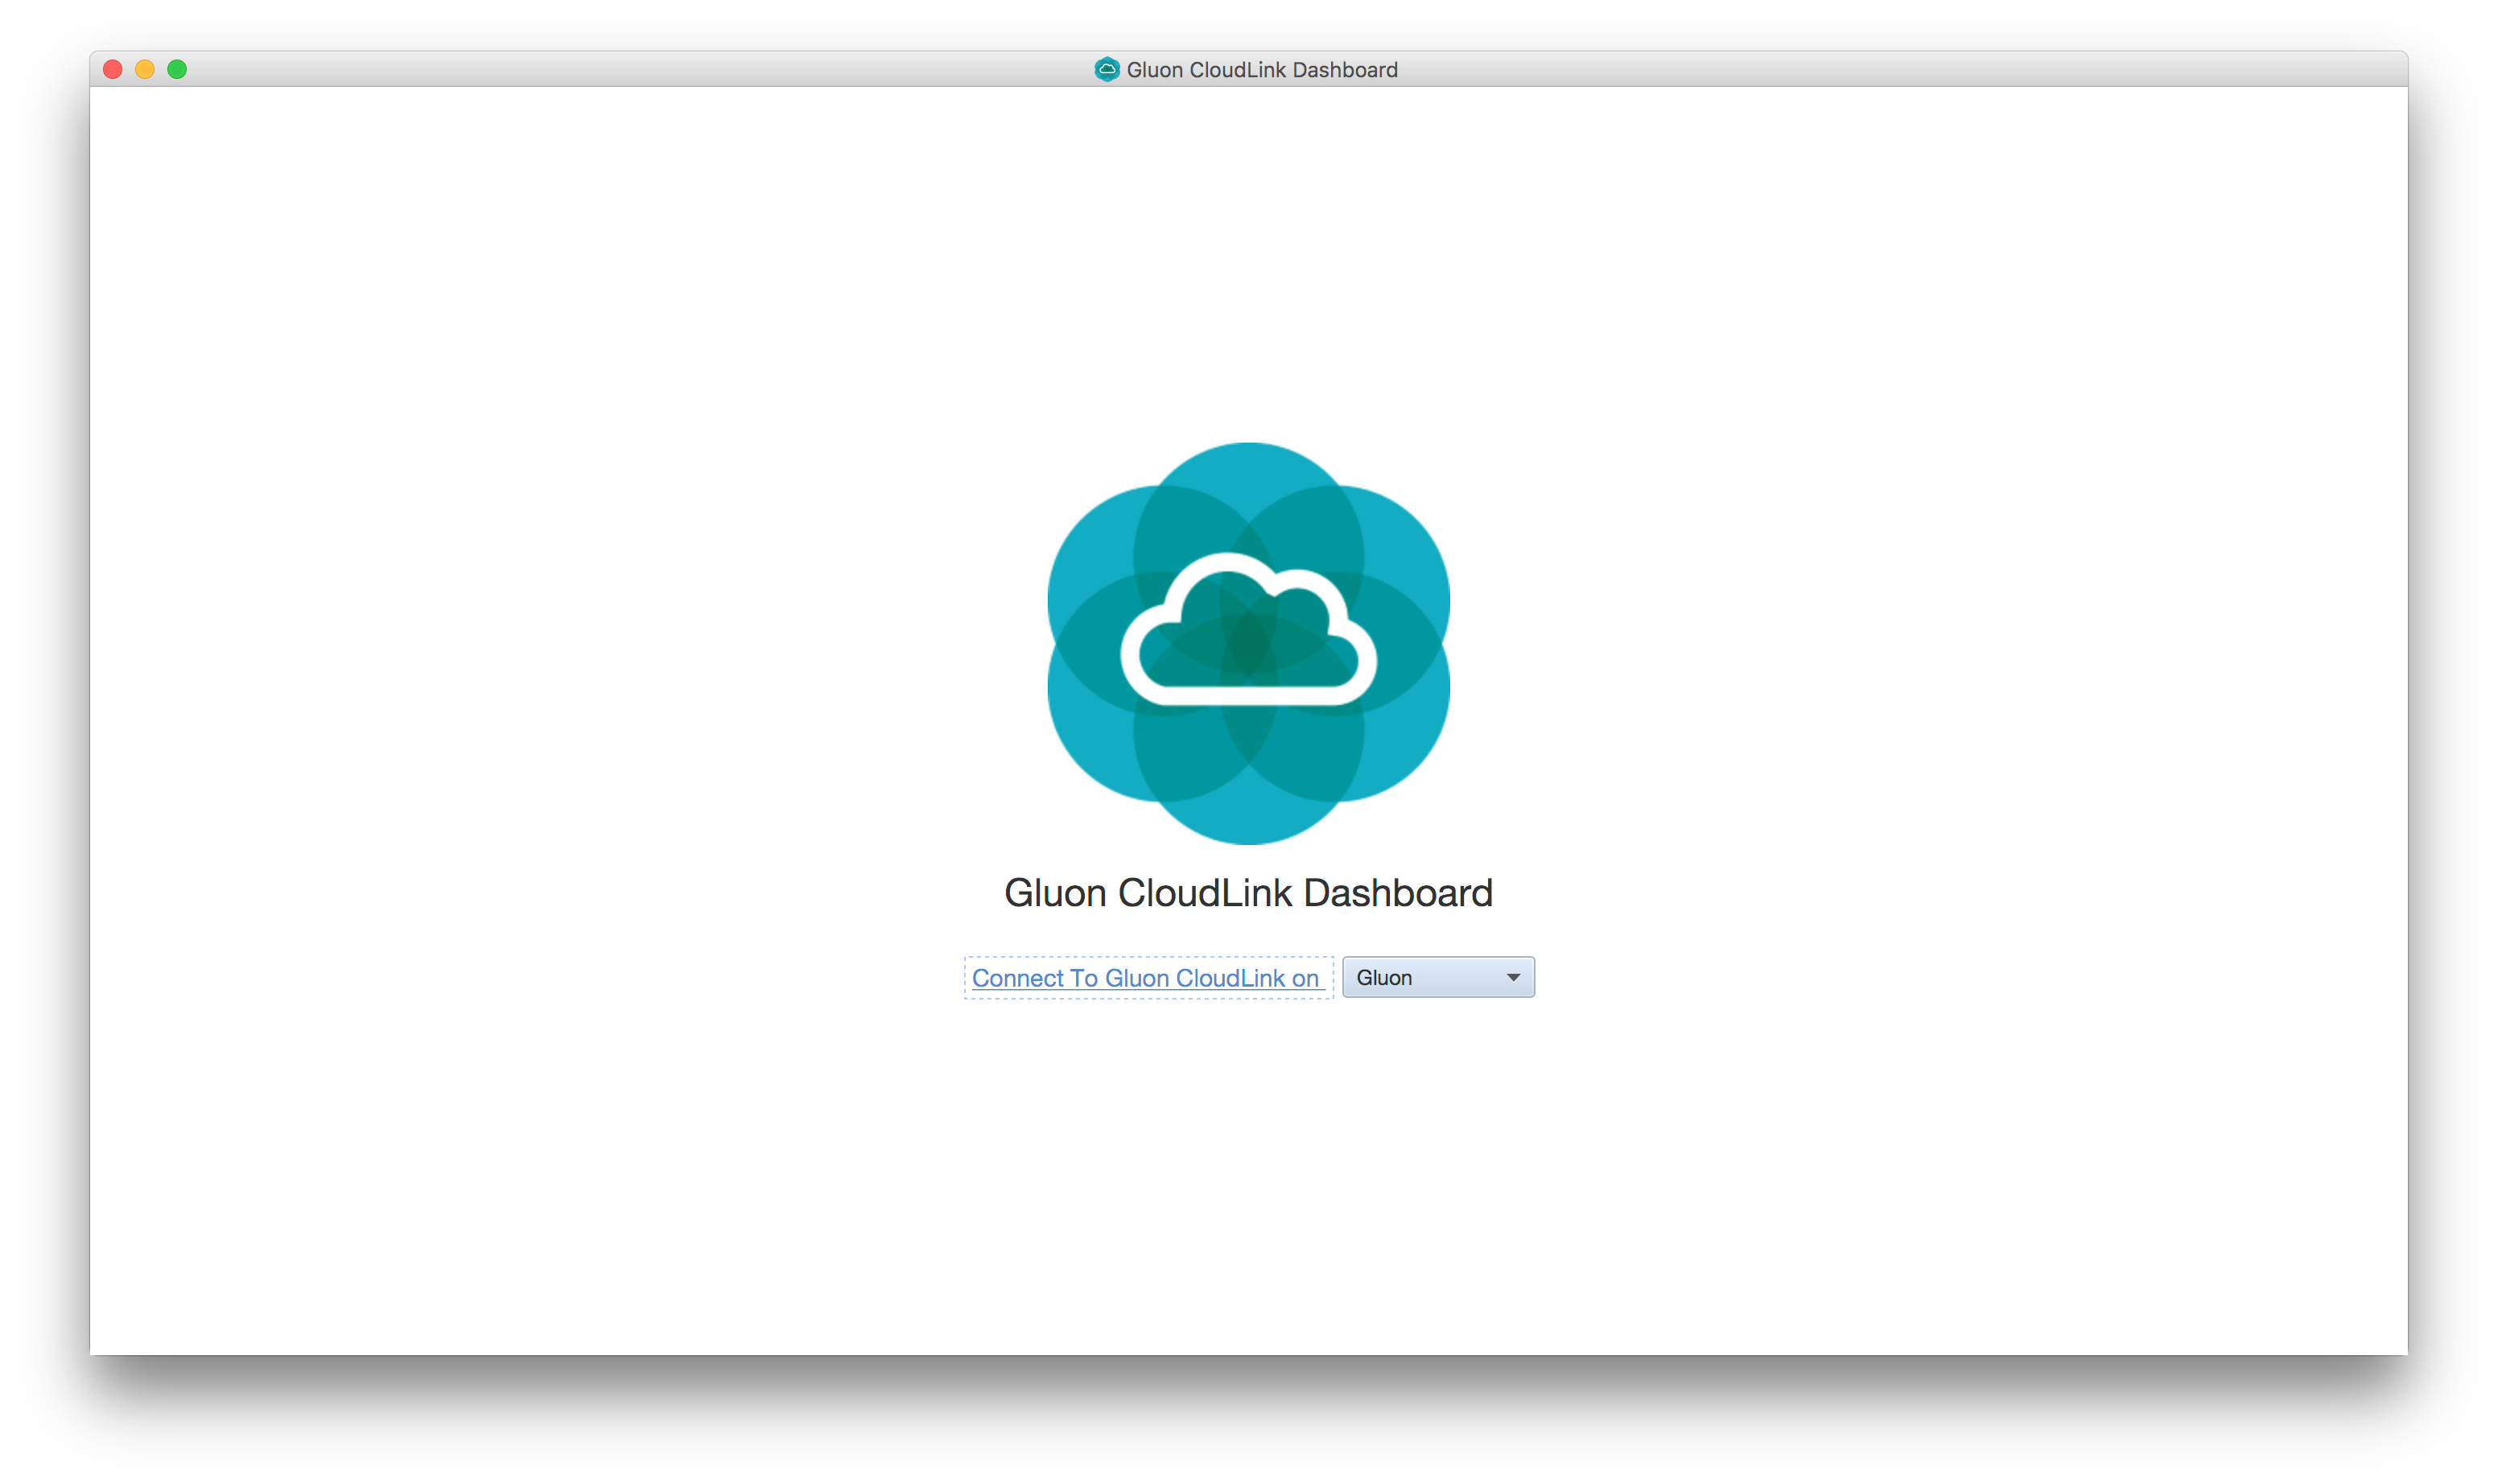
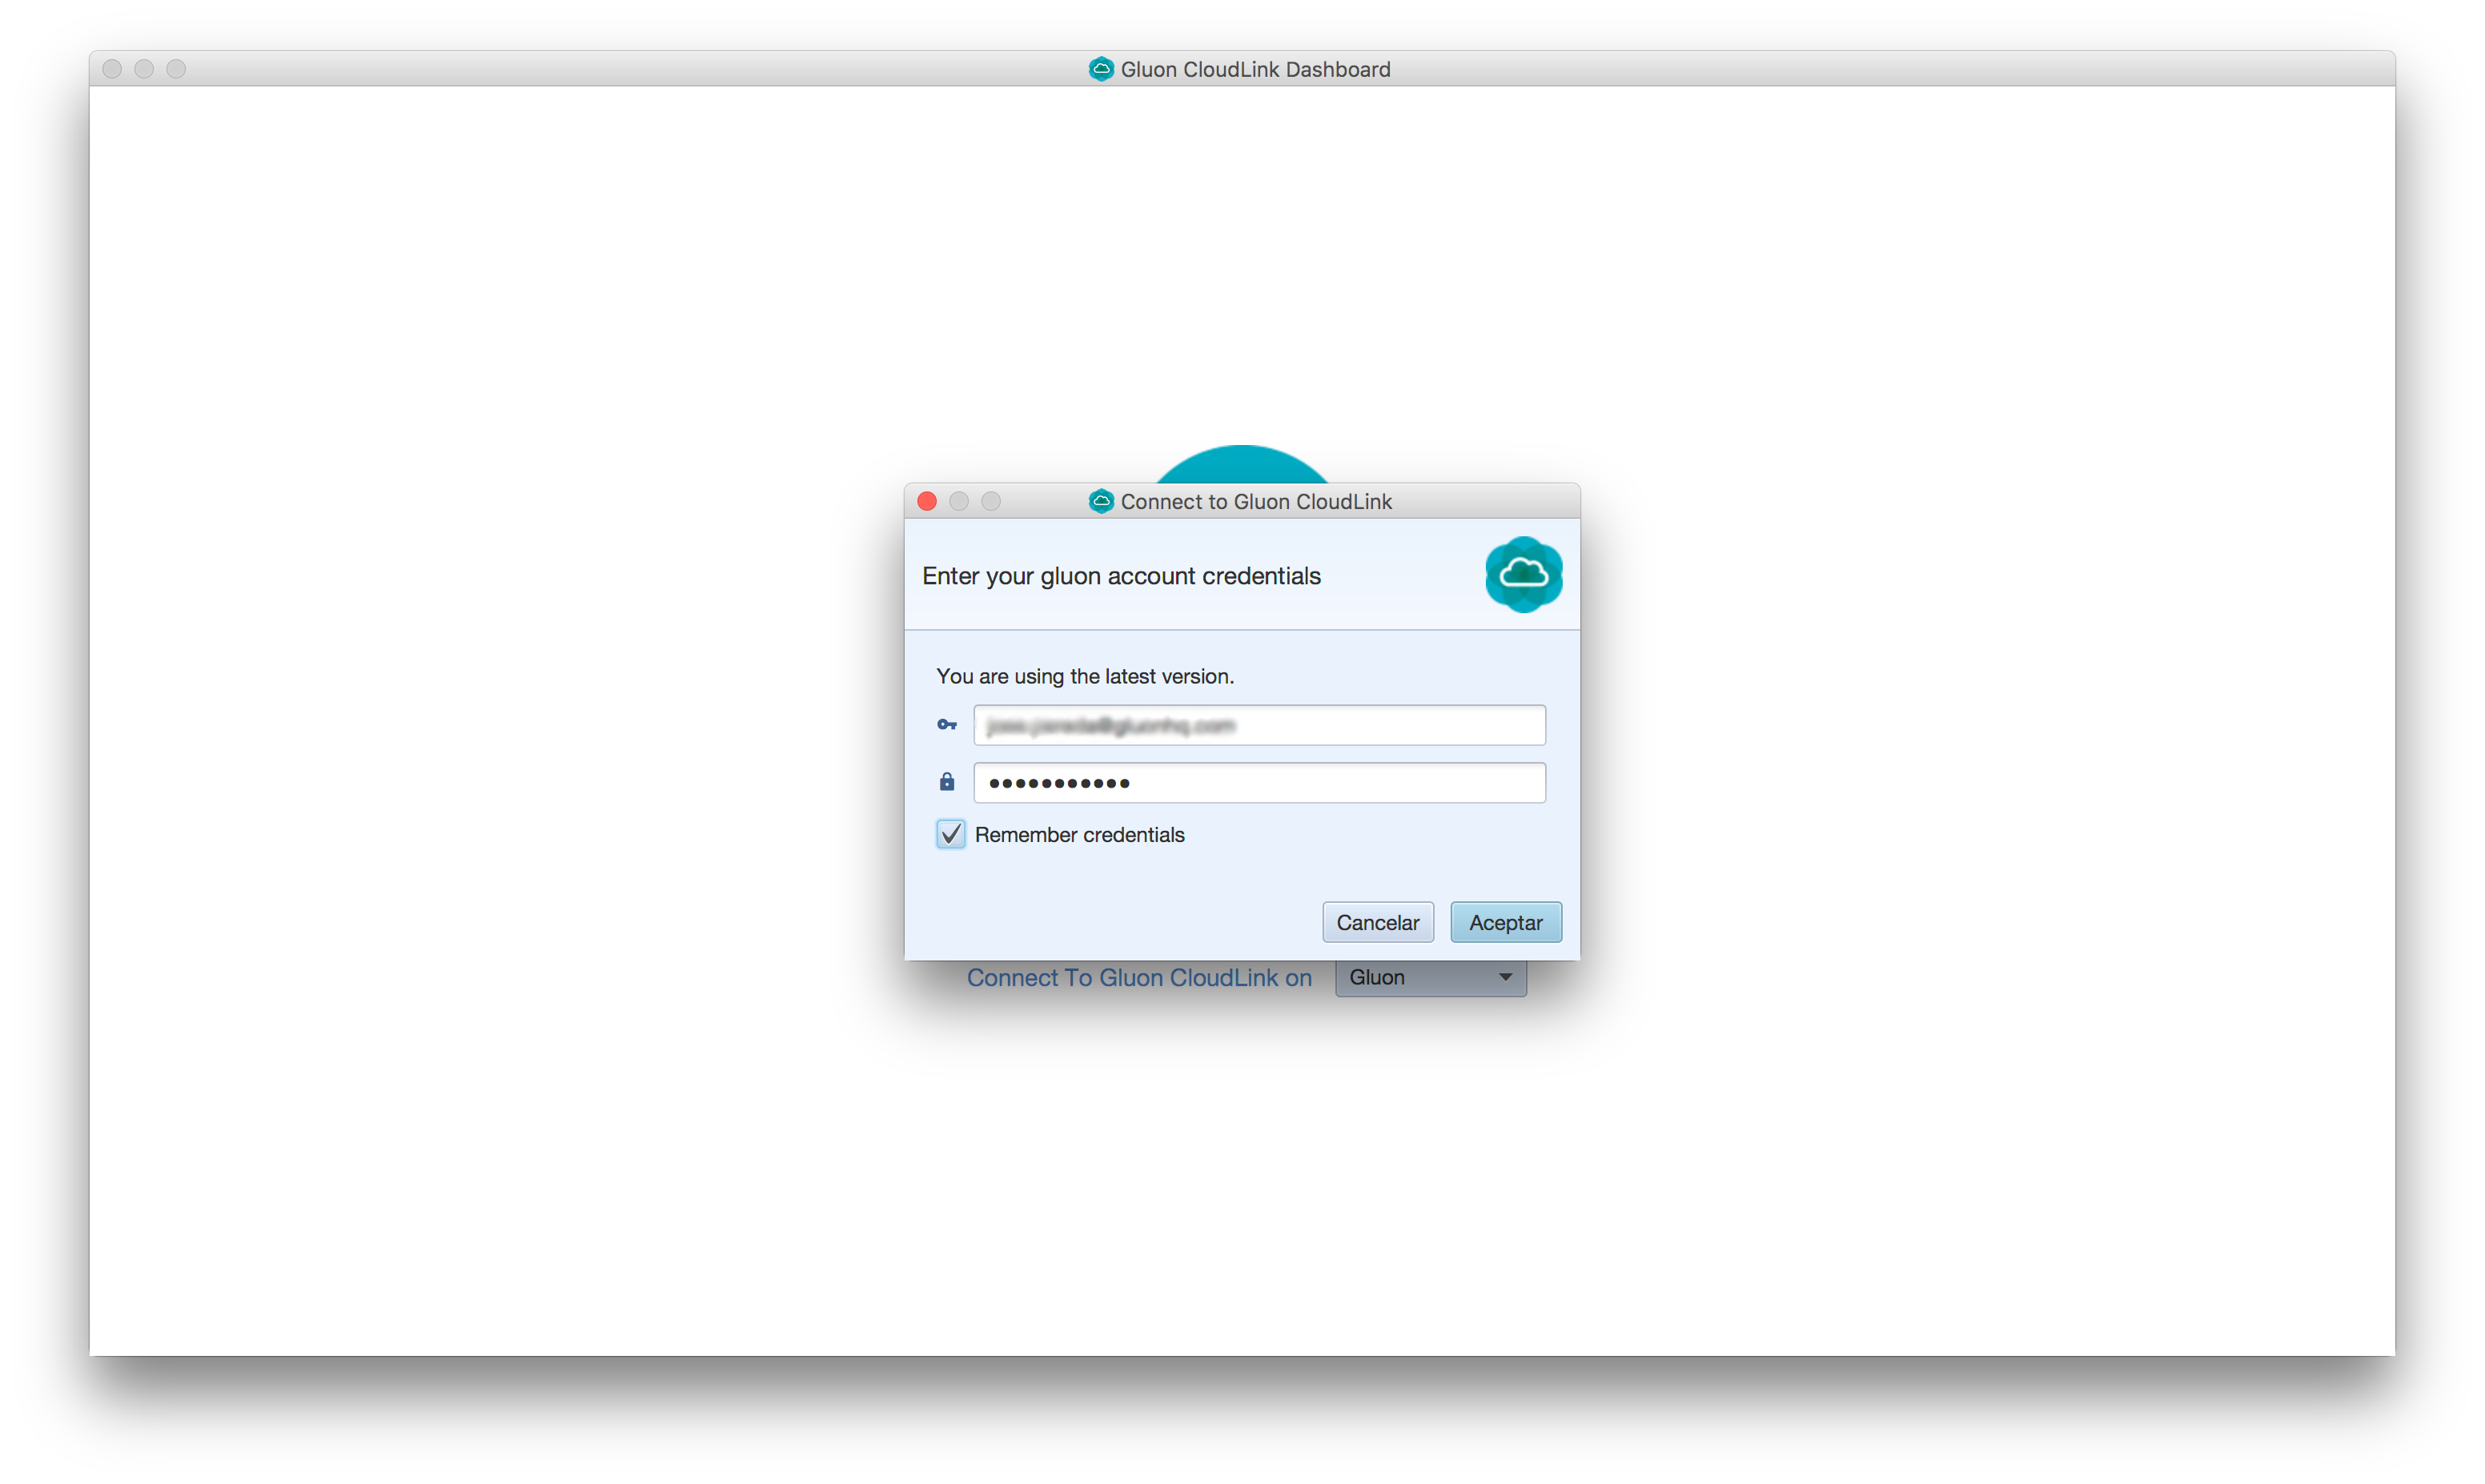
Open the Dashboard, and sign in using your Gluon account credentials (those provided when creating the account).
Go to the App Management view, and you will find a pair of key/secret tokens. Click on the save icon to save the file gluoncloudlink_config.json under your project src/main/resources/ folder.

The content of the file is a JSON object with the key and secret that will grant access to Gluon CloudLink:
{
  "gluonCredentials": {
    "applicationKey" : "f88XXXXX-XXXX-XXXX-XXXX-XXXXXXXXXXXX",
    "applicationSecret": "7fbXXXXX-XXXX-XXXX-XXXX-XXXXXXXXXXXX"
  }
}
UsageClient
To enable usage analytics in your Gluon Mobile application, you just need to call the enable method on the UsageClient.
The method can be called at any time, but ideally it should be called as soon as the application is launched.
public class TrackUsage extends MobileApplication {

    @Override
    public void postInit(Scene scene) {
        ...
        new UsageClient().enable();
    }
}
This will trigger a call to the Gluon CloudLink Usage service that stores the general information about the device itself, like the platform, the model, the version of the application, etc. The trigger will only be sent just once. It won’t send any personal information.
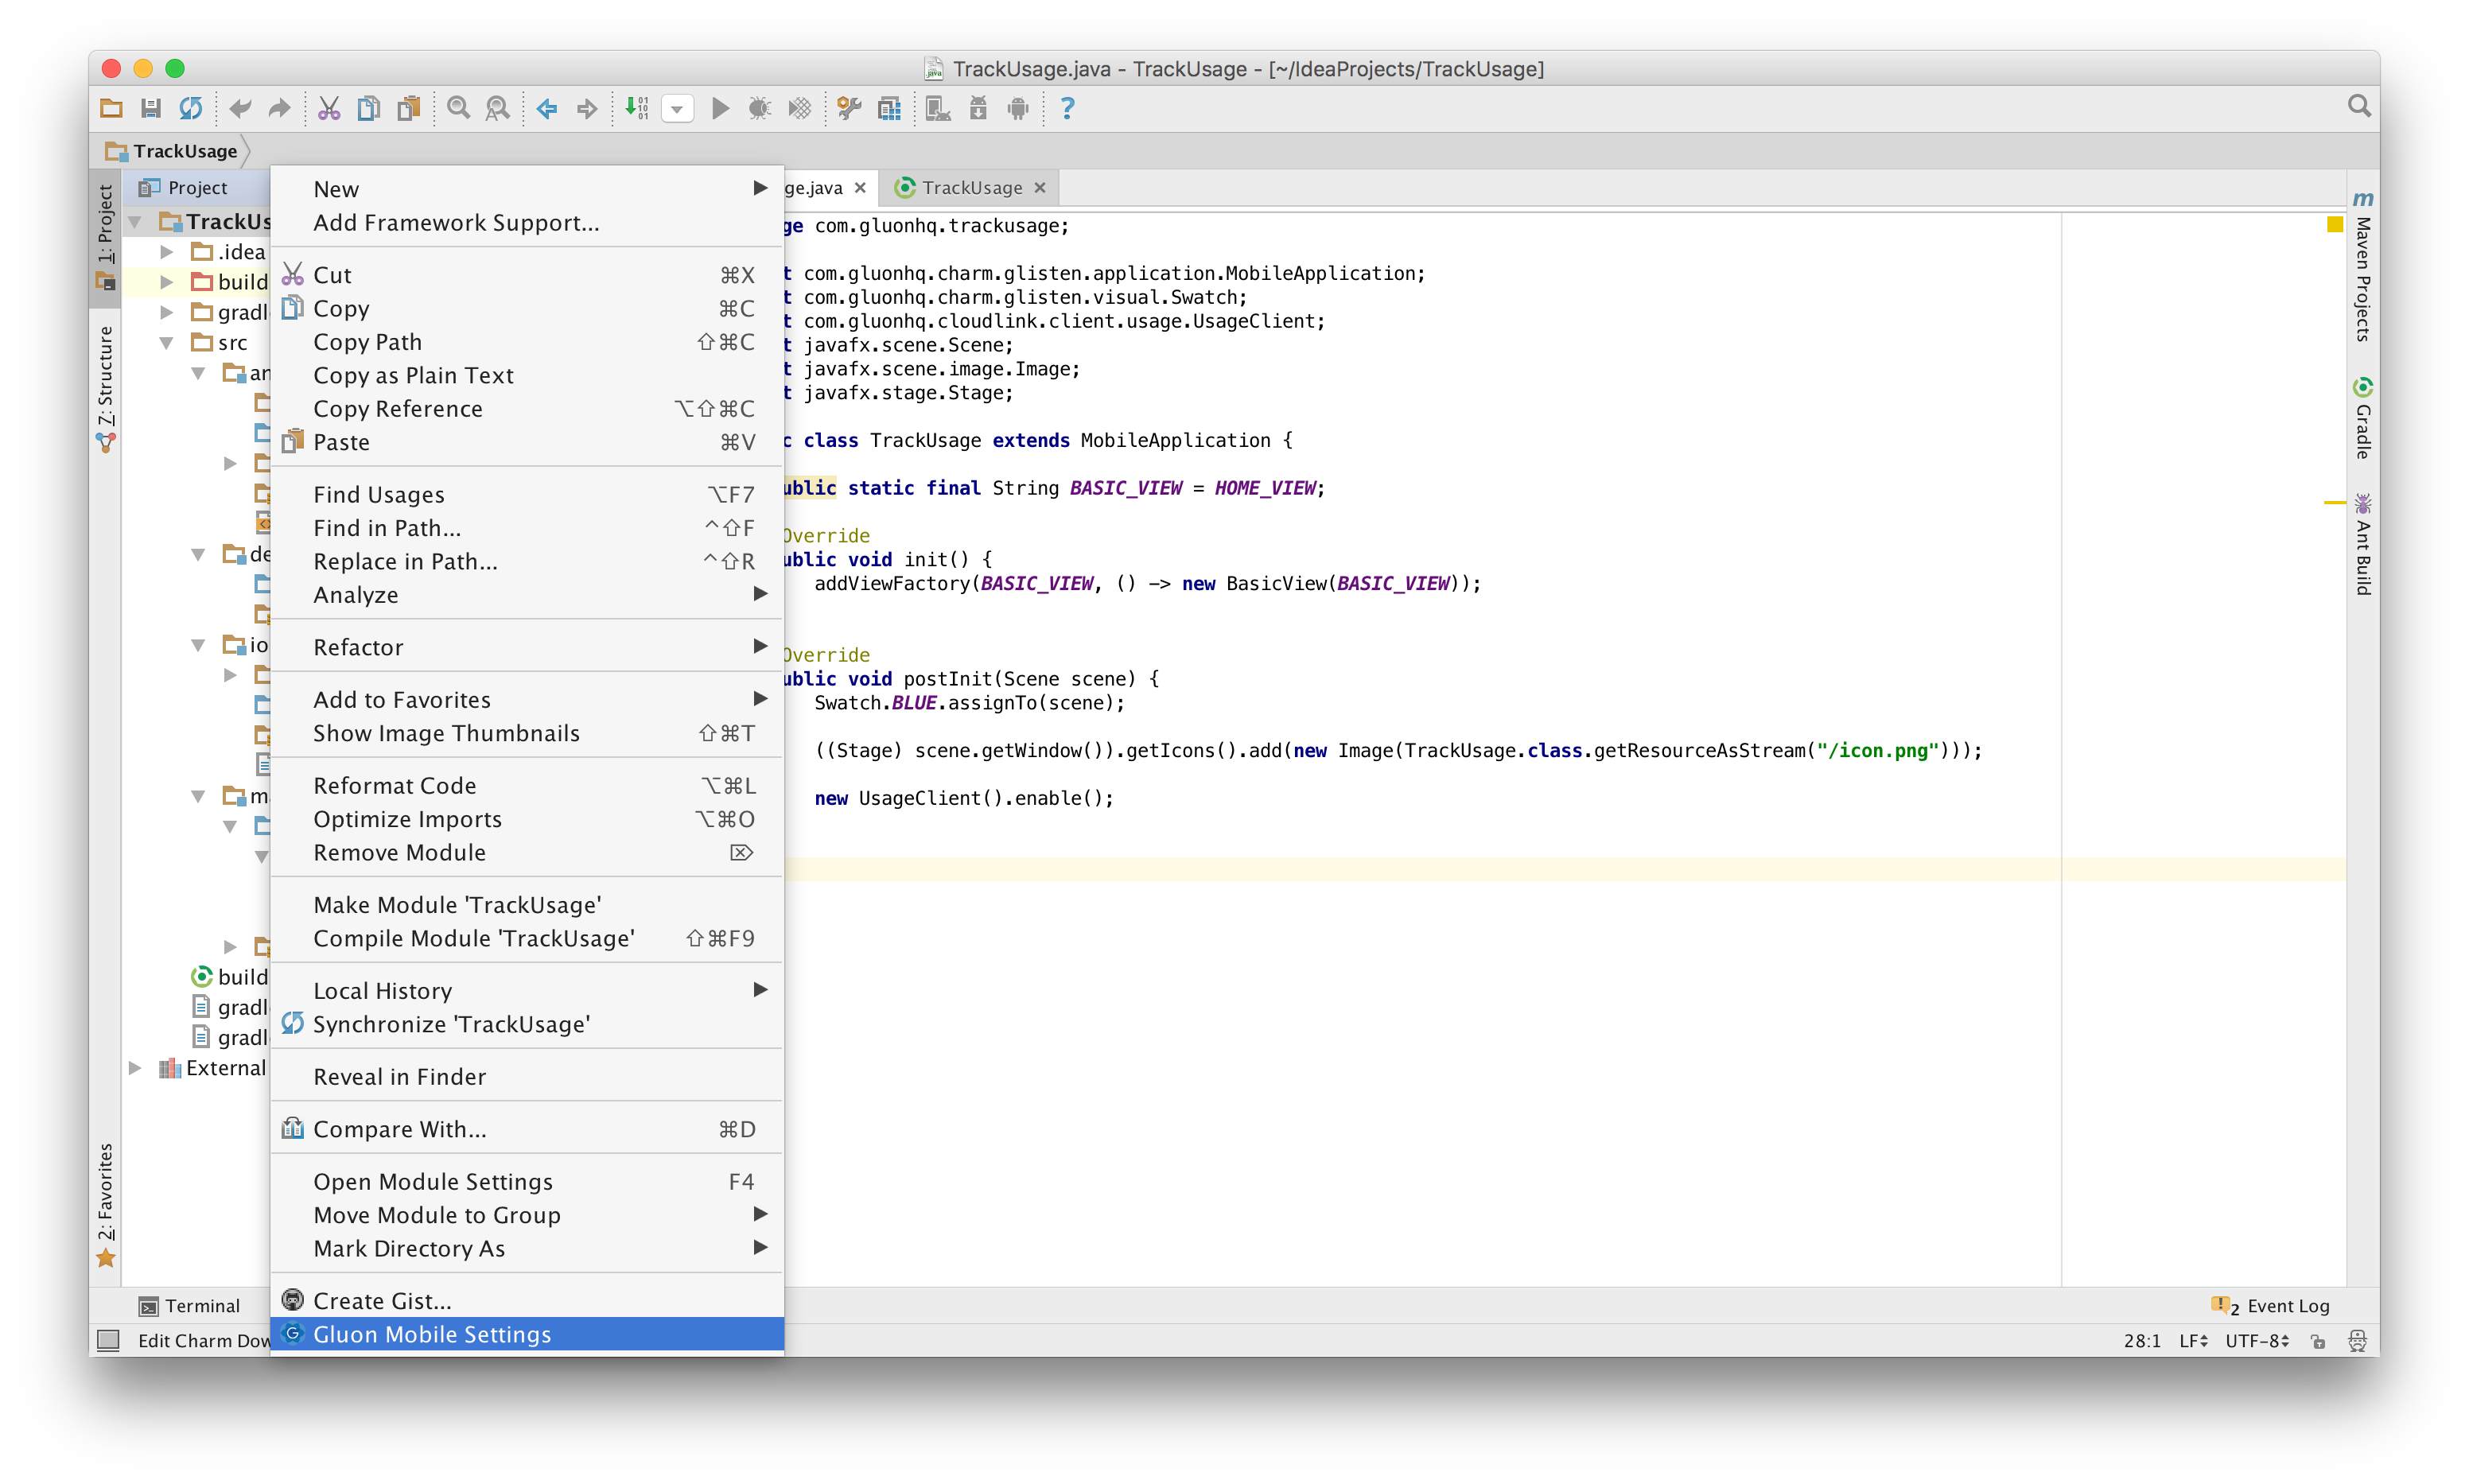
To retrieve the device information, it makes use of the DeviceService plugin. Right click in the root project, and select the Gluon Mobile Settings option.
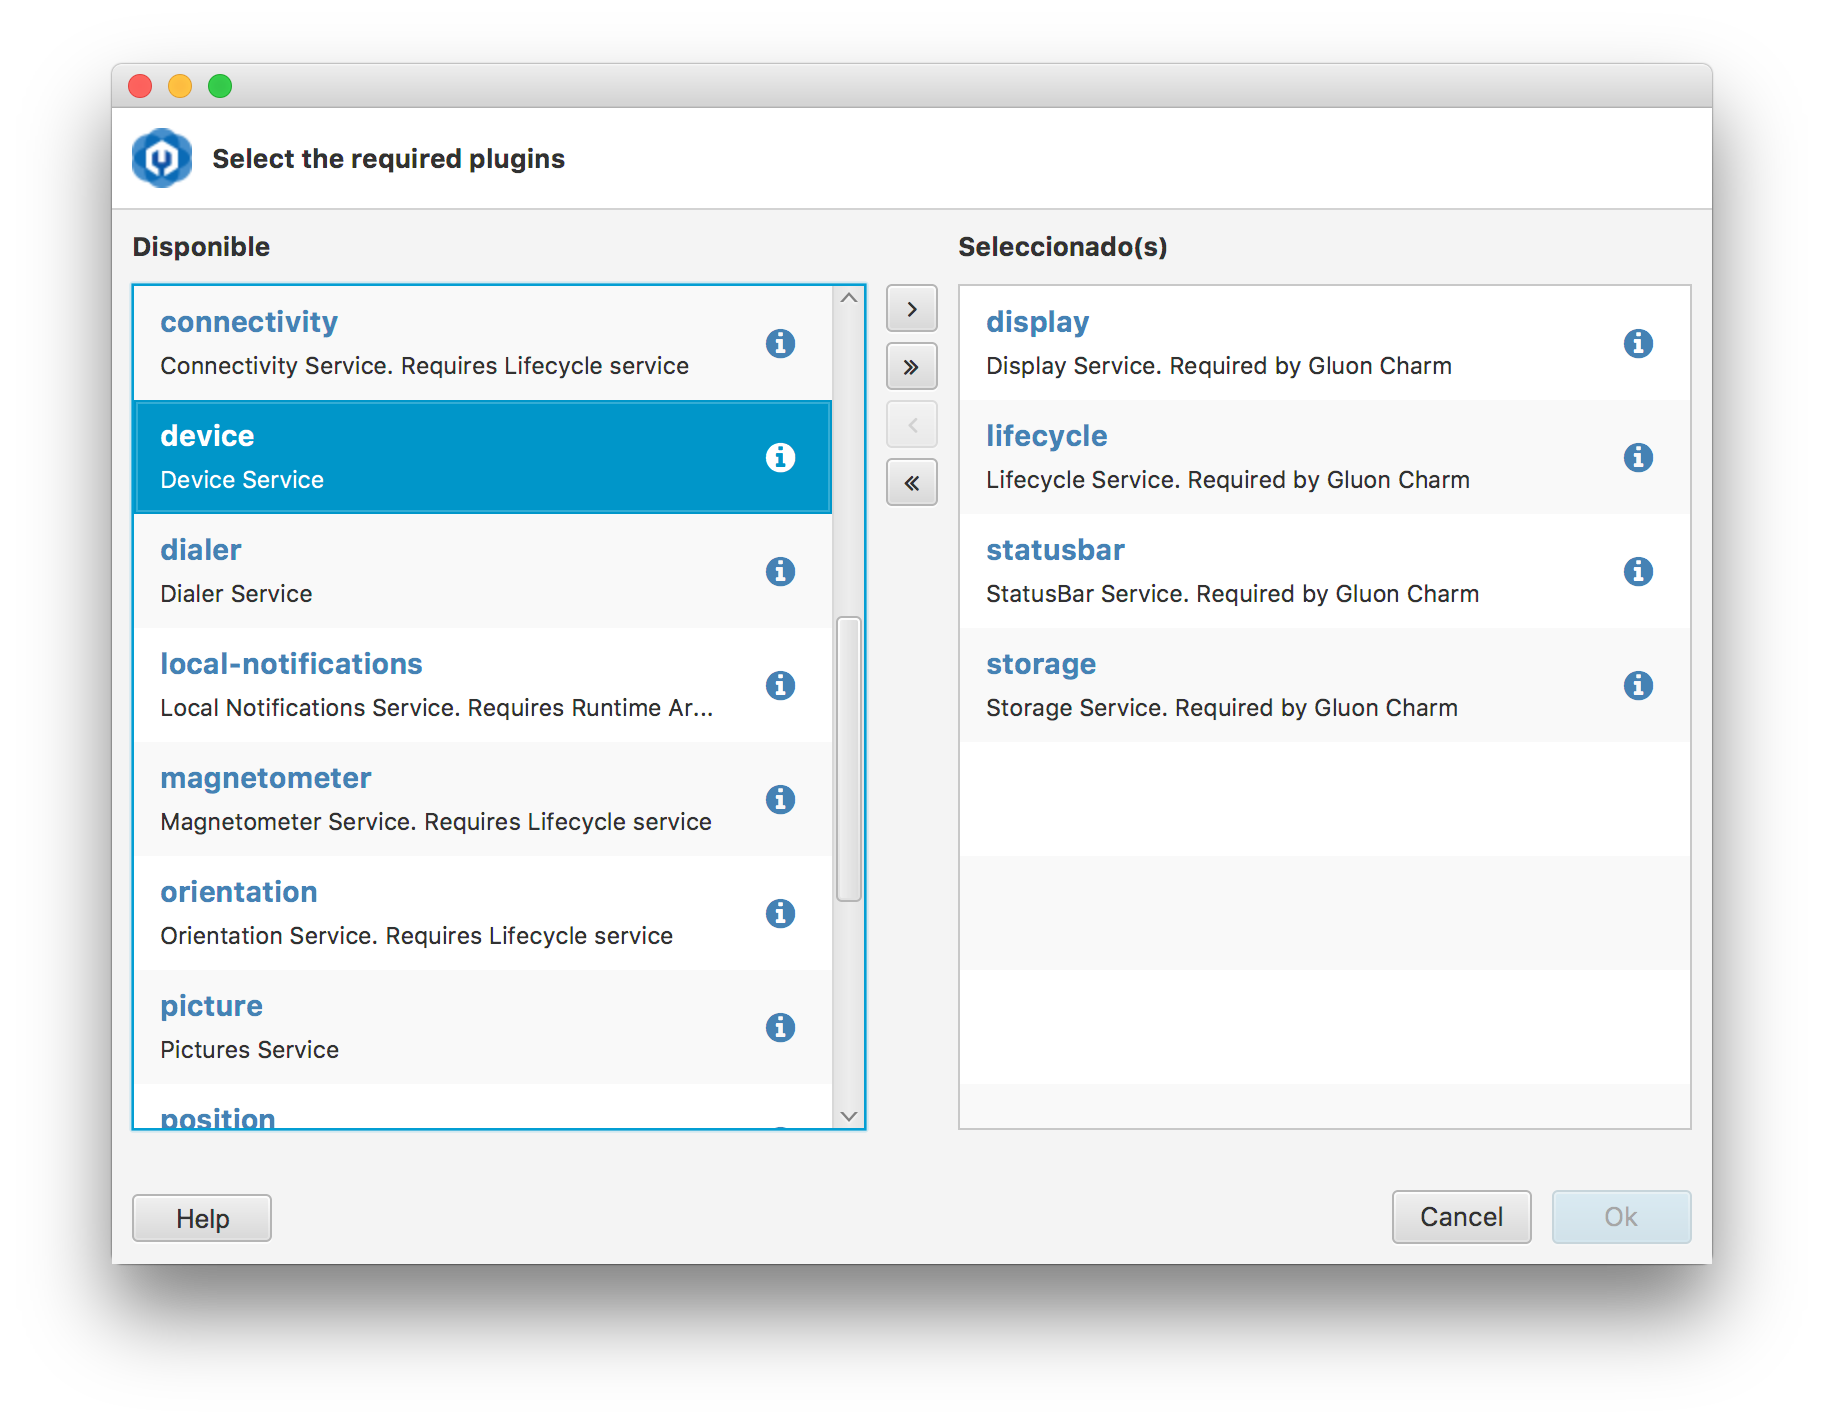
Locate the Device service and select it.
jfxmobile {
    downConfig {
        version = '3.8.0'
        // Do not edit the line below. Use Gluon Mobile Settings in your project context menu instead
        plugins 'device', 'display', 'lifecycle', 'statusbar', 'storage'
    }
Deploy on mobile
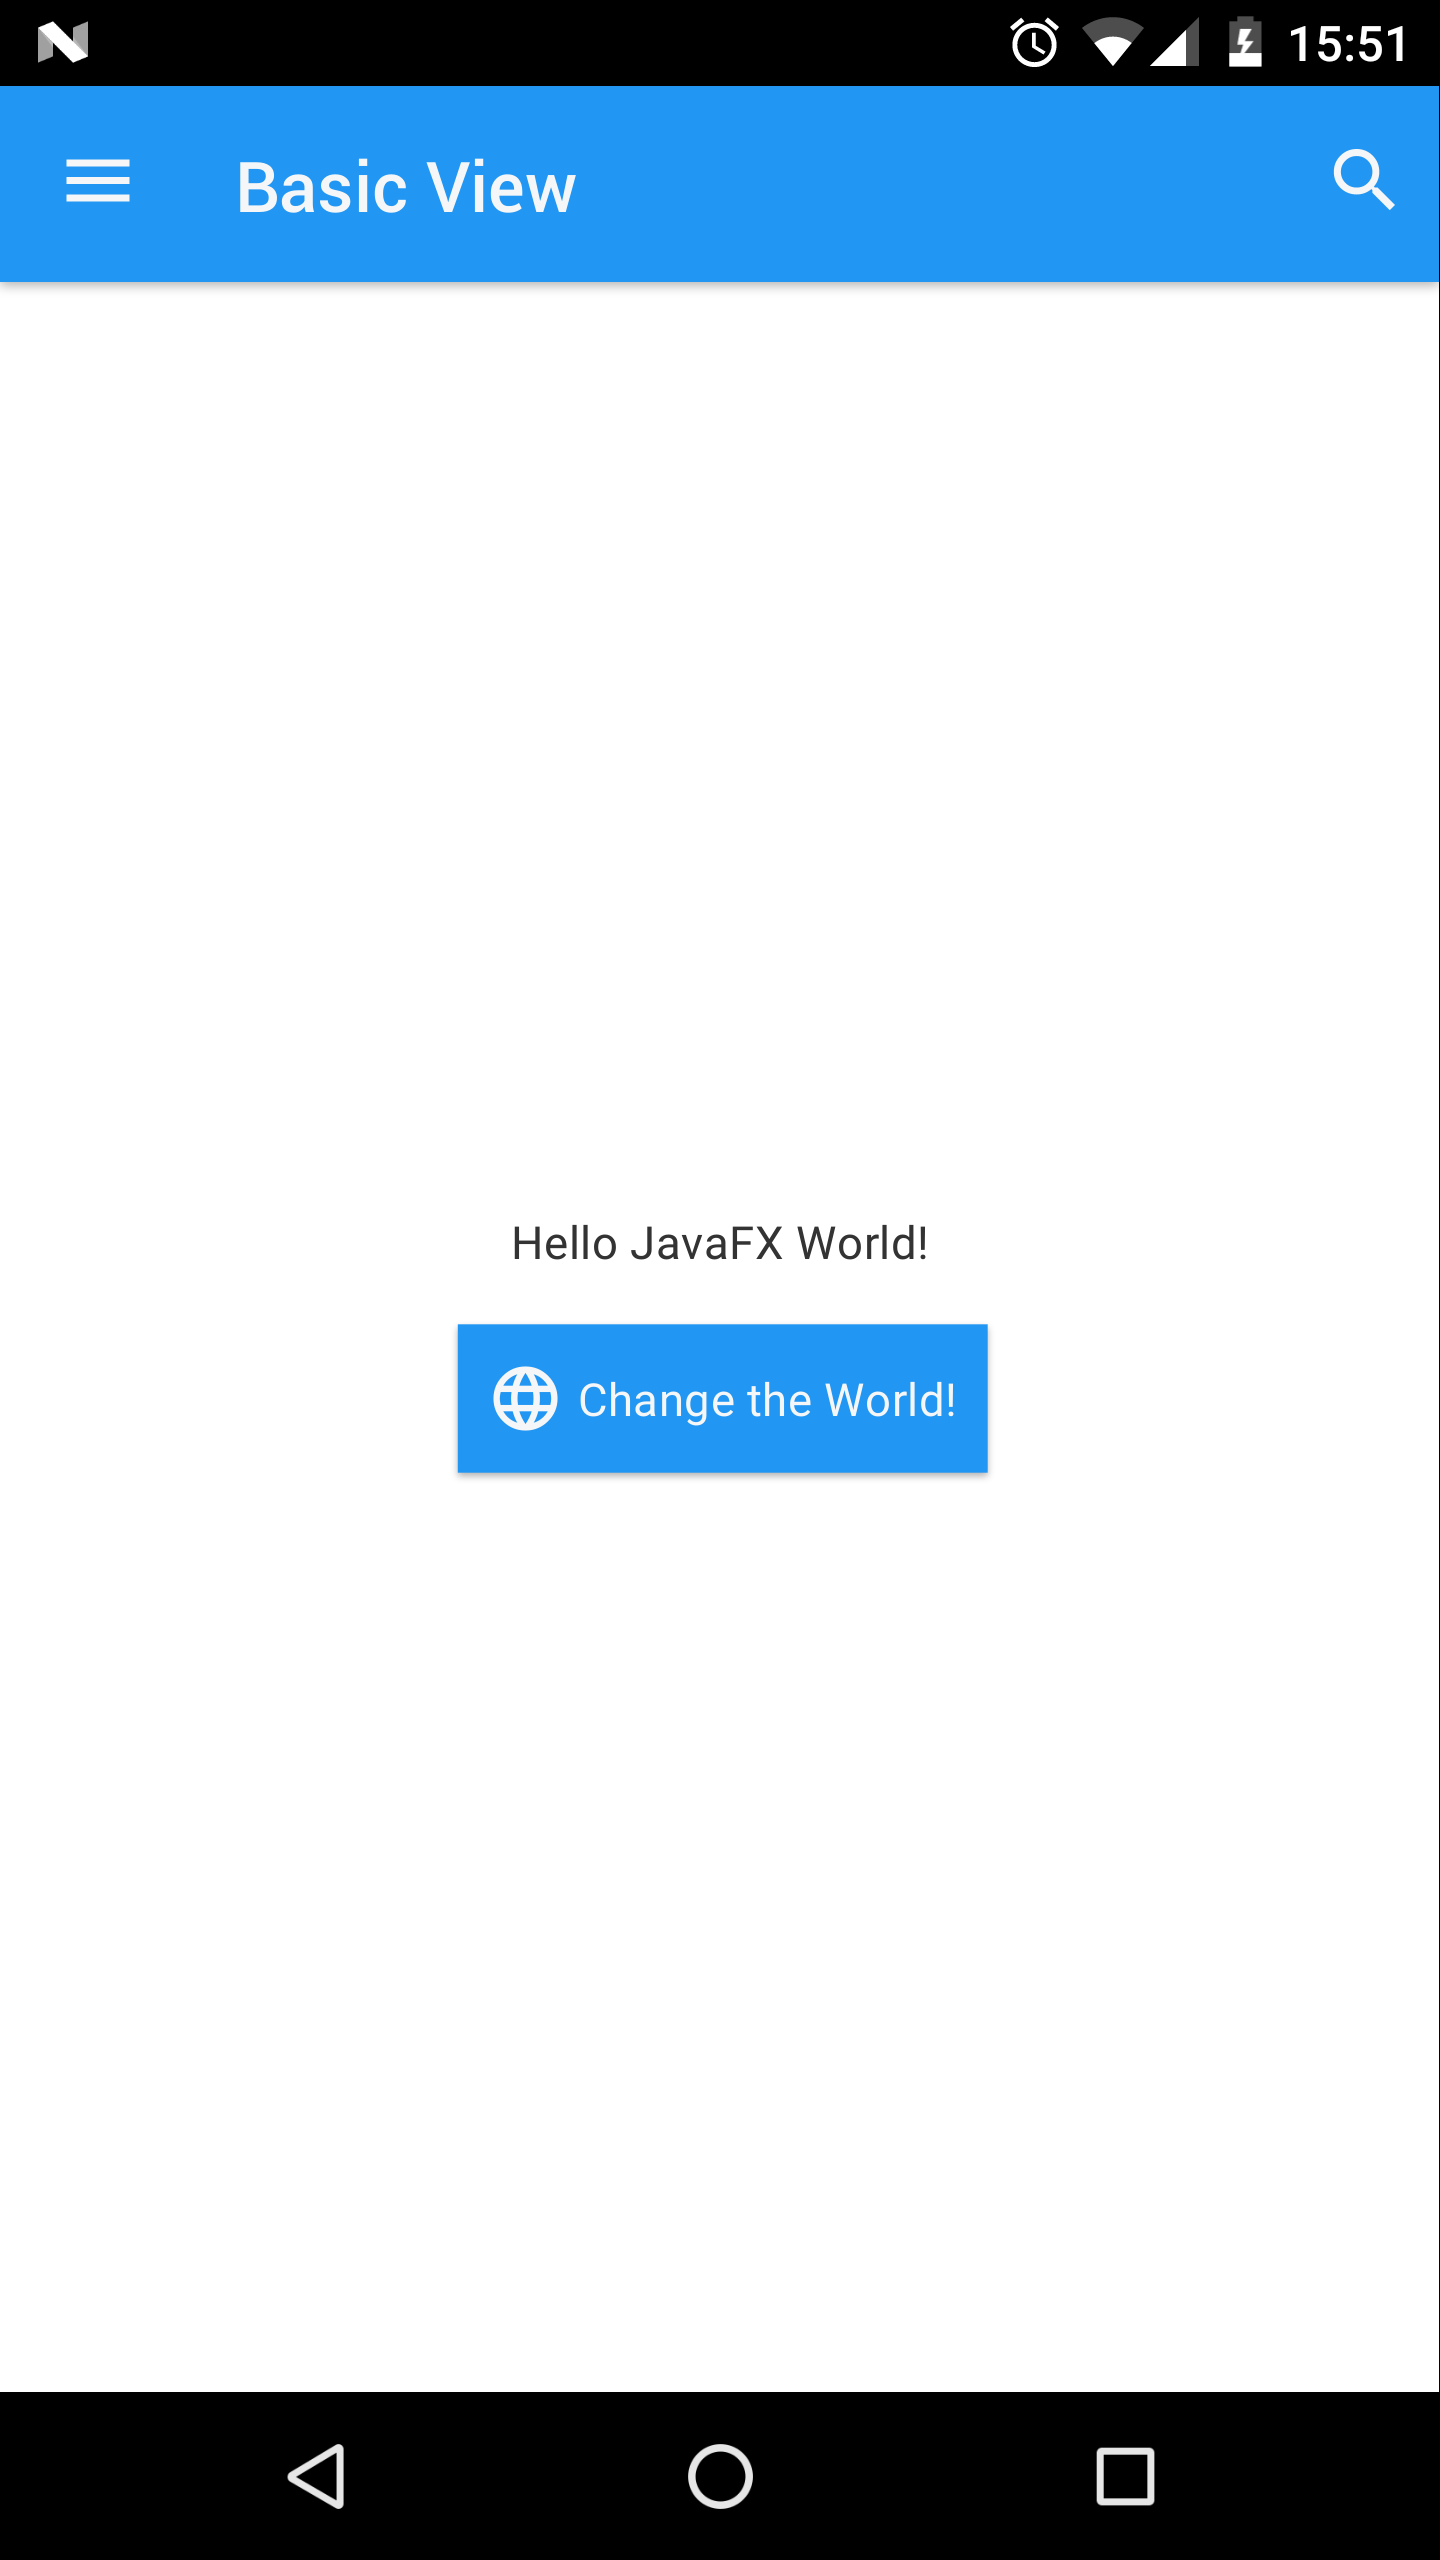
The usage service works for Android and iOS devices, so we just need to deploy the simple app on any of them and open it.
Select from Tasks→others→androidInstall to deploy on Android, or launchIOSDevice to deploy on iOS.

Once the app is deployed, open it.
Analytics
Now open the Gluon CloudLink Dashboard application, and you will find the first usage on the devices tab.
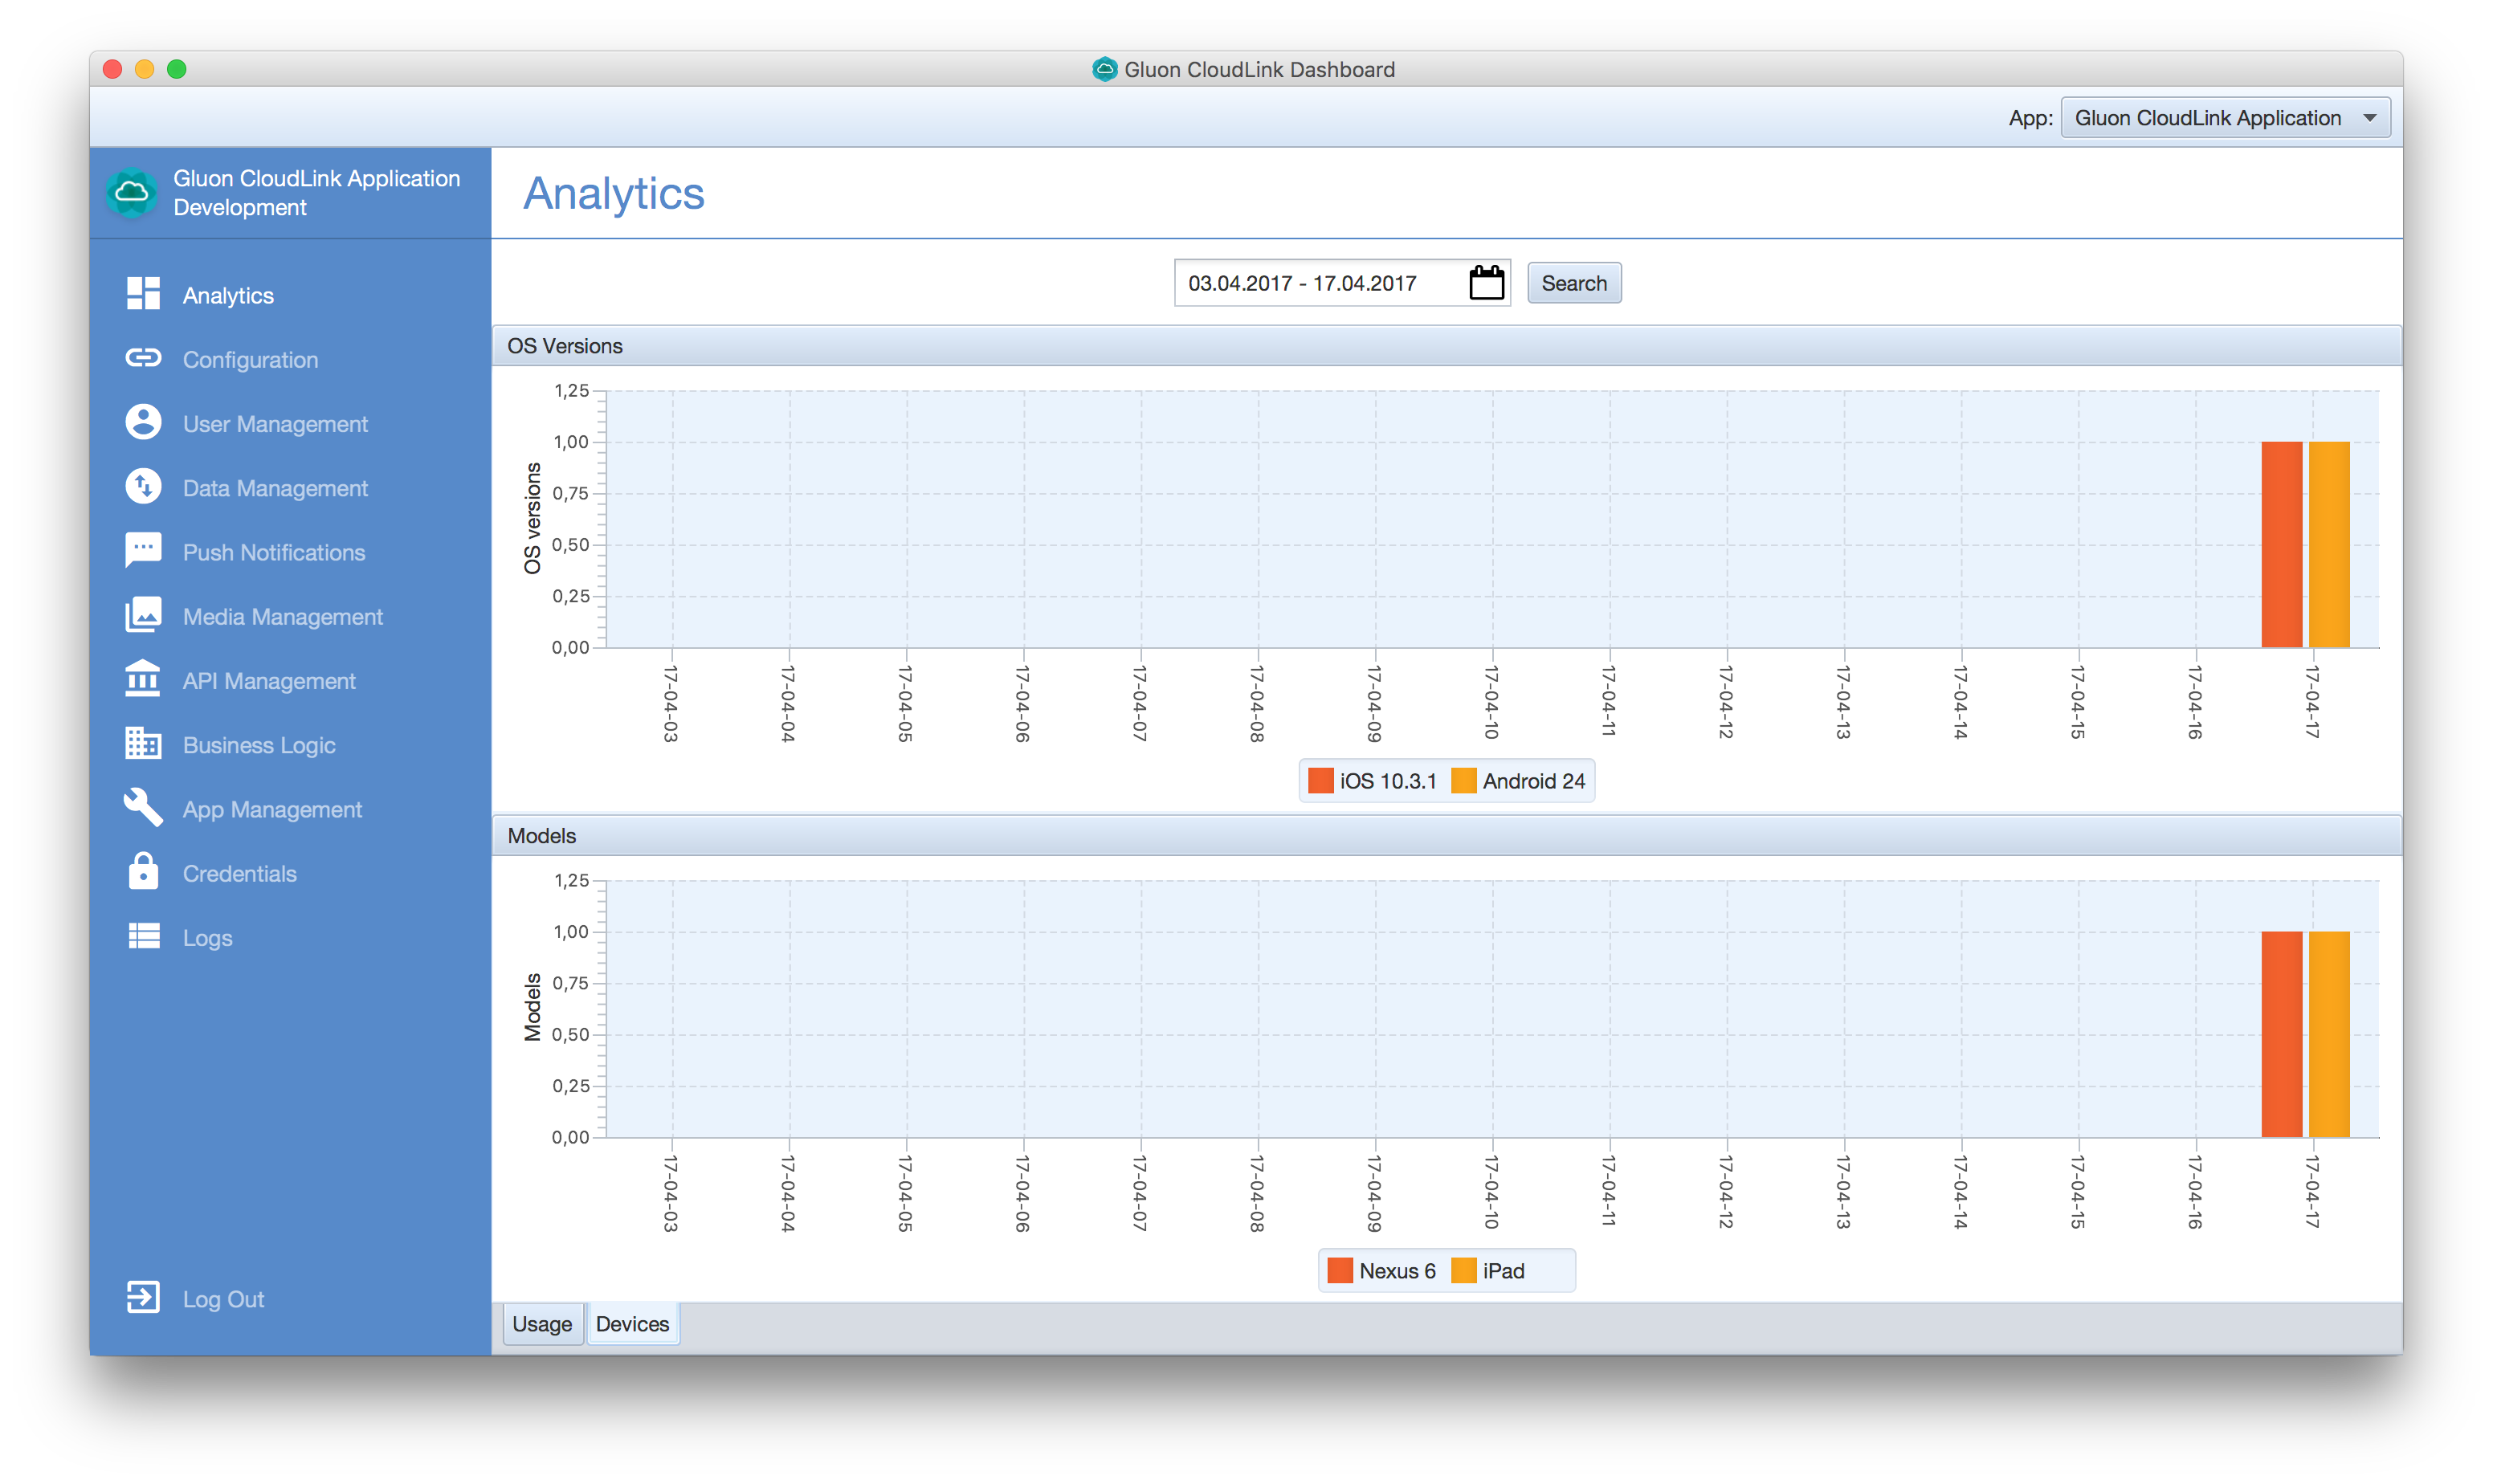
Later on, you will be able to display the statistics for any range of dates.
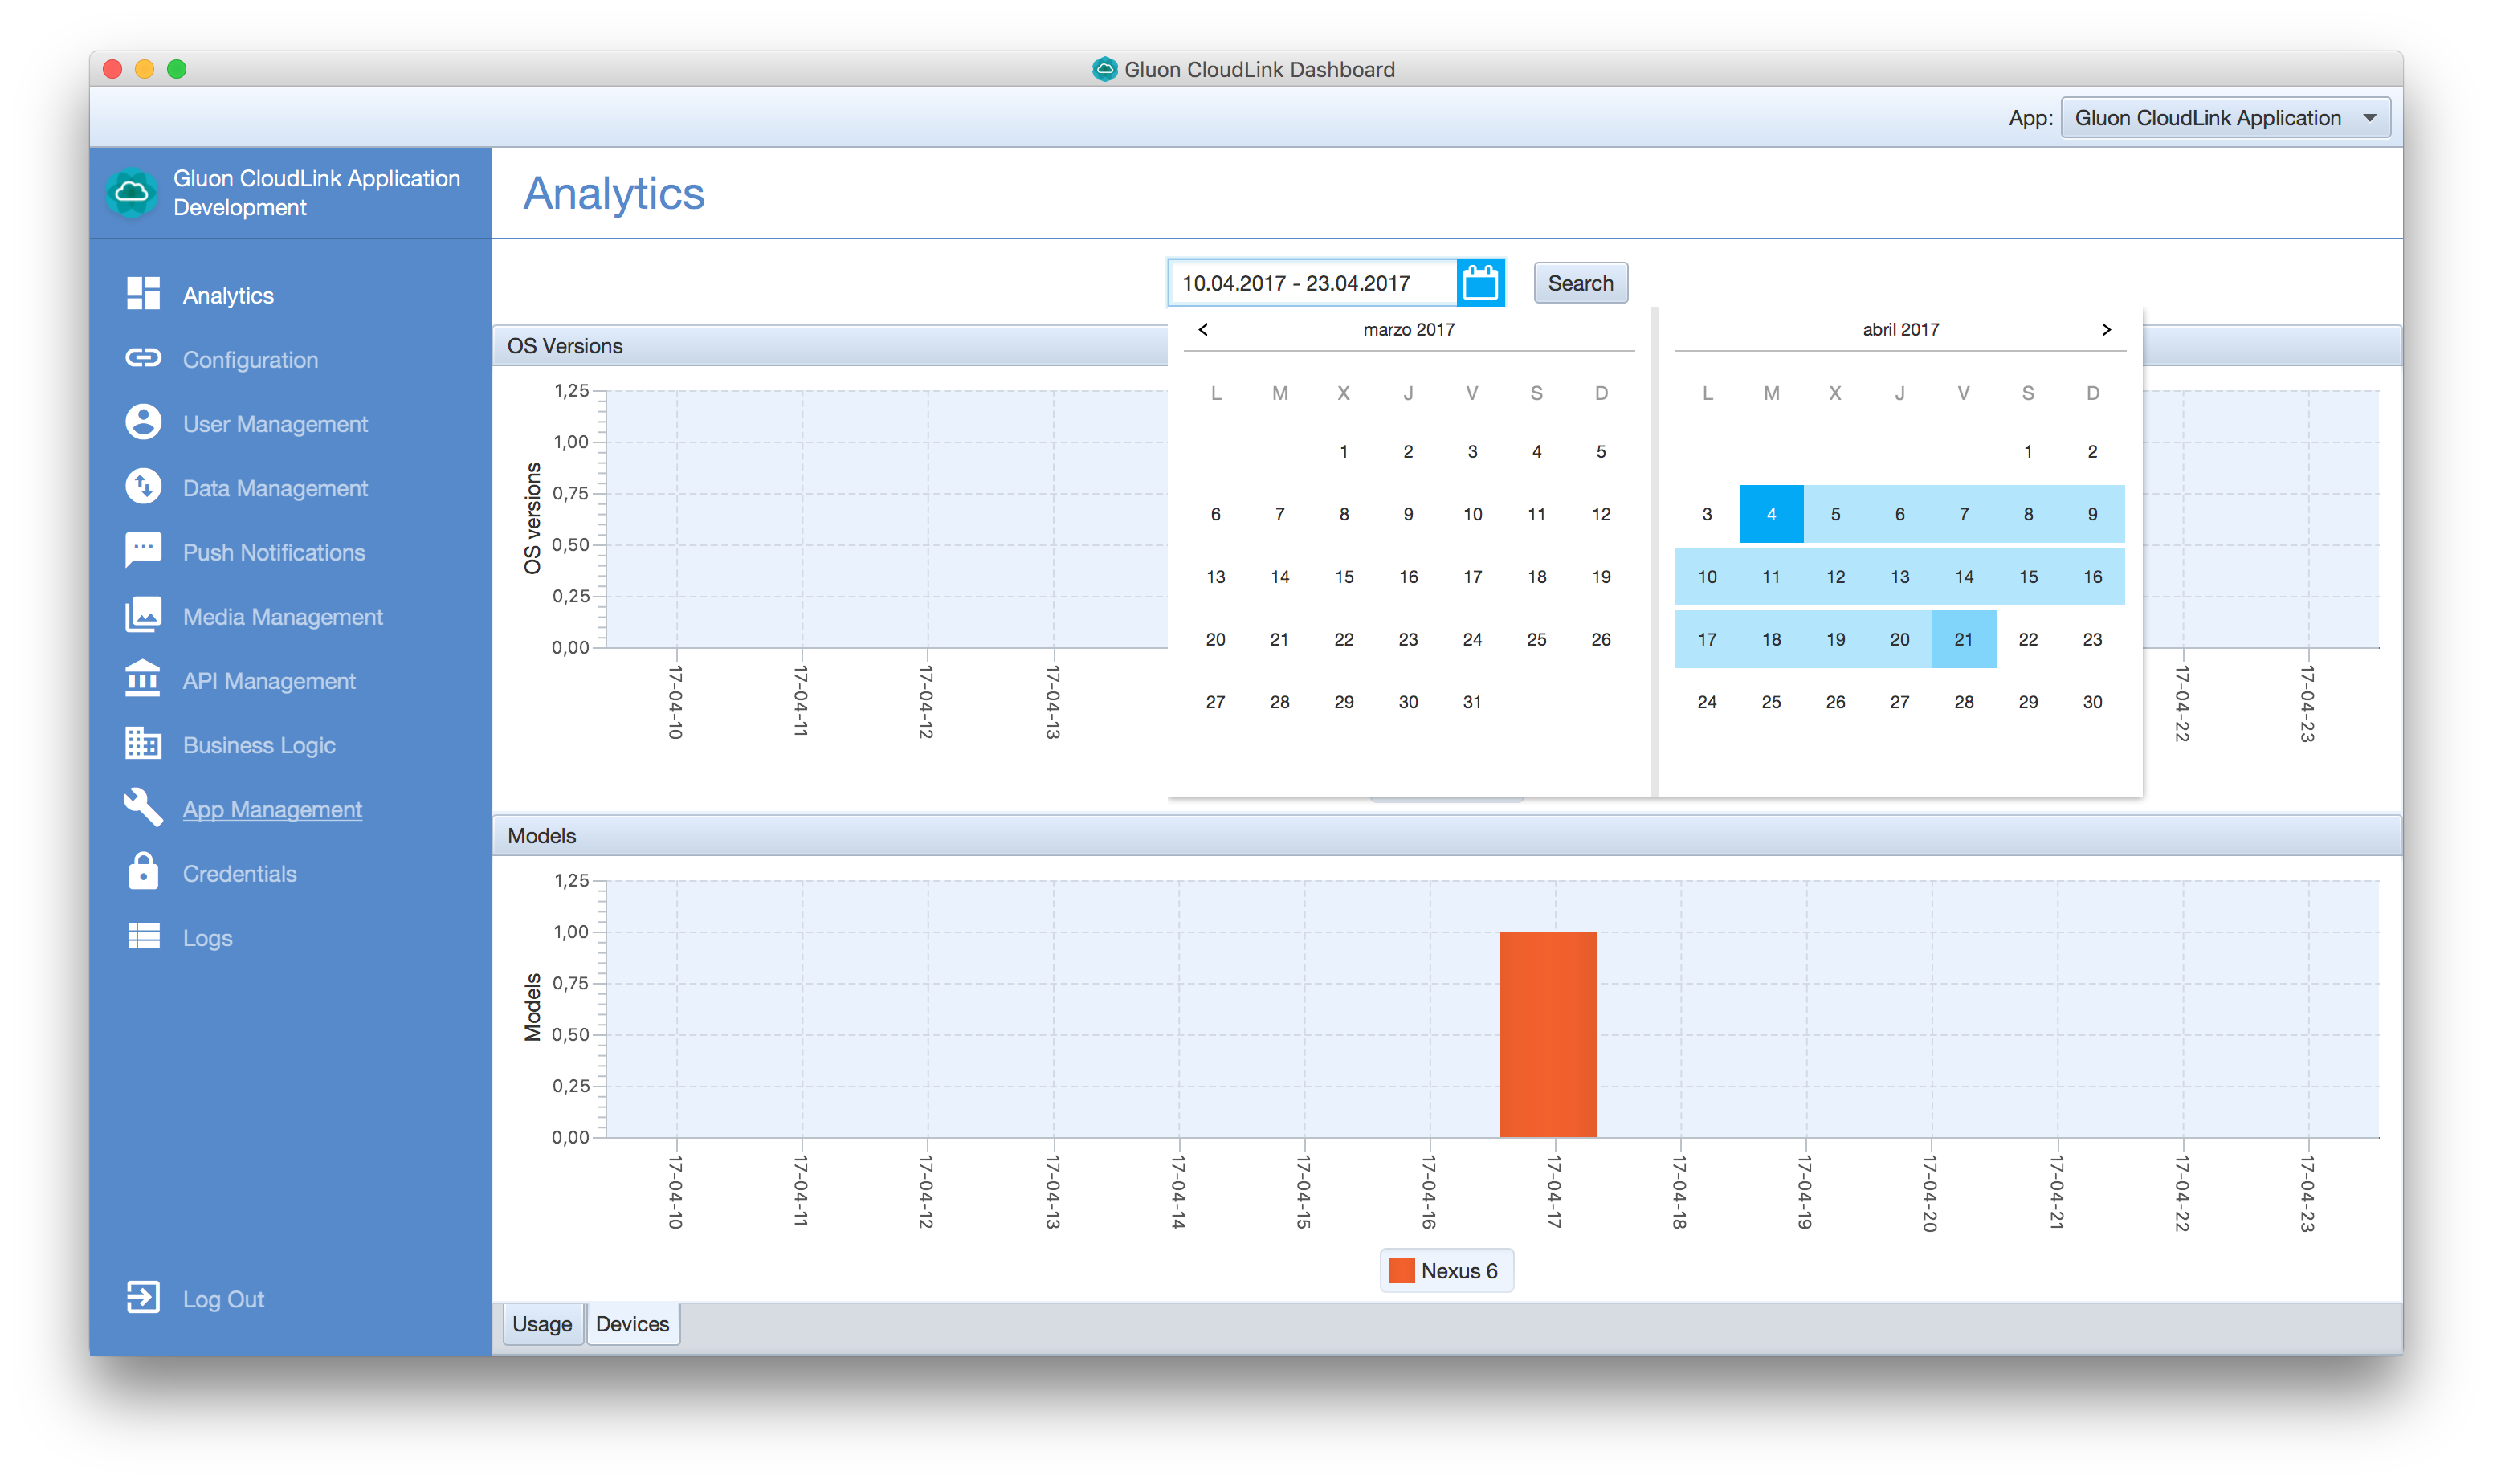
The usage tab displays other statistics related to the different CloudLink services used by the different app clients, in case the app makes use of any of them: data, usage, push, media or user among other services, as well as errors statistics.

Conclusion
During this tutorial we have accomplished several tasks:
-
We have used the Cloudlink Dashboard to track the usage of a client app.
-
We have created a client project that can be deployed on Desktop, Andriod and iOS, with the
UsageClientto gather and send some general details of the client app to CloudLink. -
We have added the
Deviceplugin to the project. -
We have tested the app and checked the usage analytics with the help of the Gluon CloudLink Dashboard app.
If you have made it this far, congratulations, we hope this sample and the documentation was helpful to you! In case you have any questions, your first stop should be the Gluon support page, where you can access the CloudLink latest documentation. Gluon also recommends the community to support each other over at the Gluon StackOverflow page. Finally, Gluon offers commercial support as well, to kick start your projects.