Facebook Authentication
Create Facebook Application
To get started with Facebook authentication, you first need to create a new Facebook application.
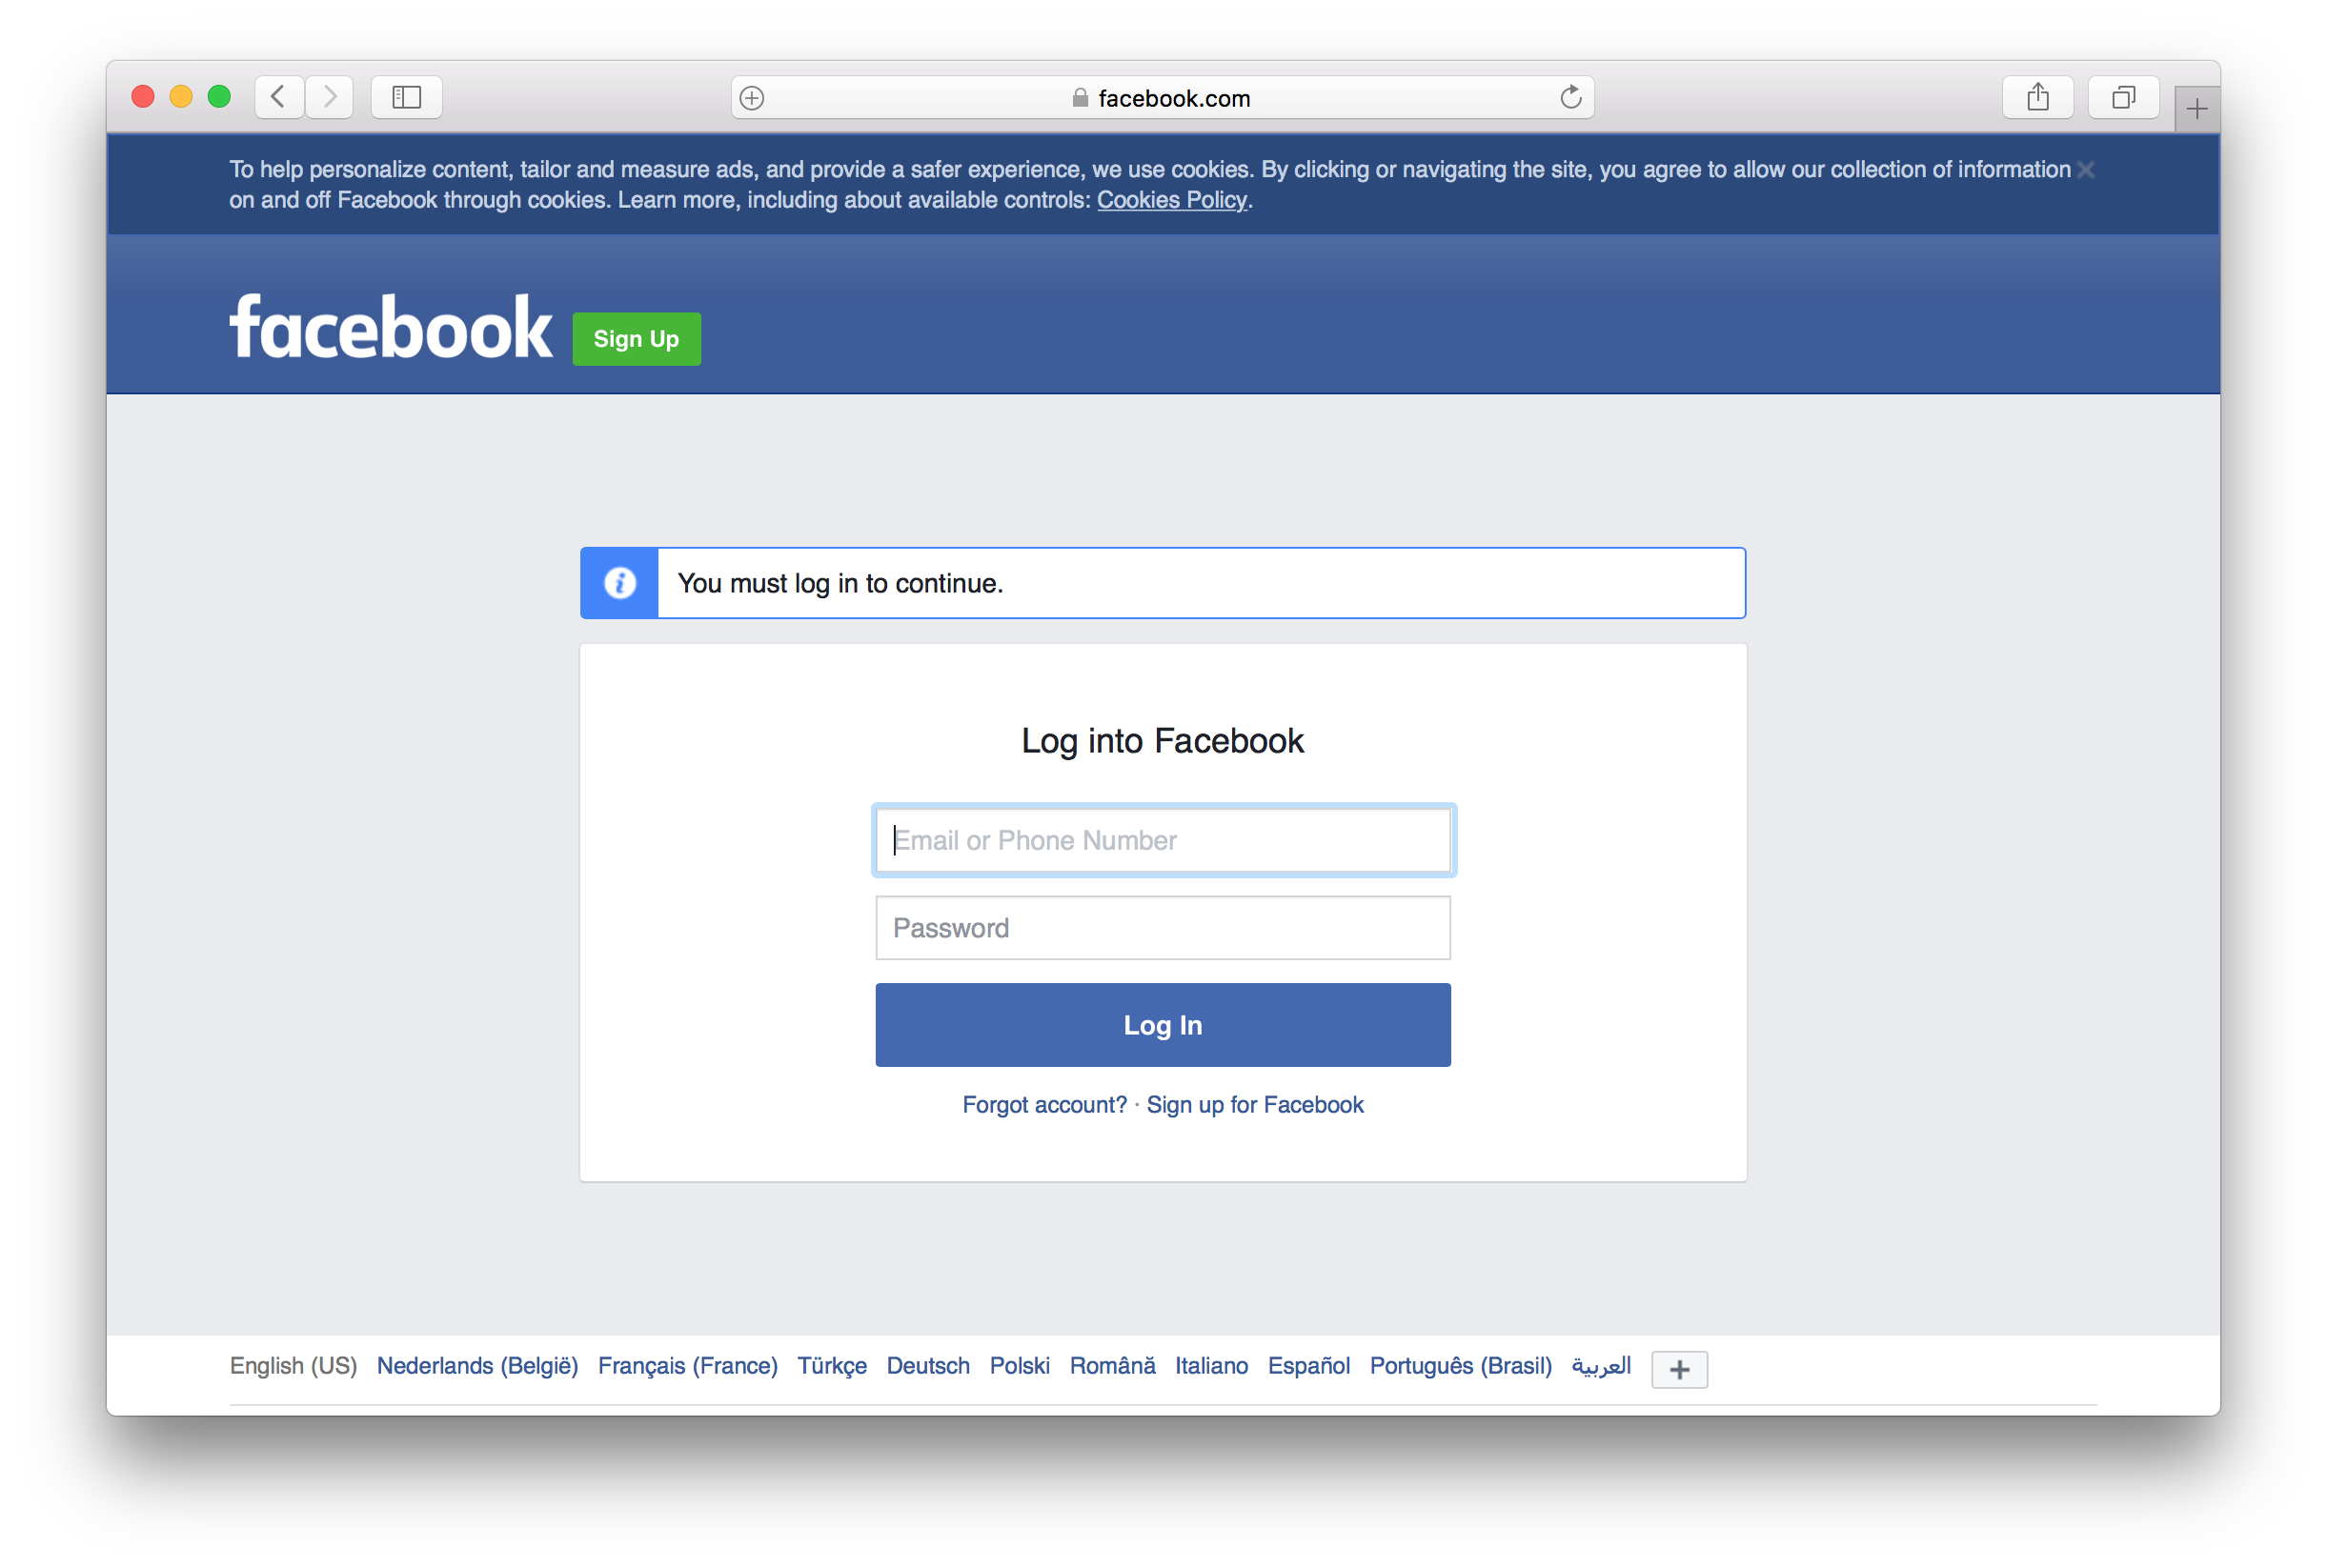
Sign in with your Facebook account:
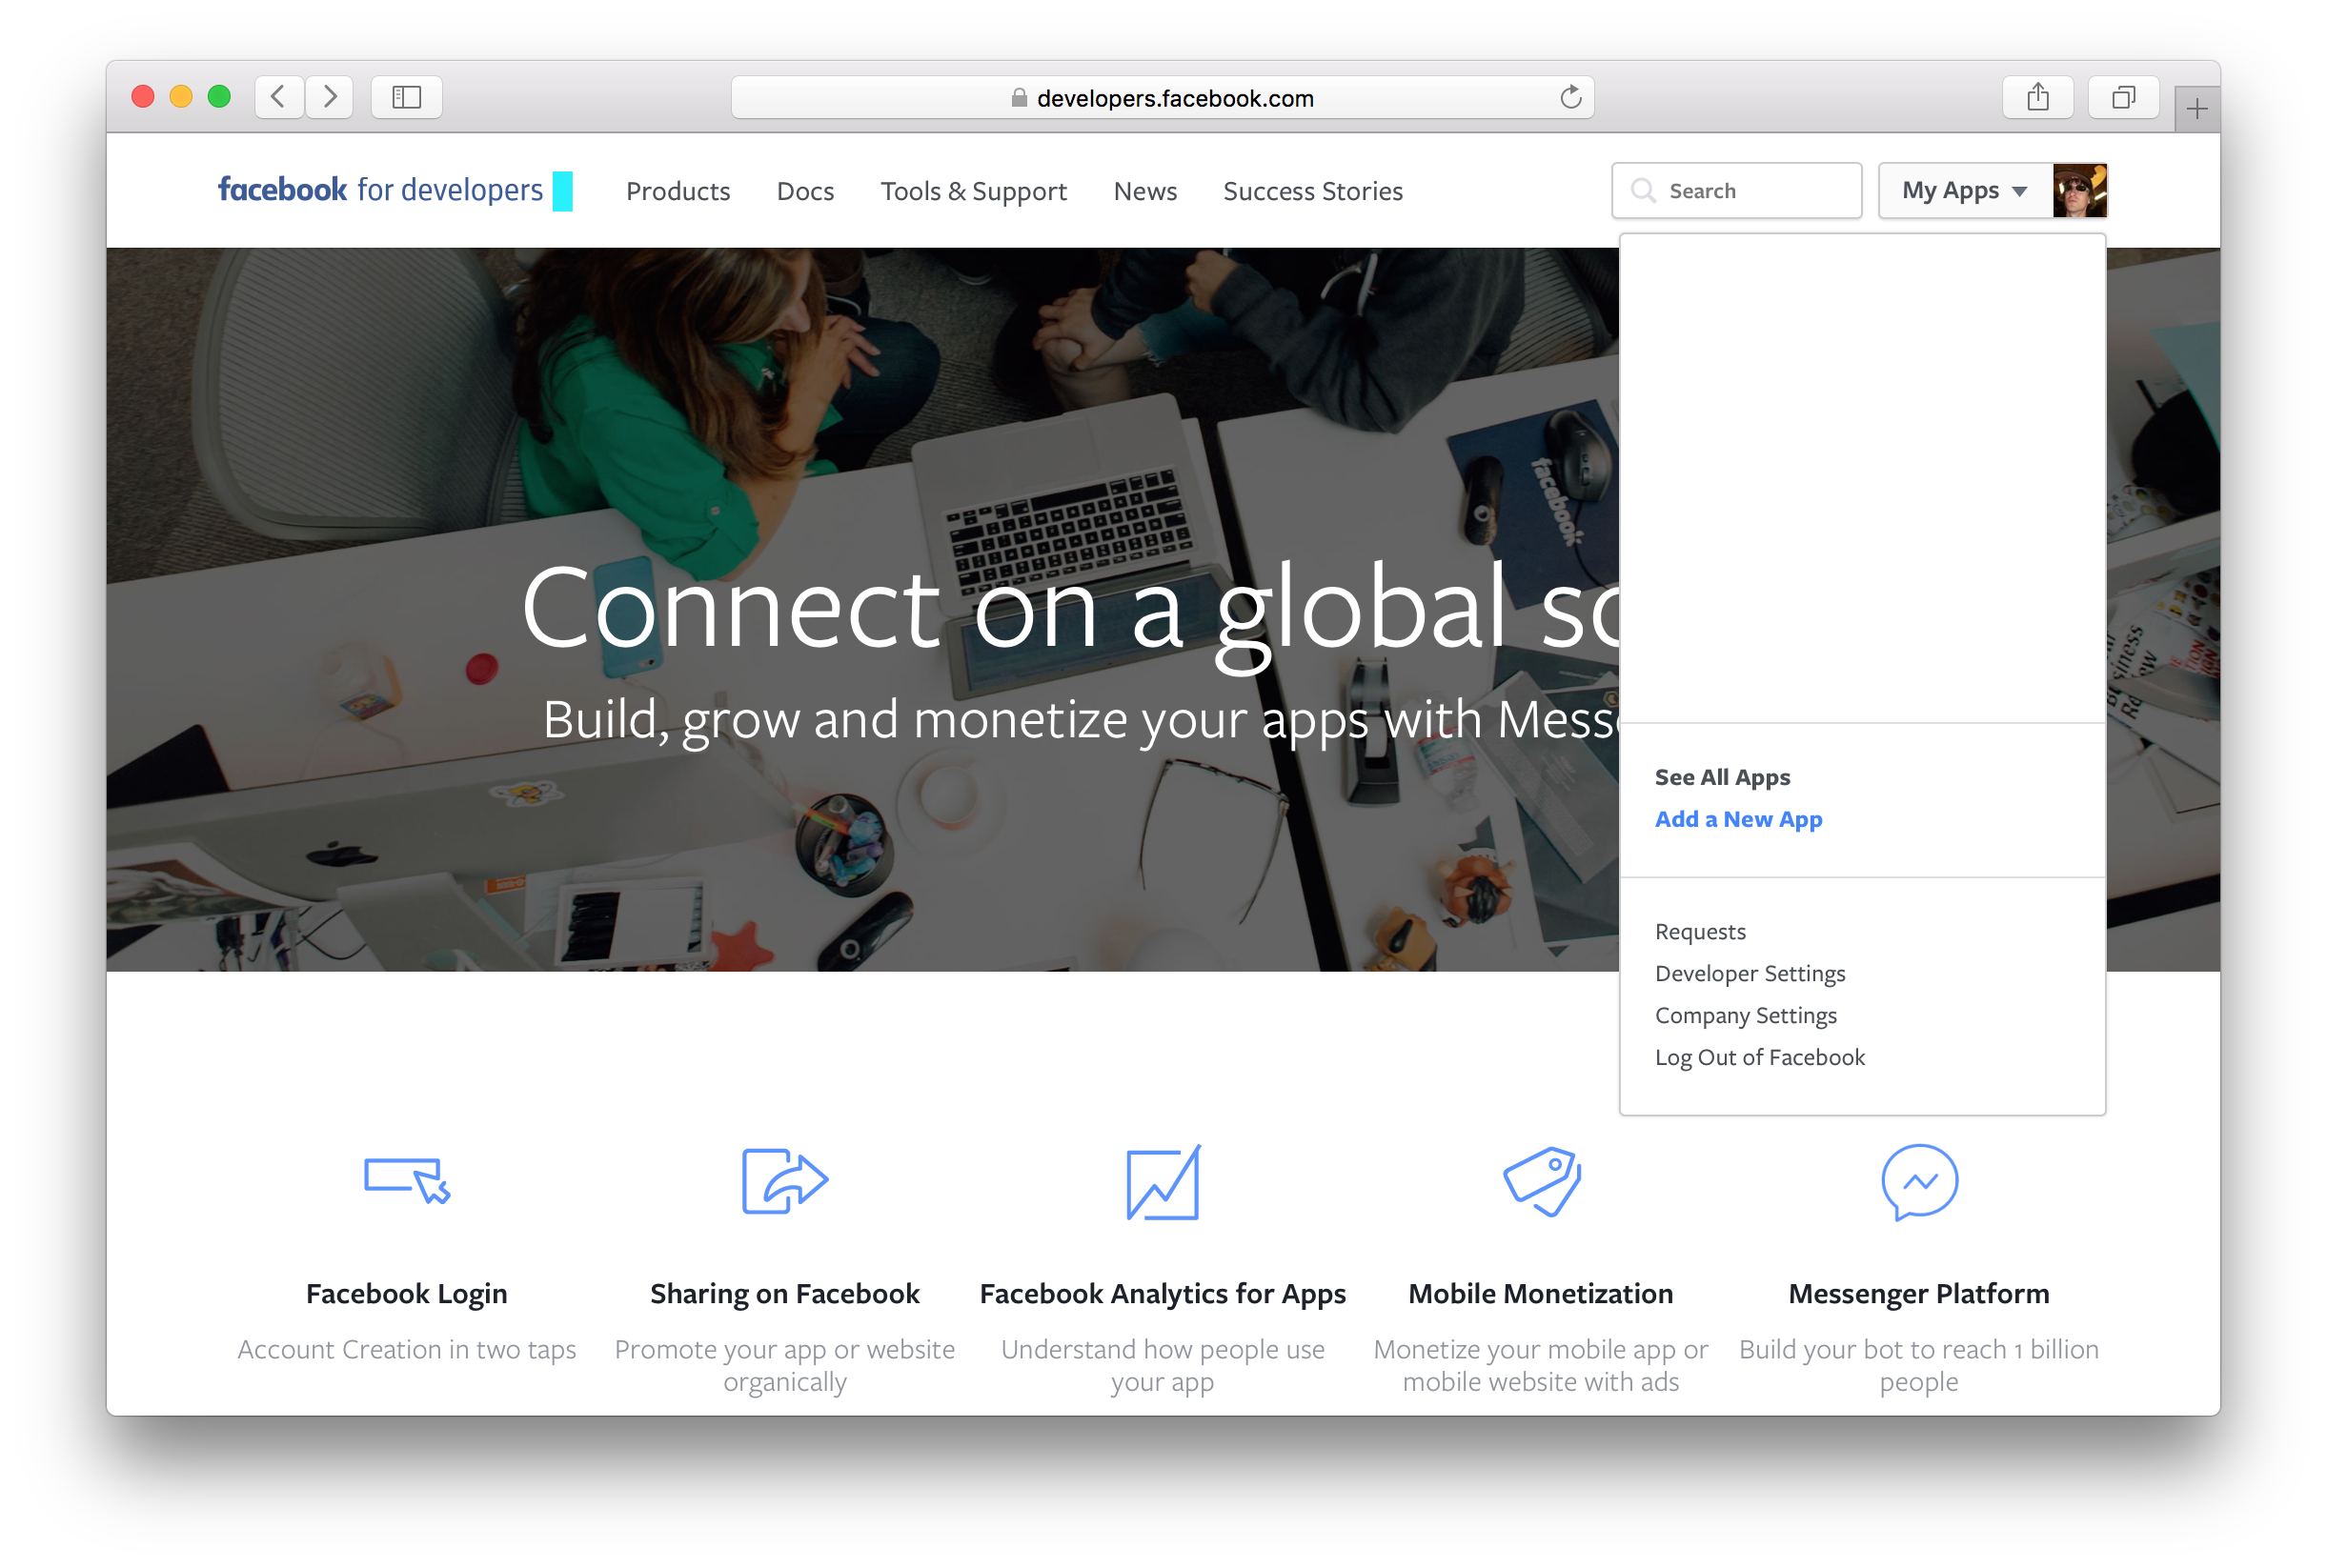
Click the My Apps link from the top right of that page and choose Add a New App from the drop-down menu.
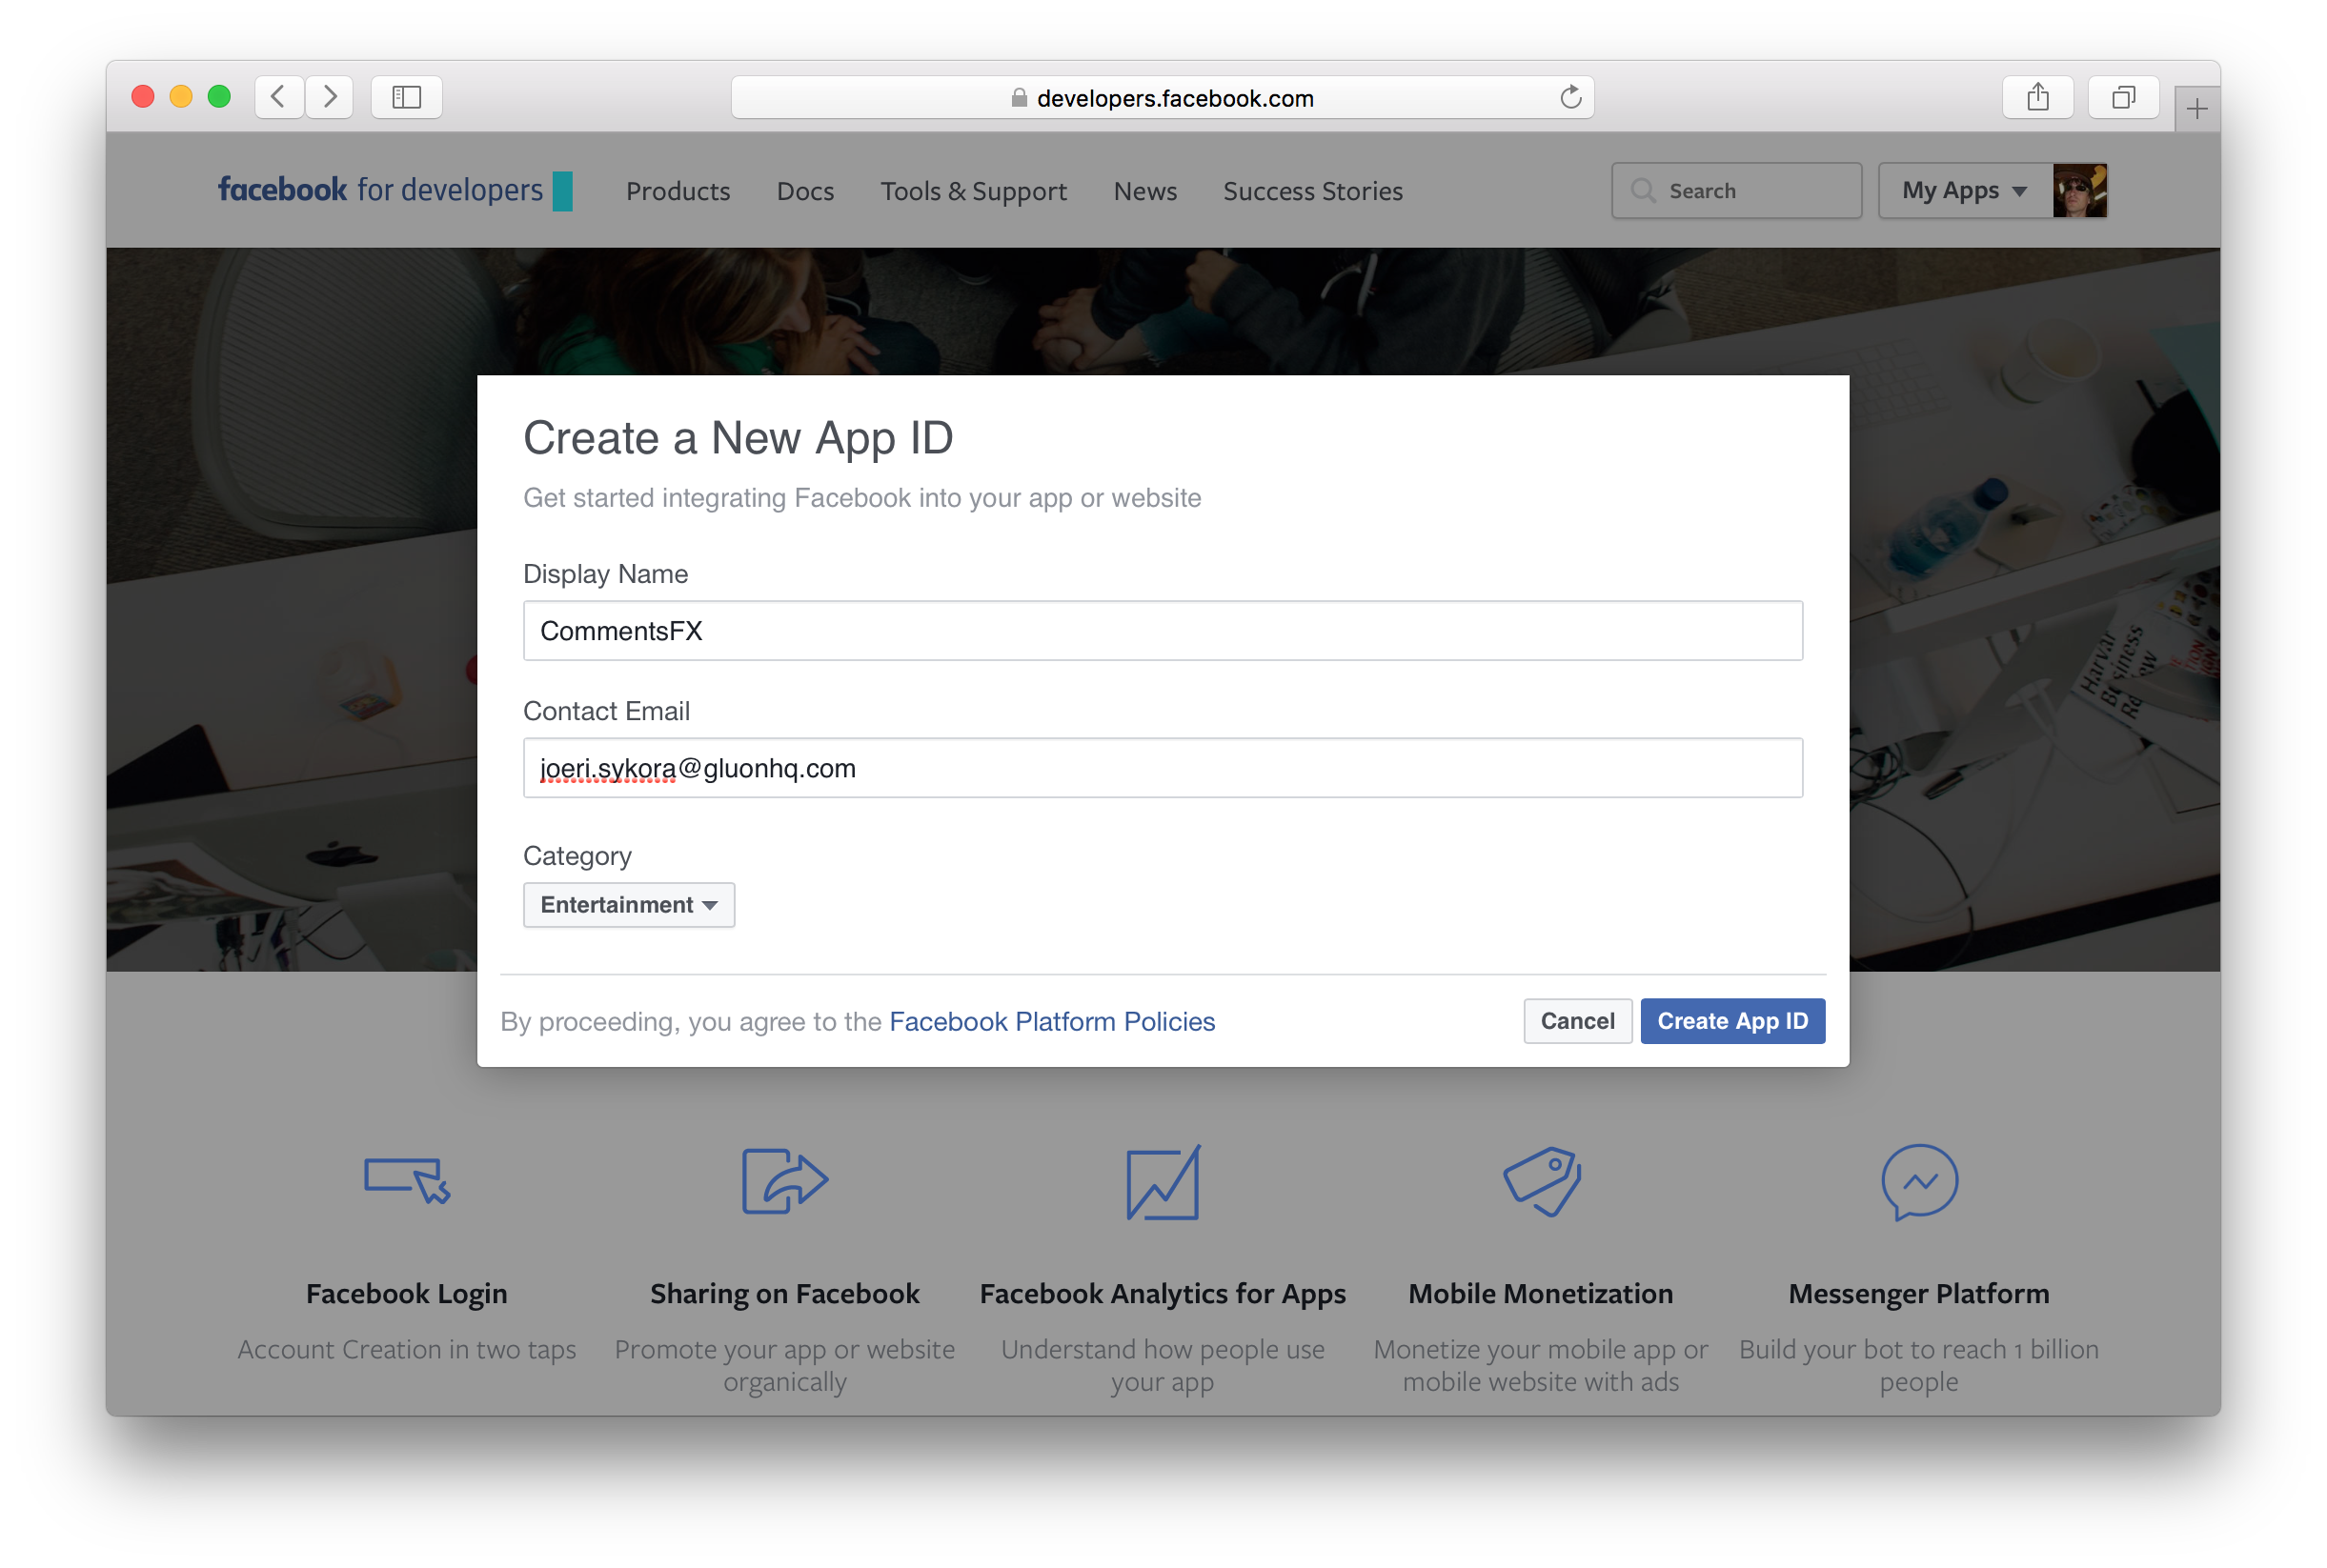
Choose a display name, a contact email address and a category and click Create App ID.
After completing the security check, your application should be created and you land at the Product Setup page.
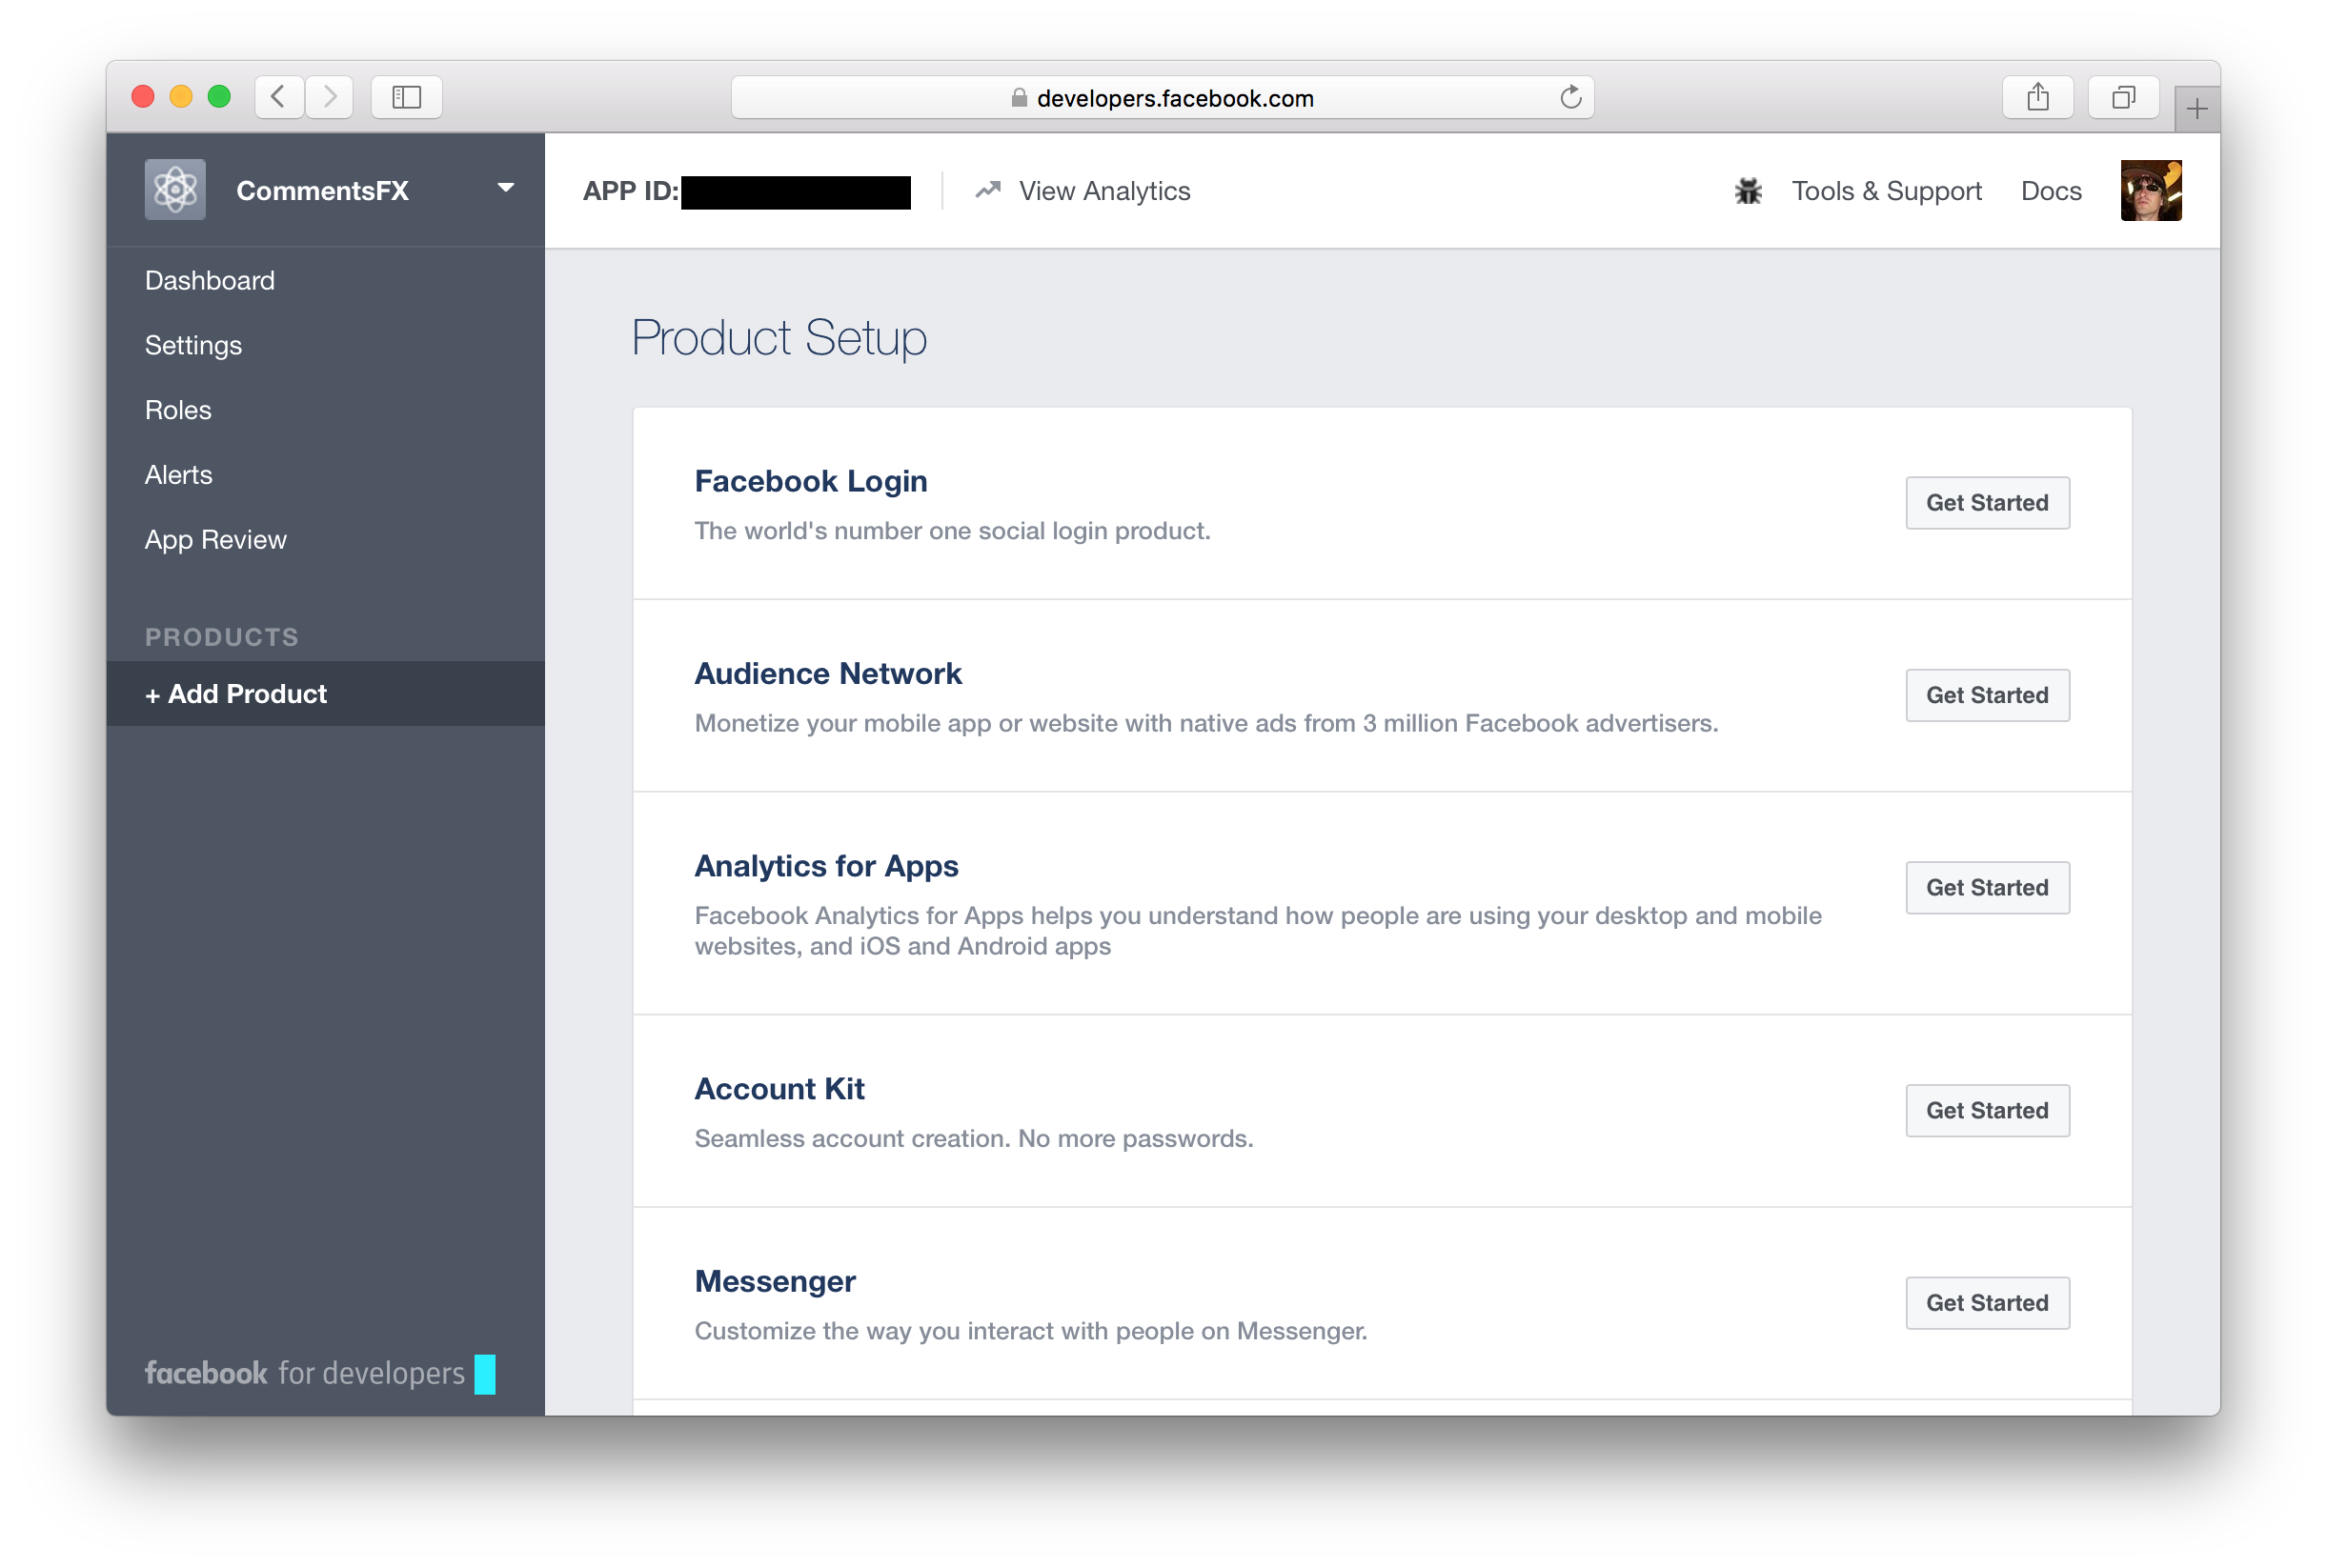
Setting up Facebook Application
From the Product Setup page, click the Get Started button for the Facebook Login product.
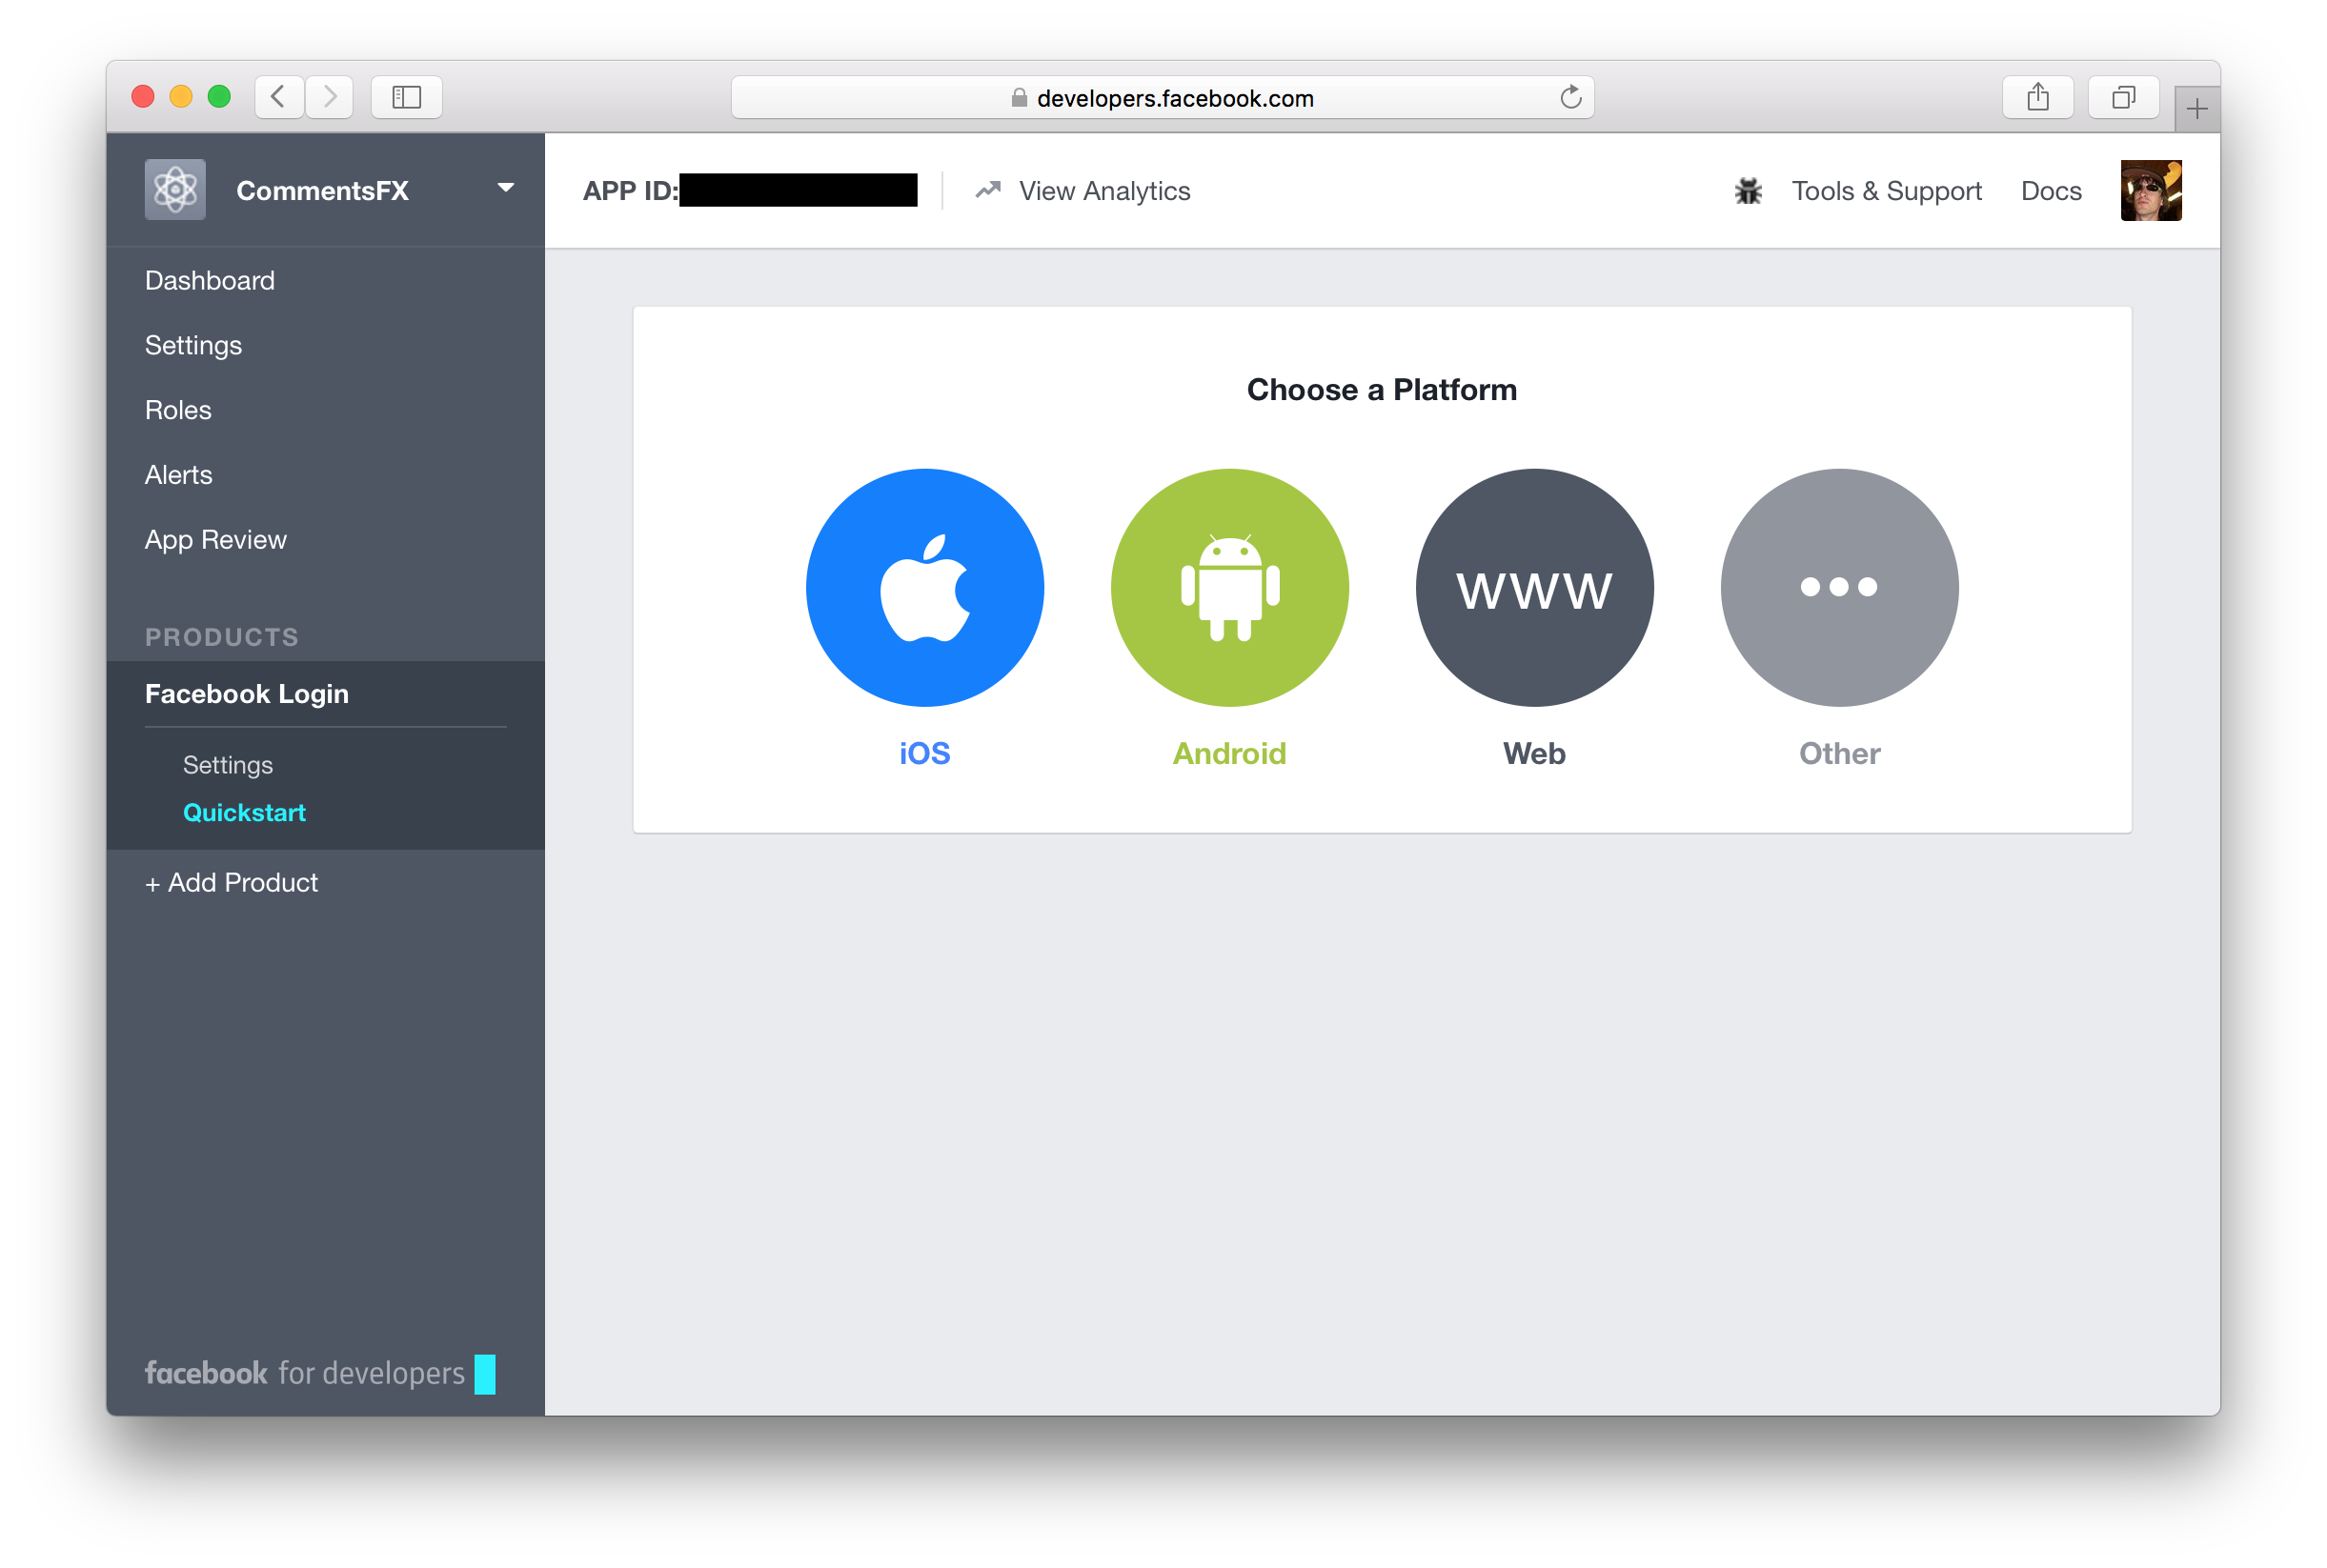
Instead of using the Quickstart wizard and selecting a platform, just click on the Settings link in the Facebook
Login section from the menu on the left.
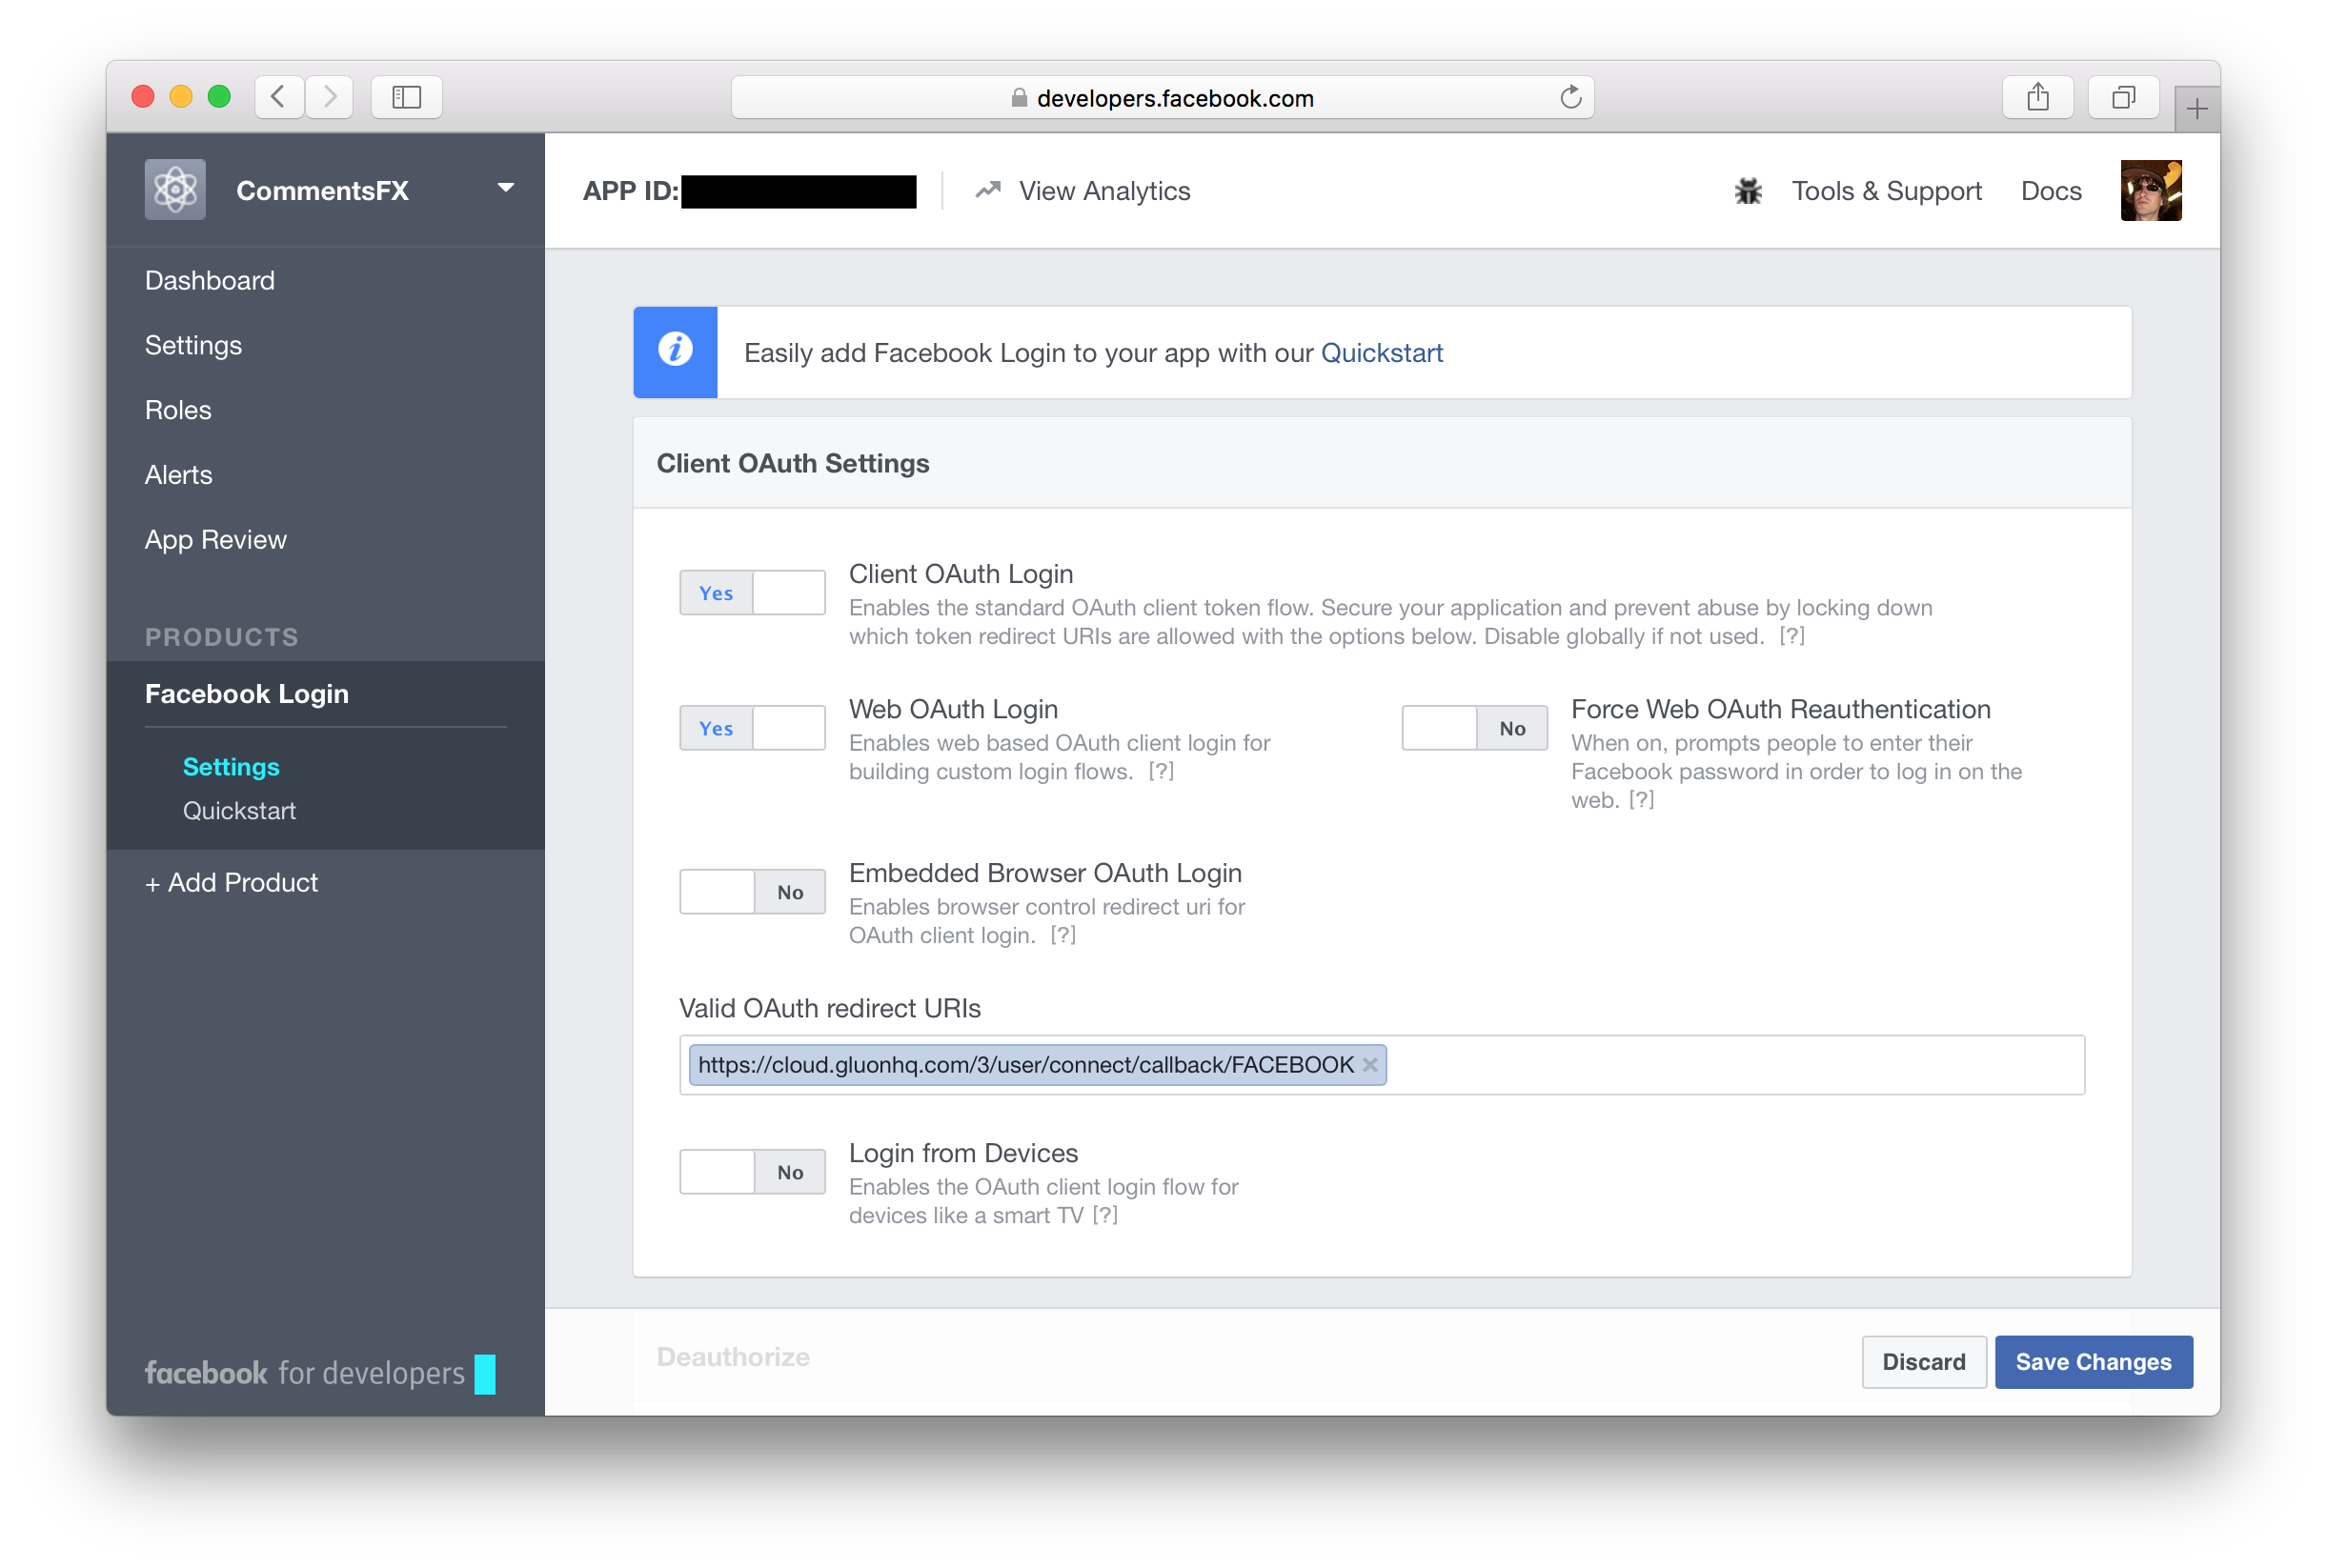
You can leave all settings as shown in the screenshot and use the following URL for the Valid OAuth redirect URIs:
Click Save Changes to save the changes you made for the Facebook Login product. Next, open the Settings page from
the left menu and enter the following value for the App Domains: cloud.gluonhq.com
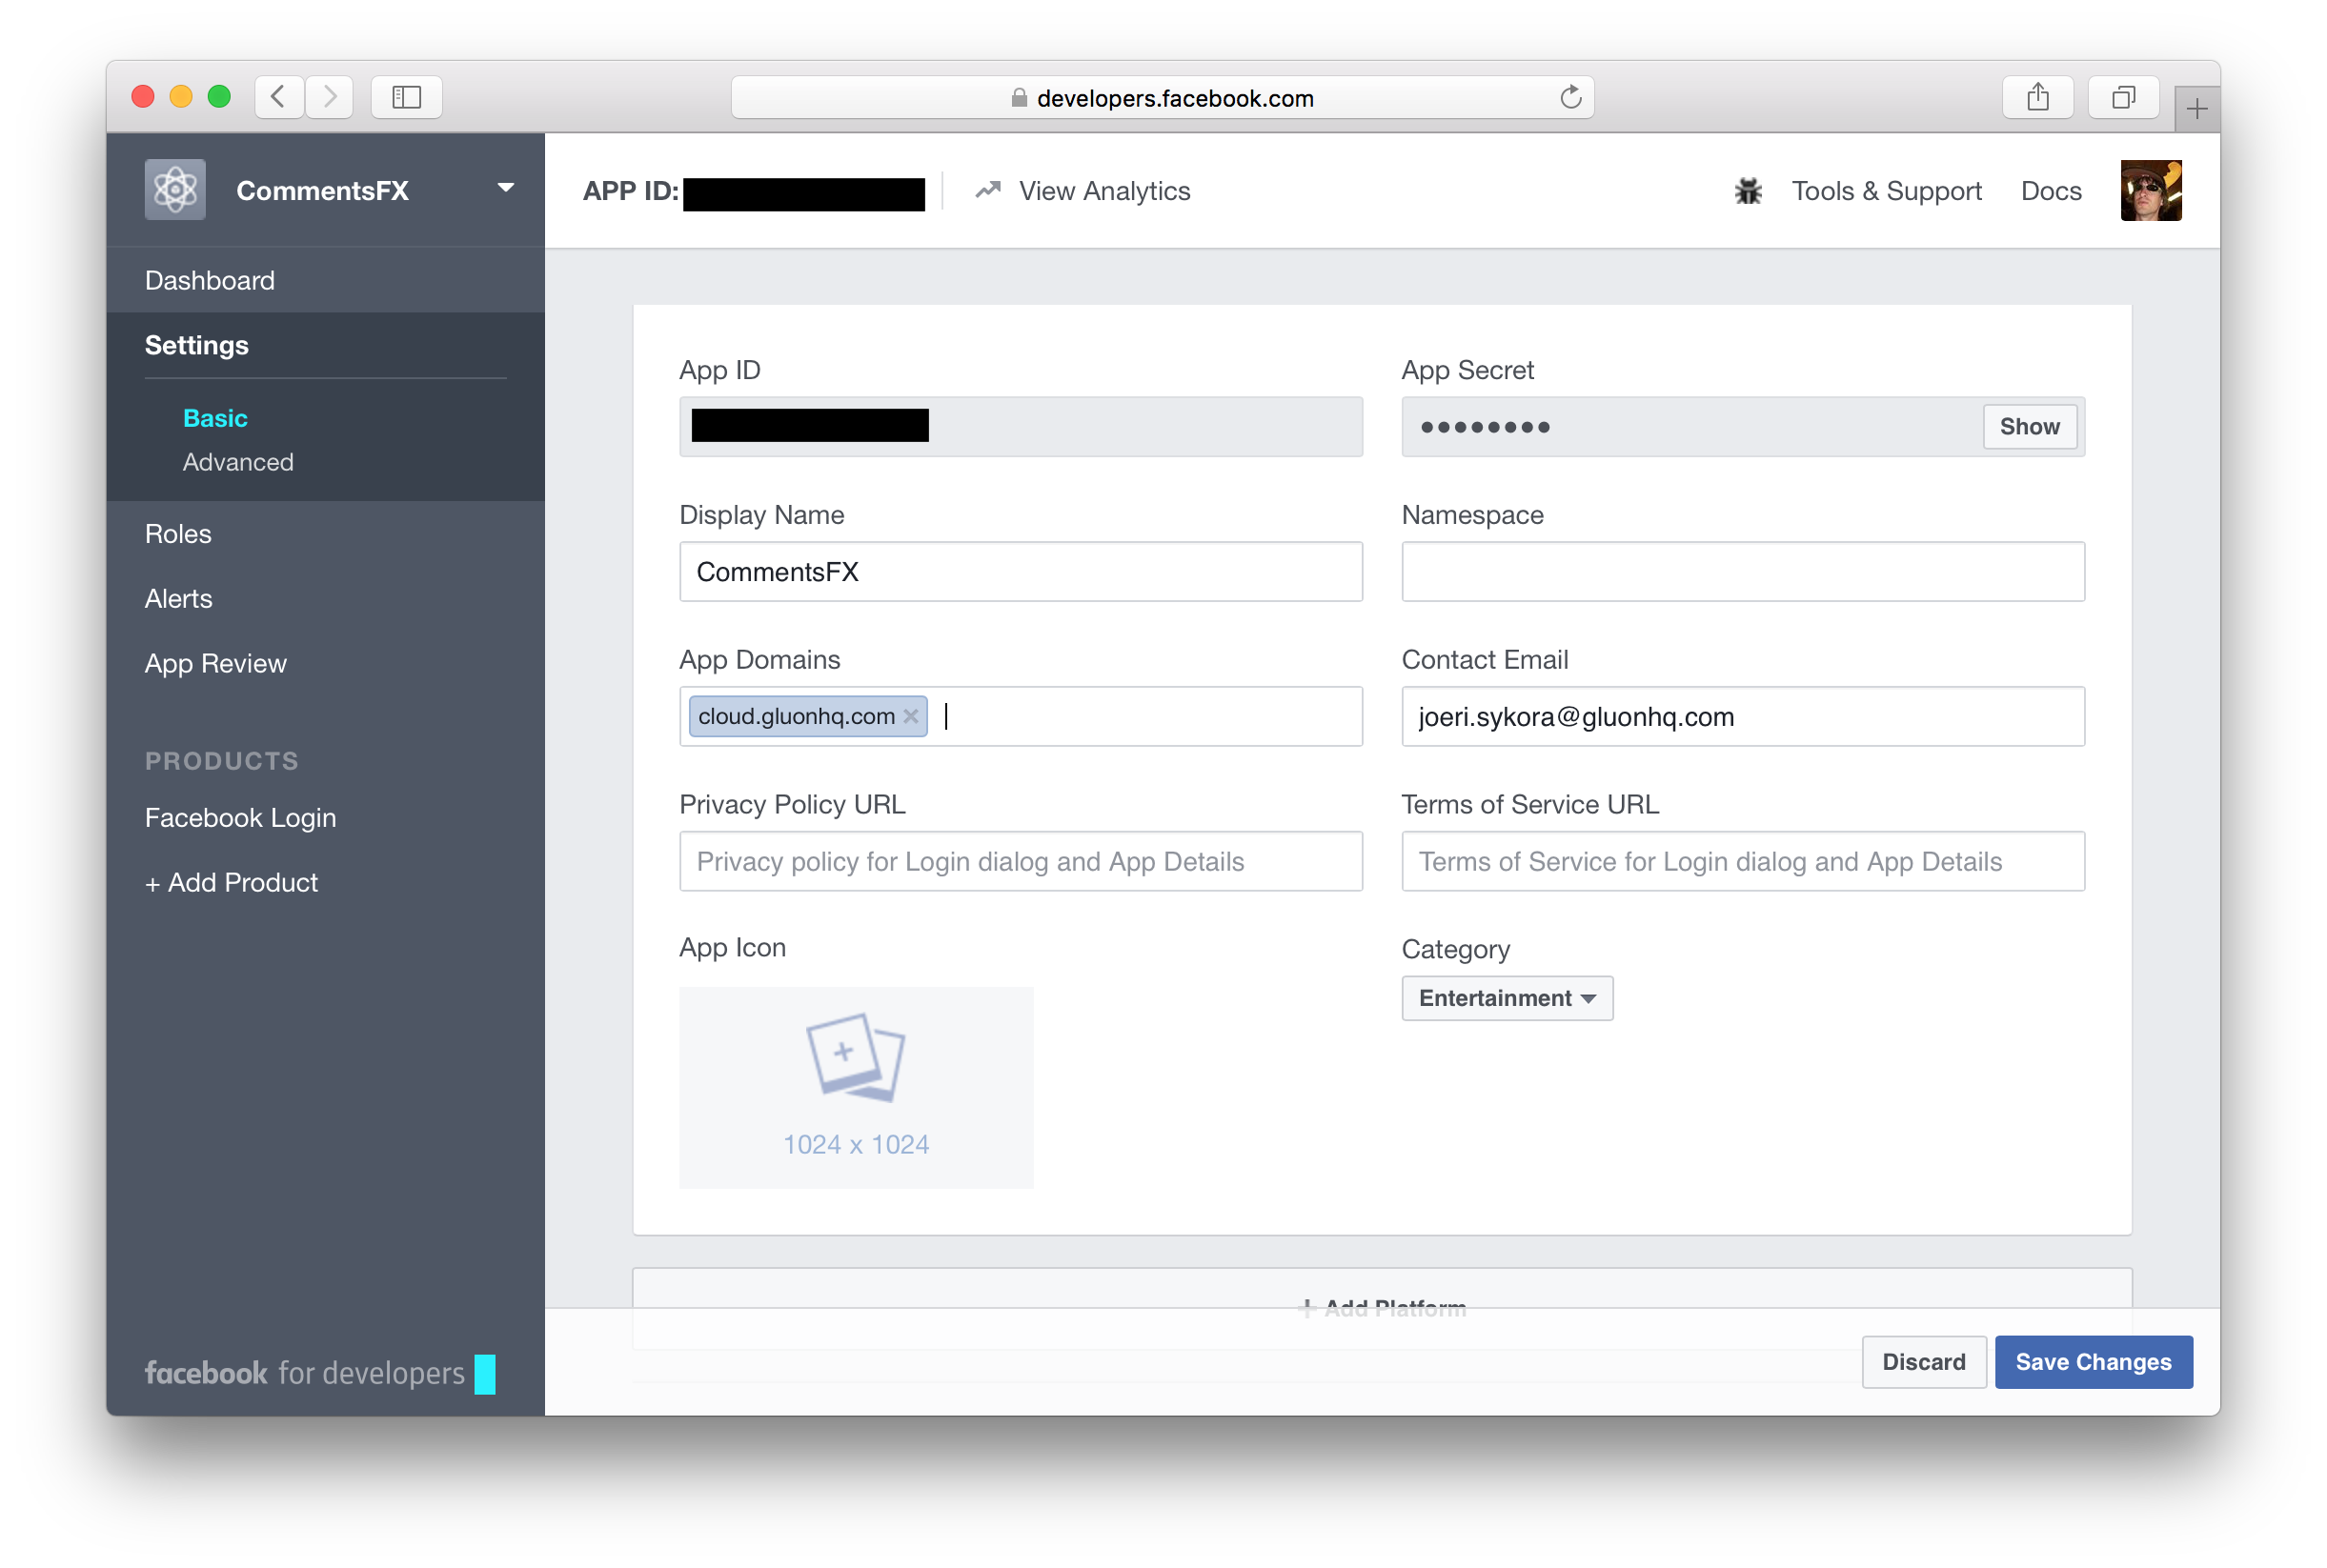
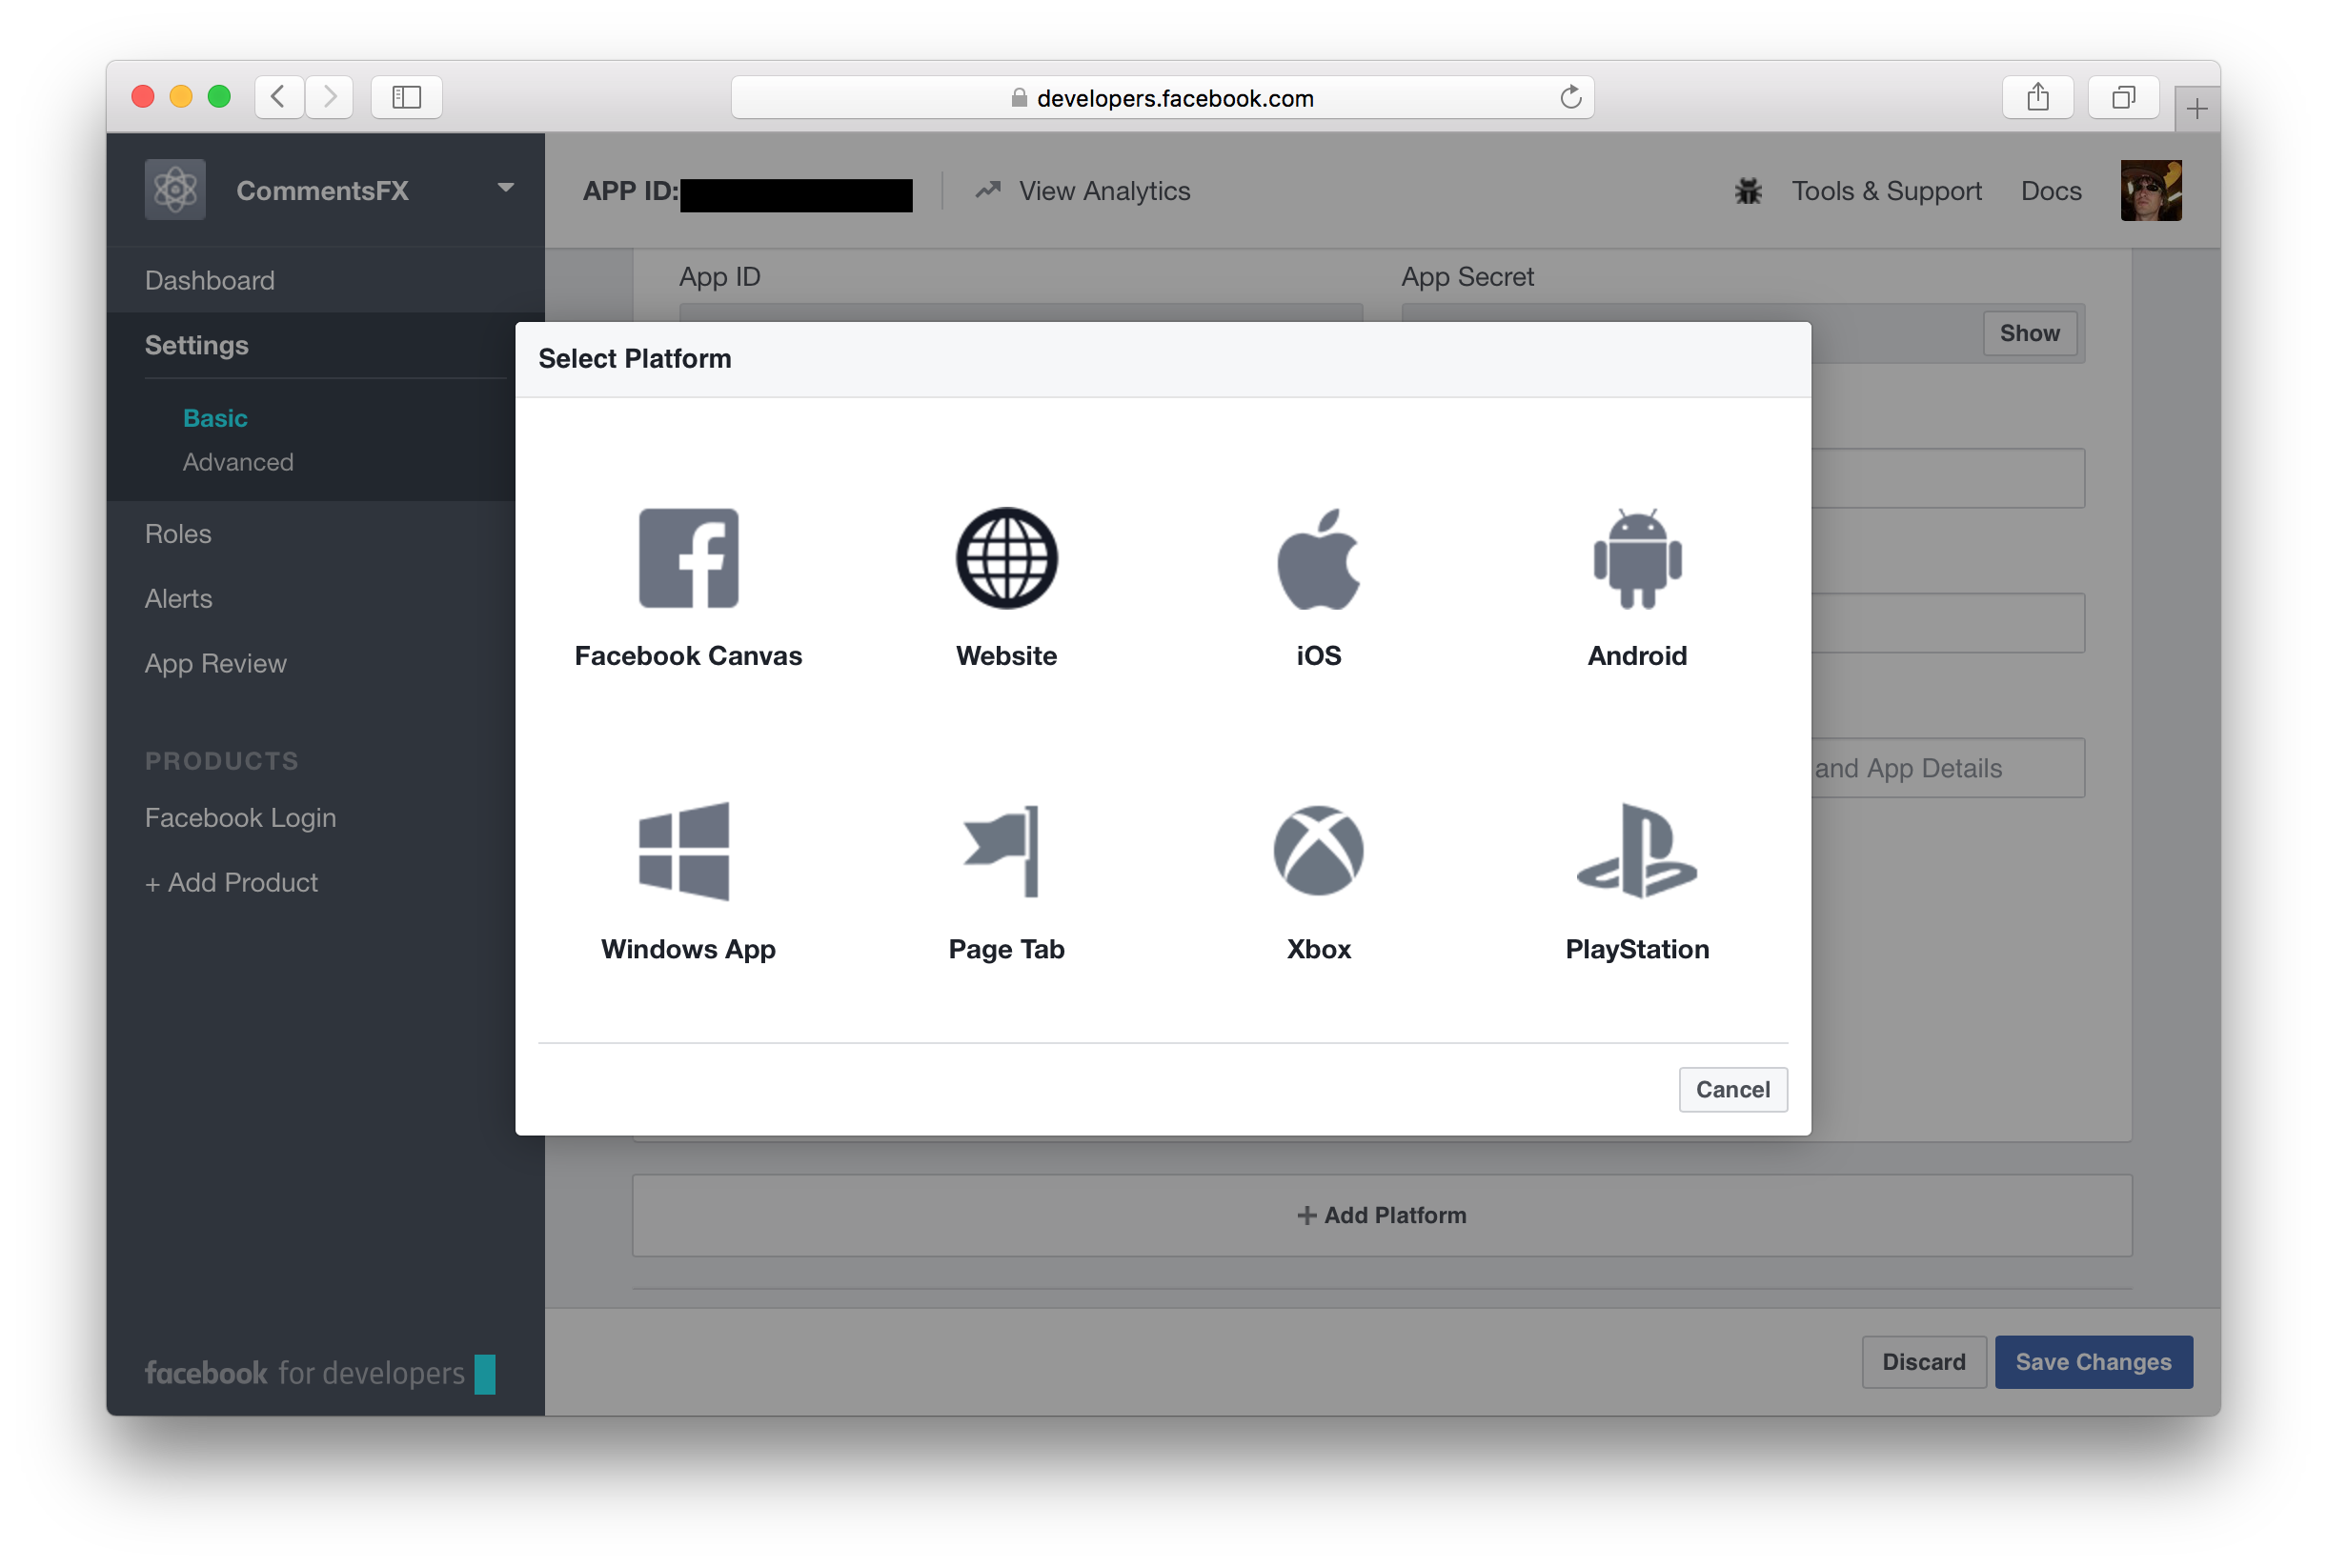
Scroll down, click the Add Platform button and choose the Website platform.
Enter the following URL as the Site URL: https://gluonhq.com
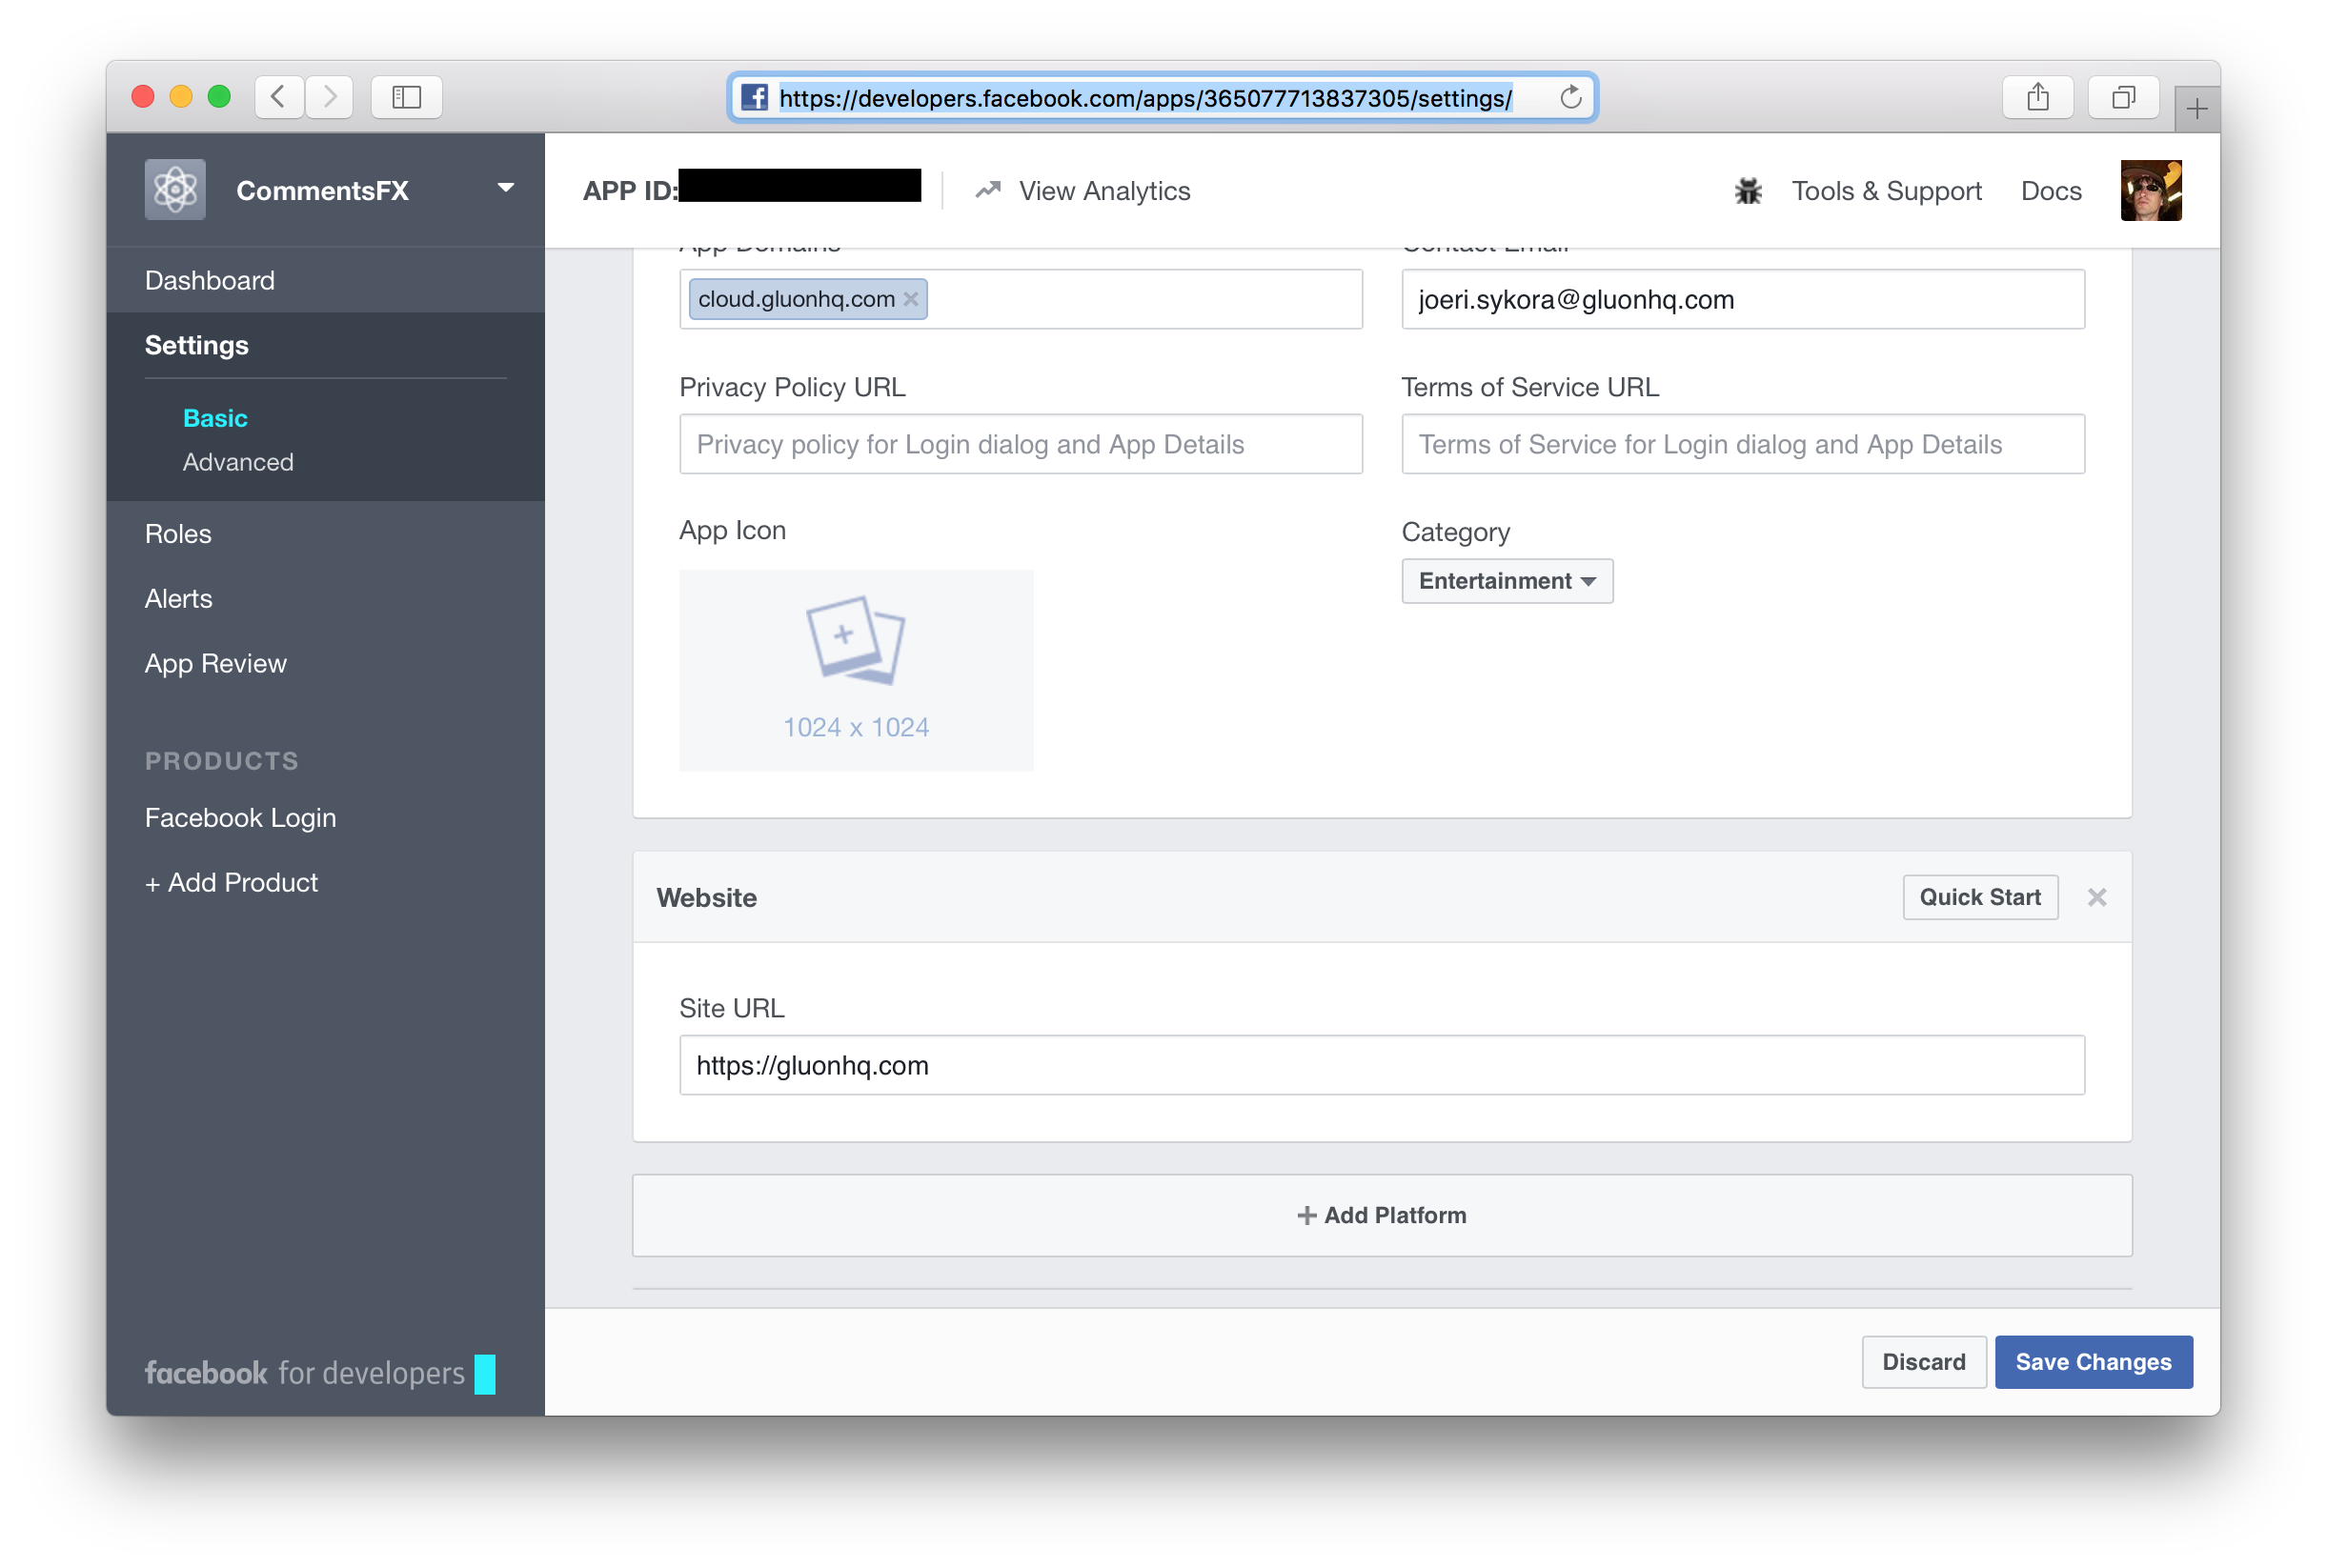
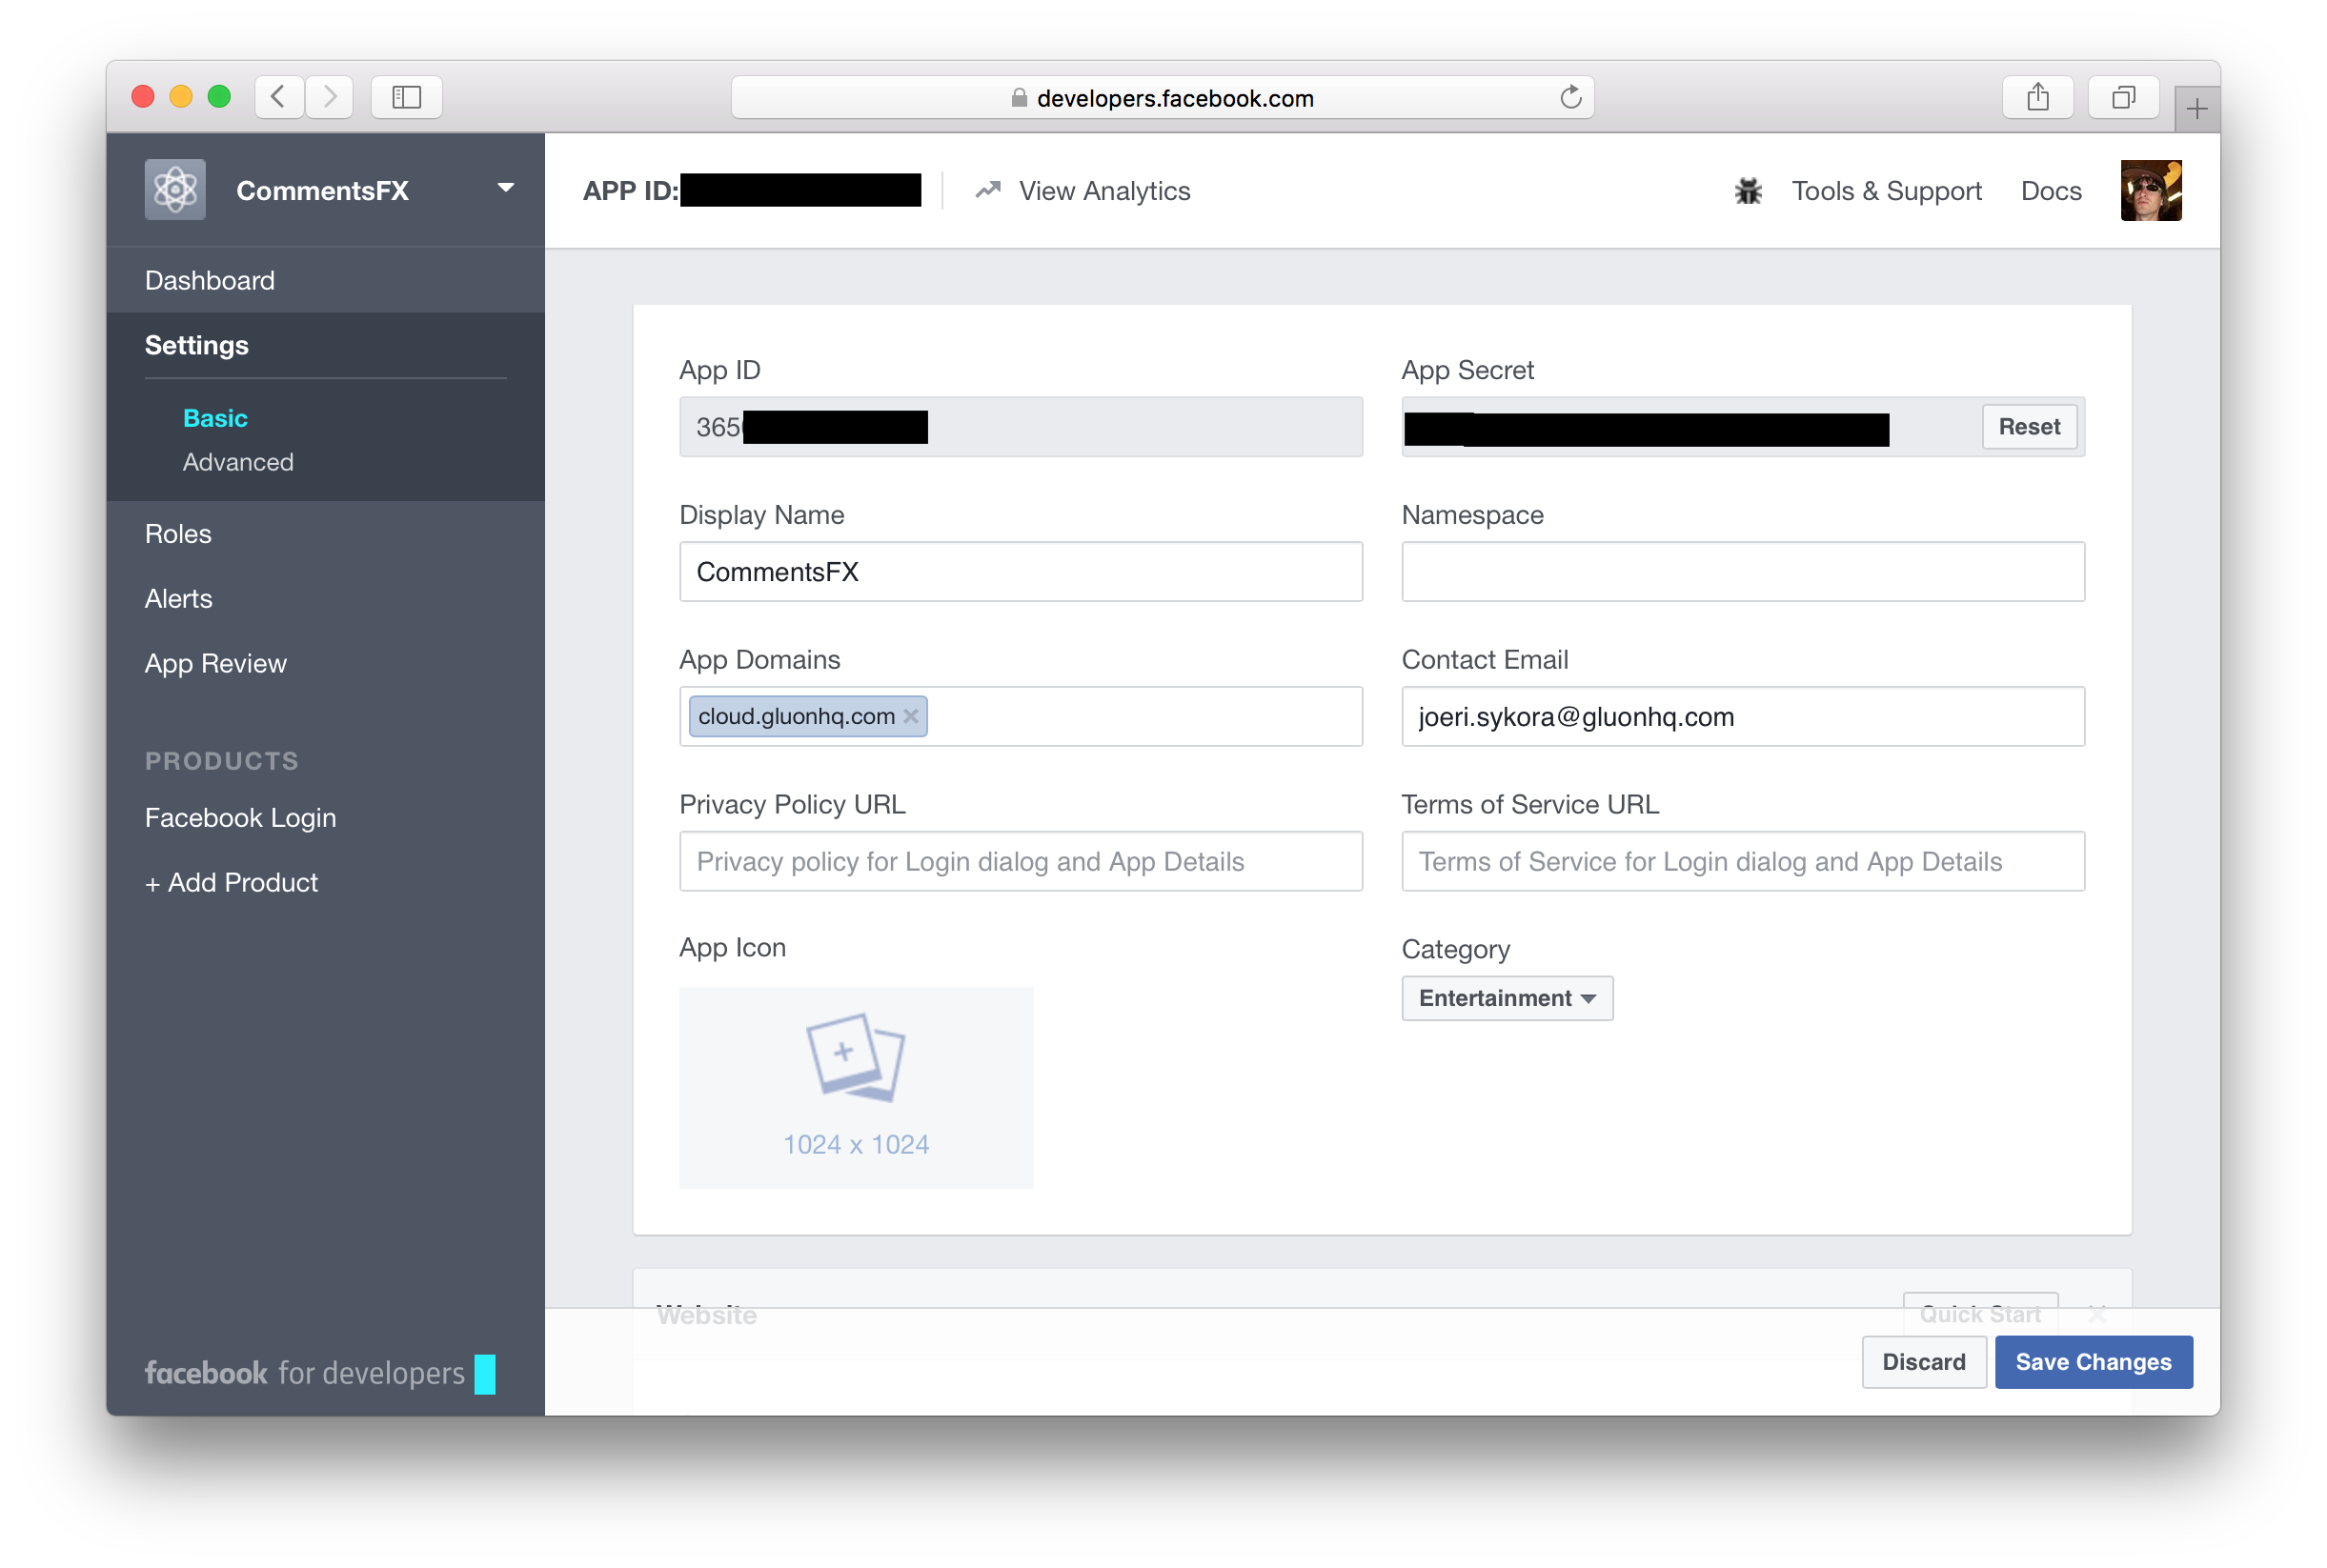
Again, click Save changes to apply the configuration settings. Afterwards, click on the Show button inside the App Secret
text field, to make the application secret of your Facebook application visible. Insert your Facebook password when prompted.
Gluon Dashboard
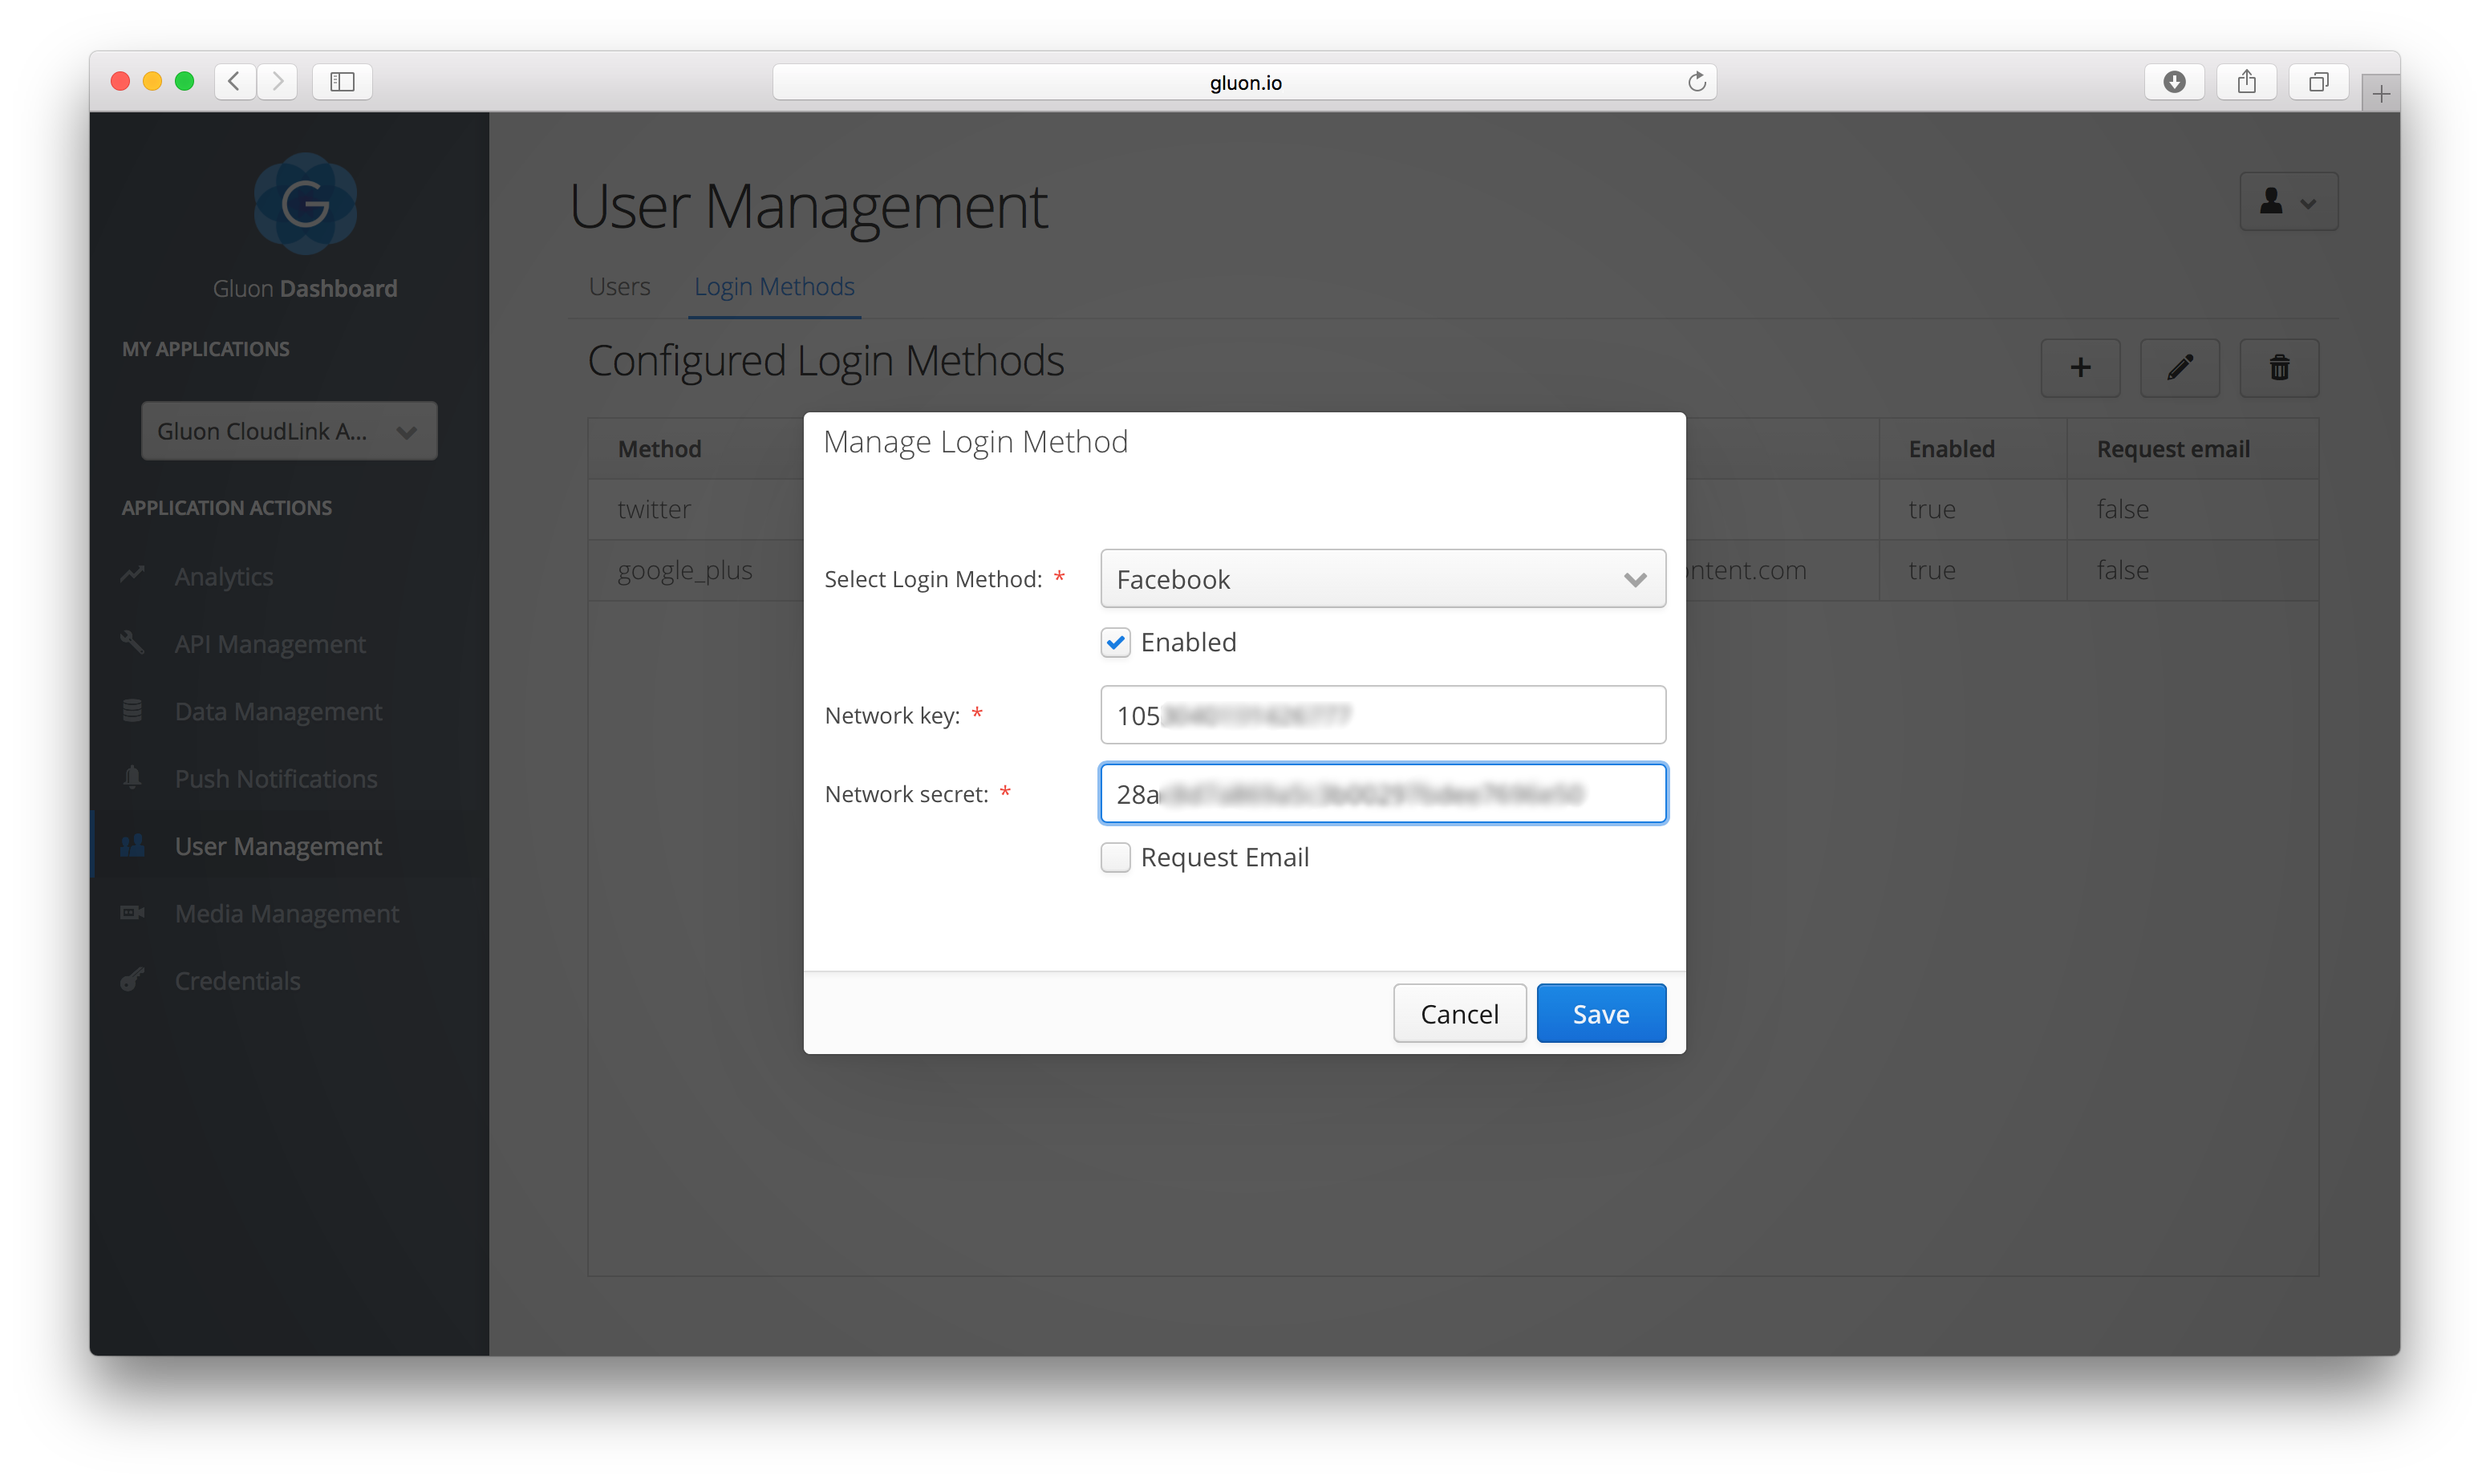
Copy the App Id and the App Secret, and browse to the Gluon Dashboard web application. Navigate to the Login Methods
tab on the User Management link, click the + button, and add a new Facebook login method from the drop-down list. Paste the
App Id and App Secret in the Network Key and Network Secret fields respectively, and click the Save button to apply your changes.
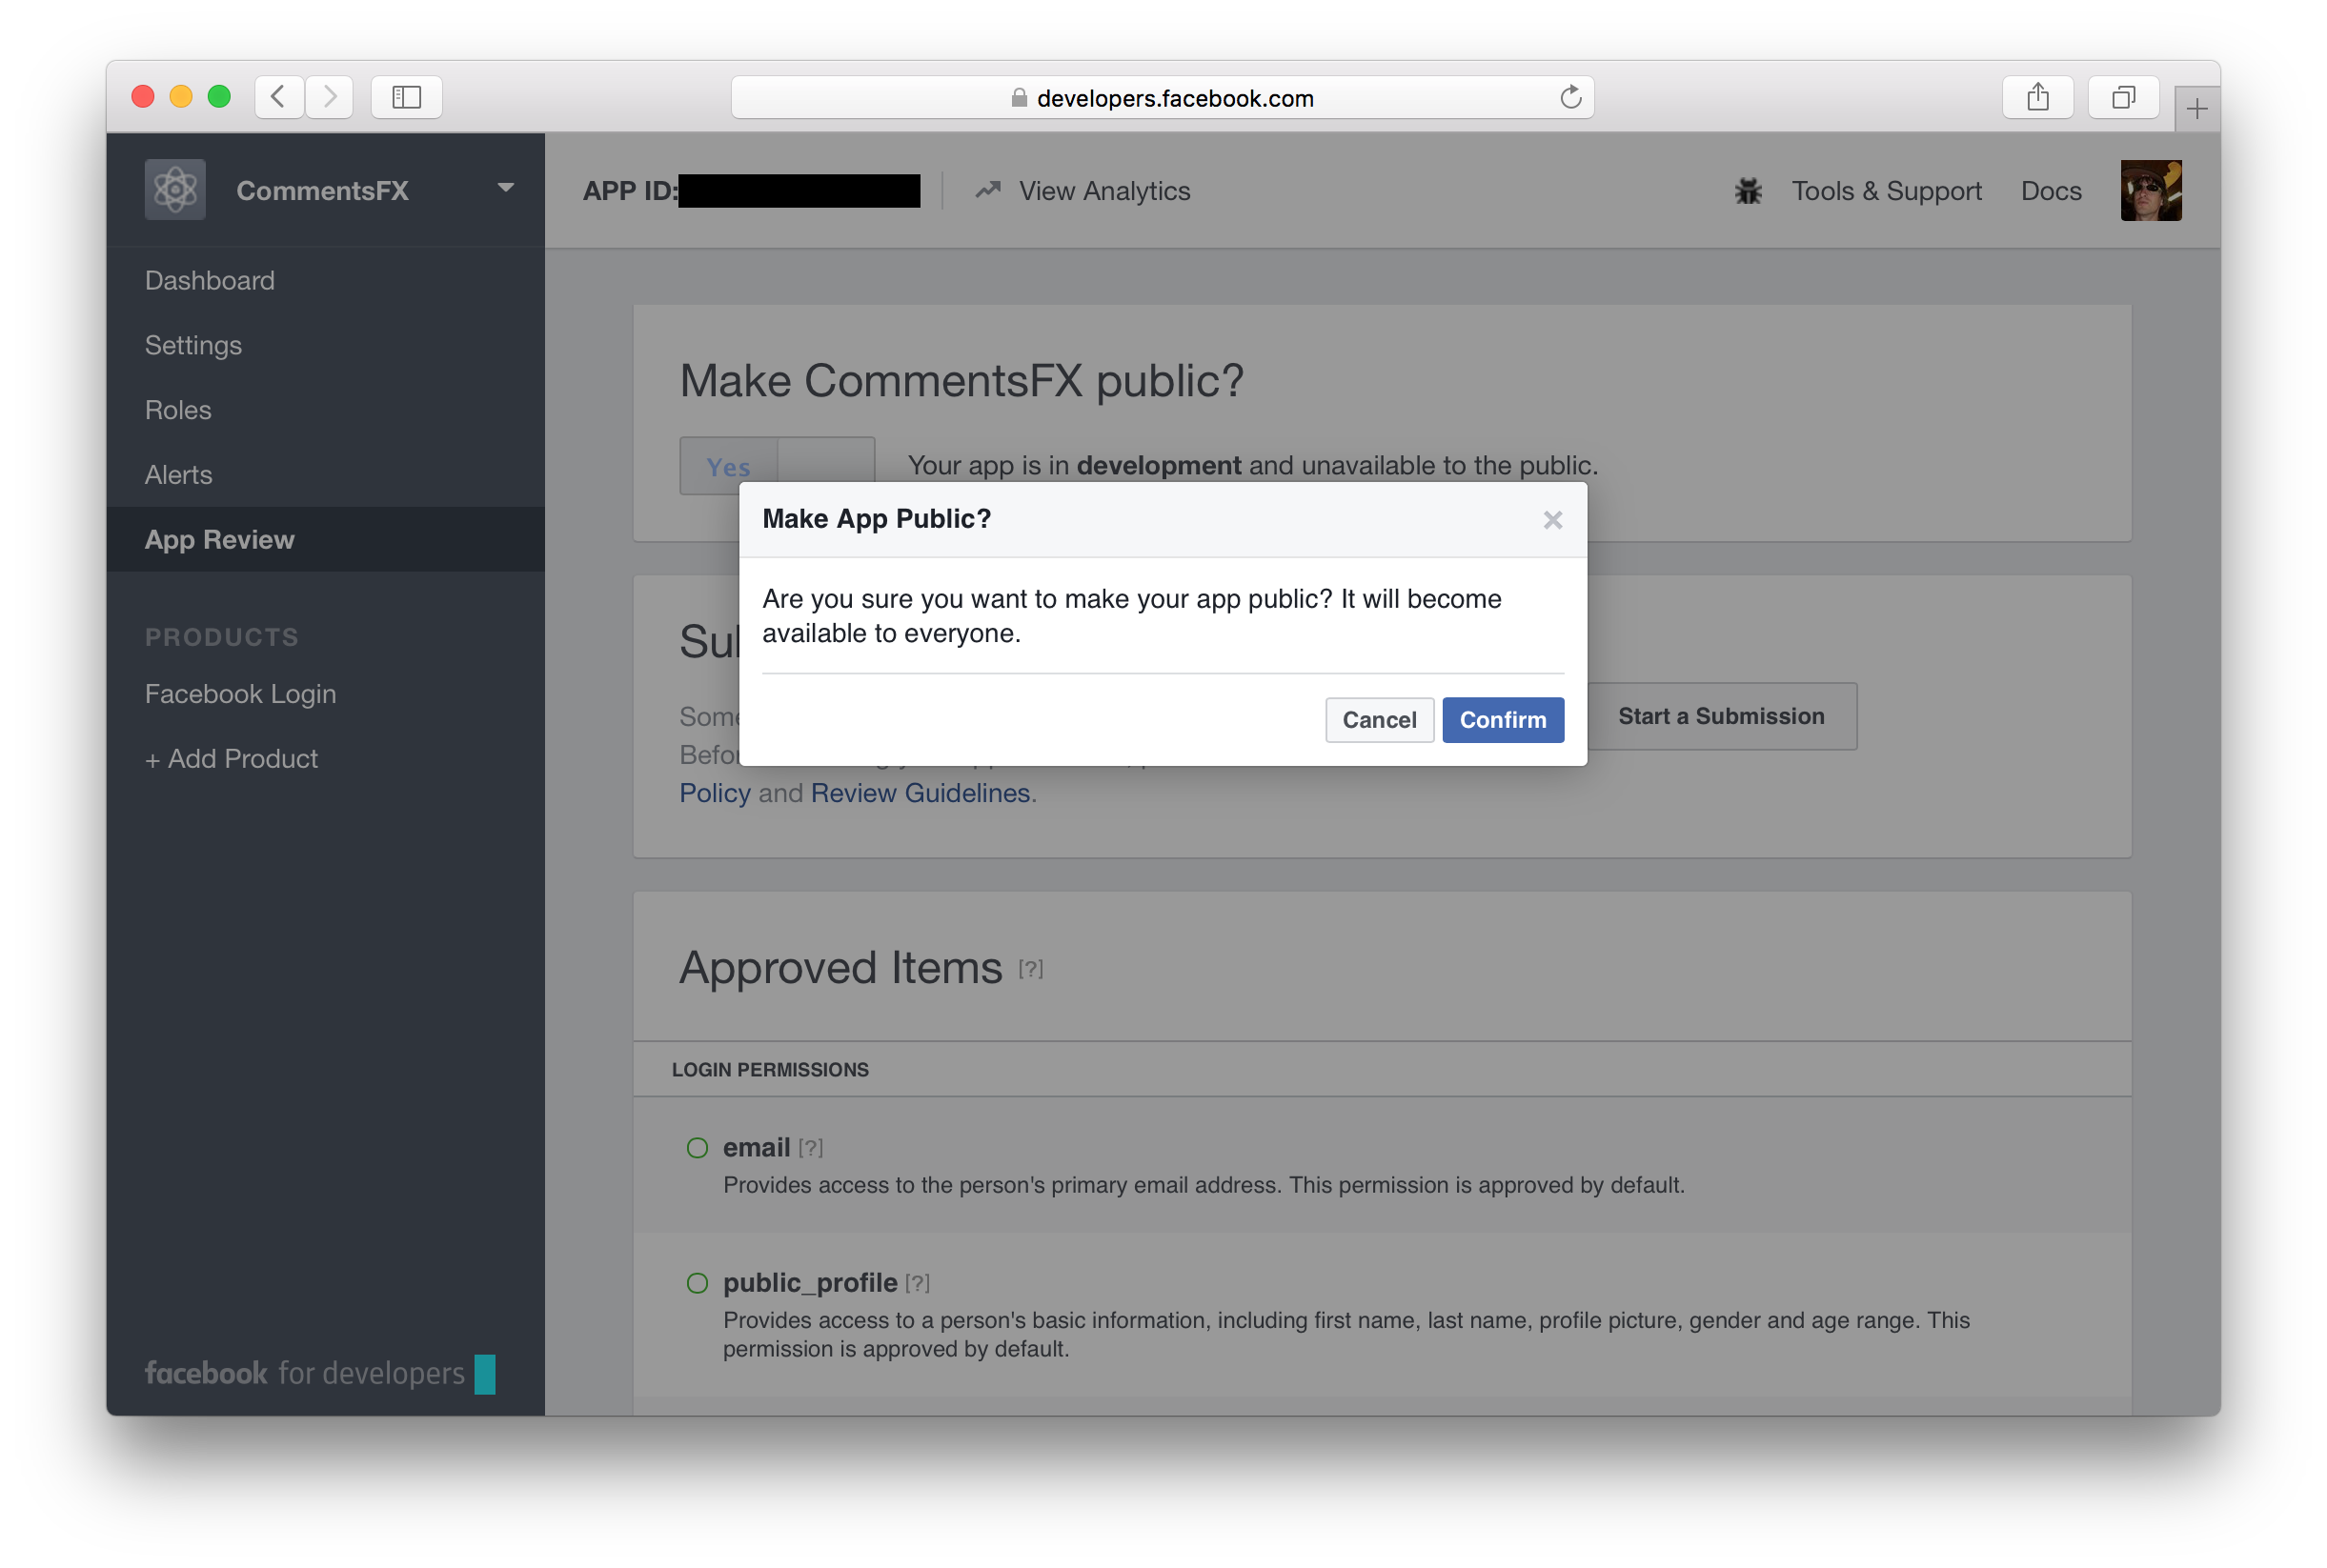
Finally, make sure that you make your Facebook application public. Click the App Review menu item on the
left. Then click the toggle button and confirm the dialog that pops up to make the application public.