Google Authentication
Create Google Application
To get started with Google authentication, you first need to create a new Google application.
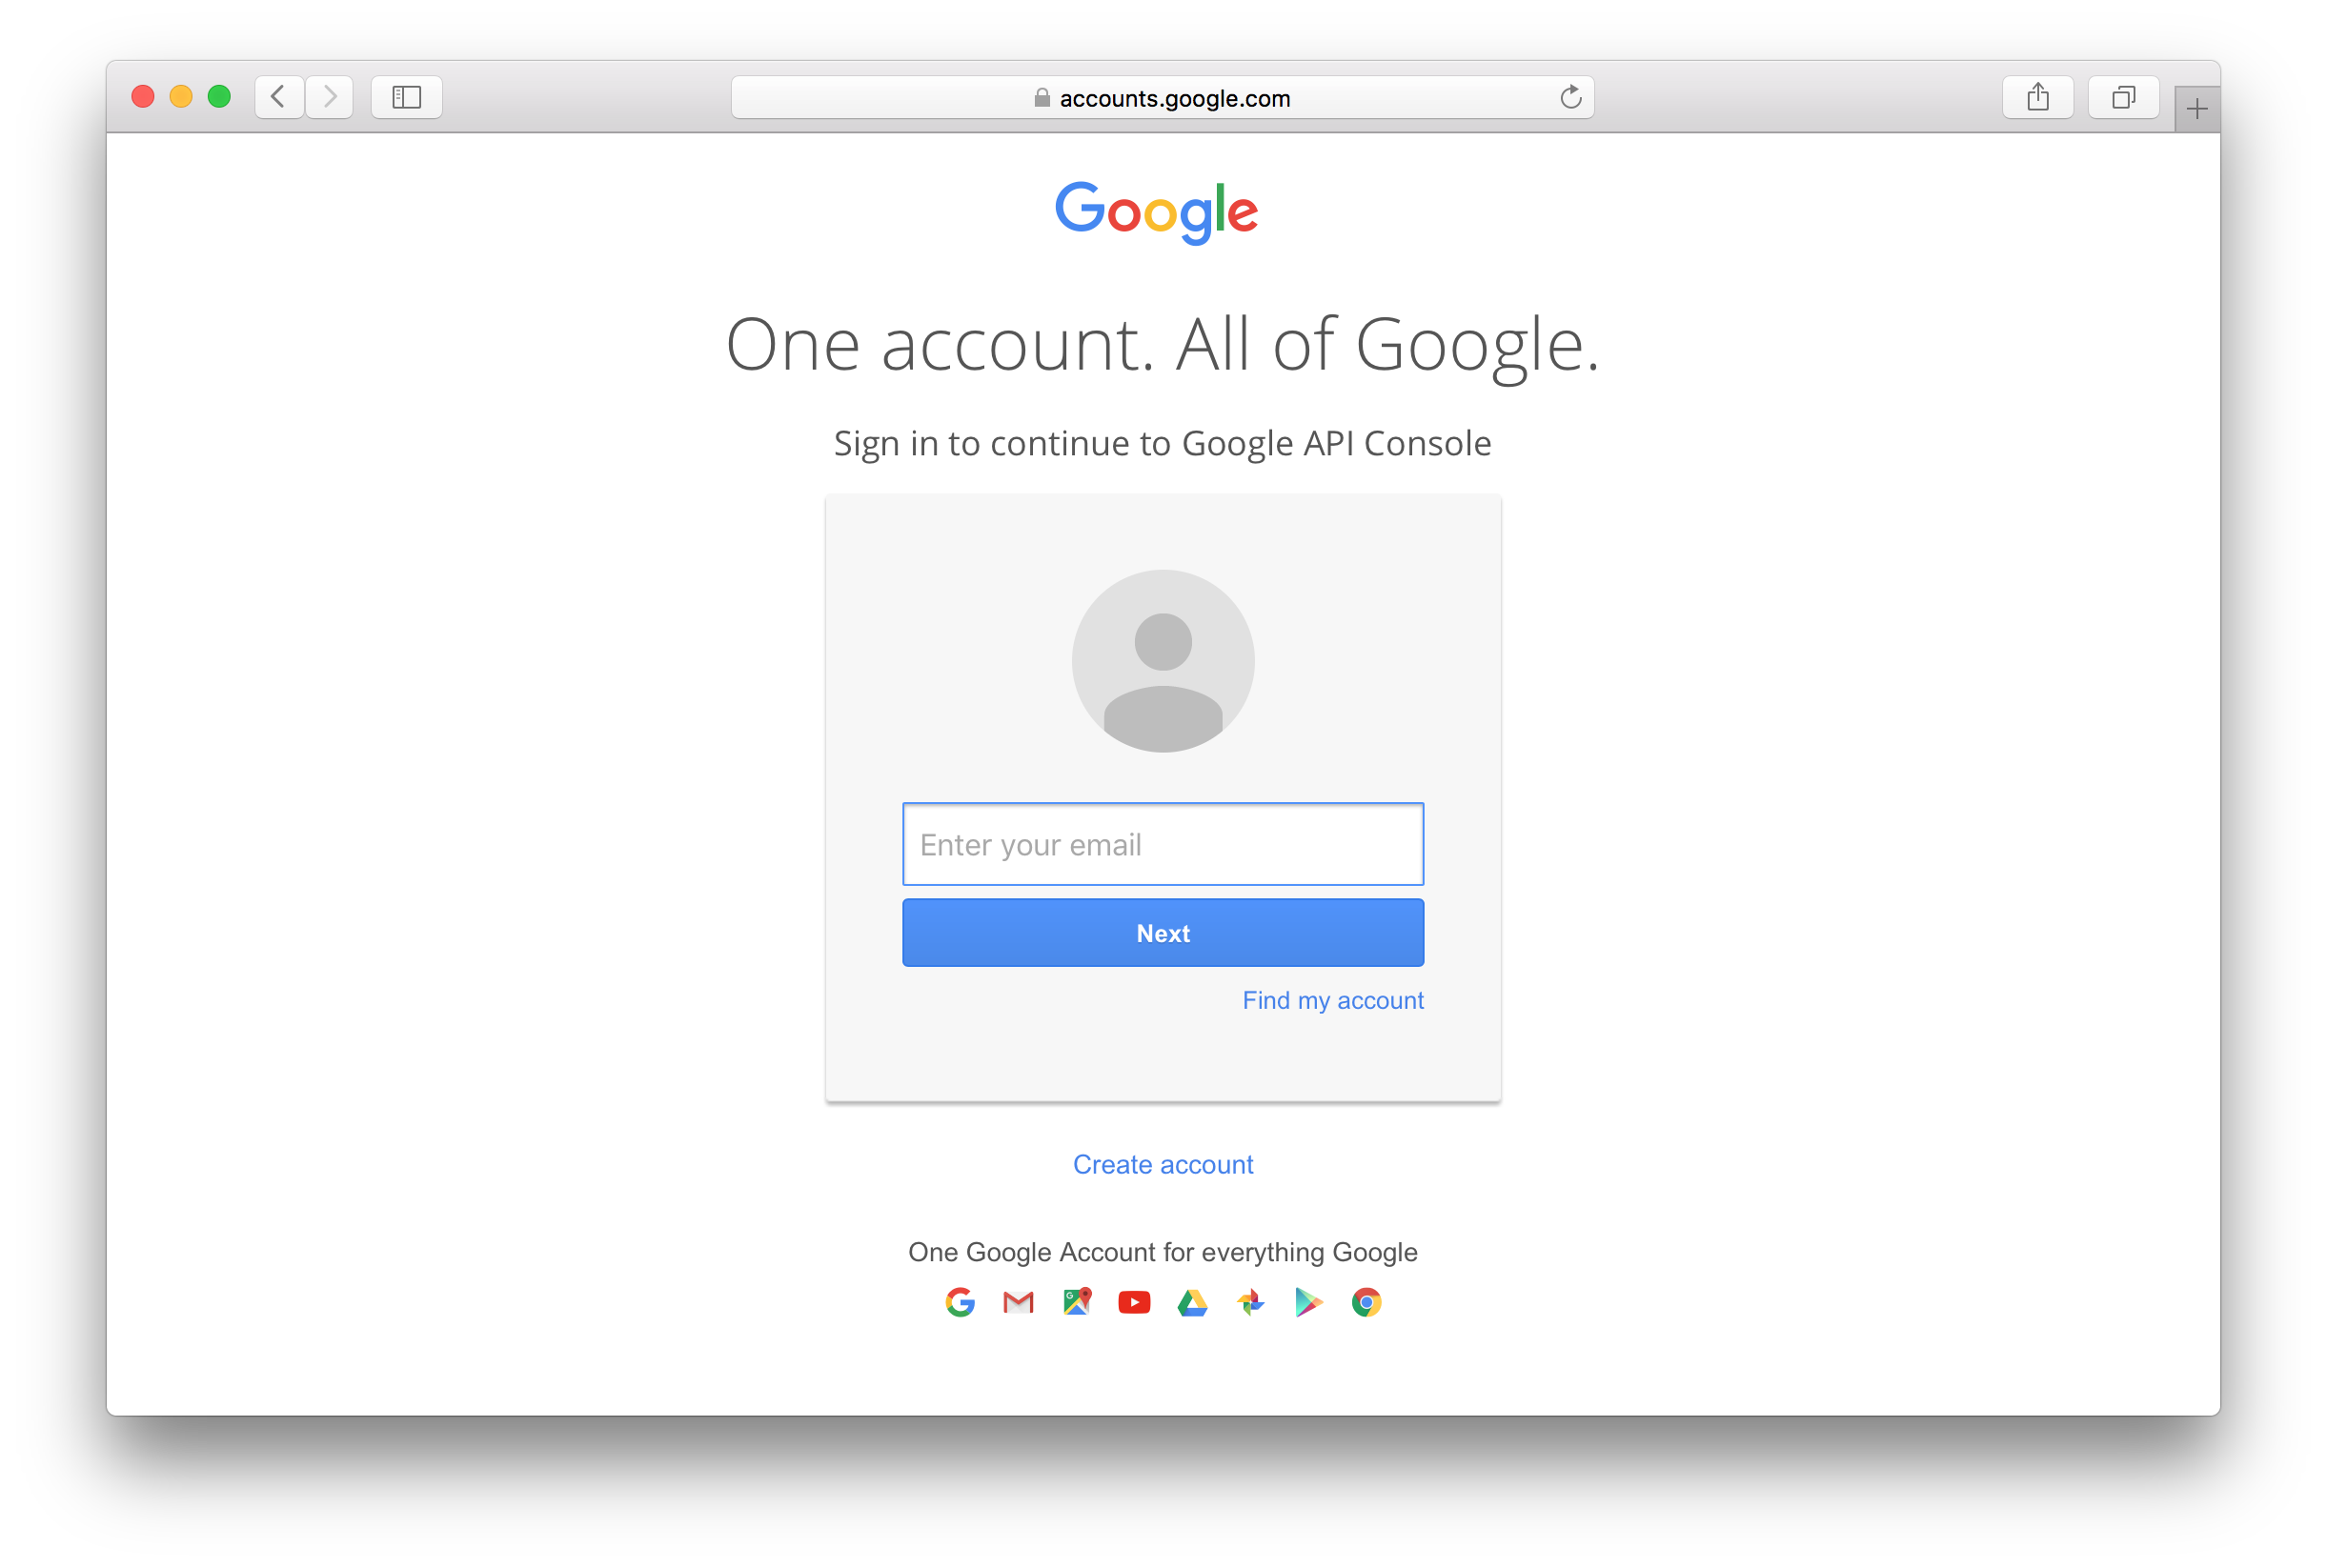
First, sign in with your Google account
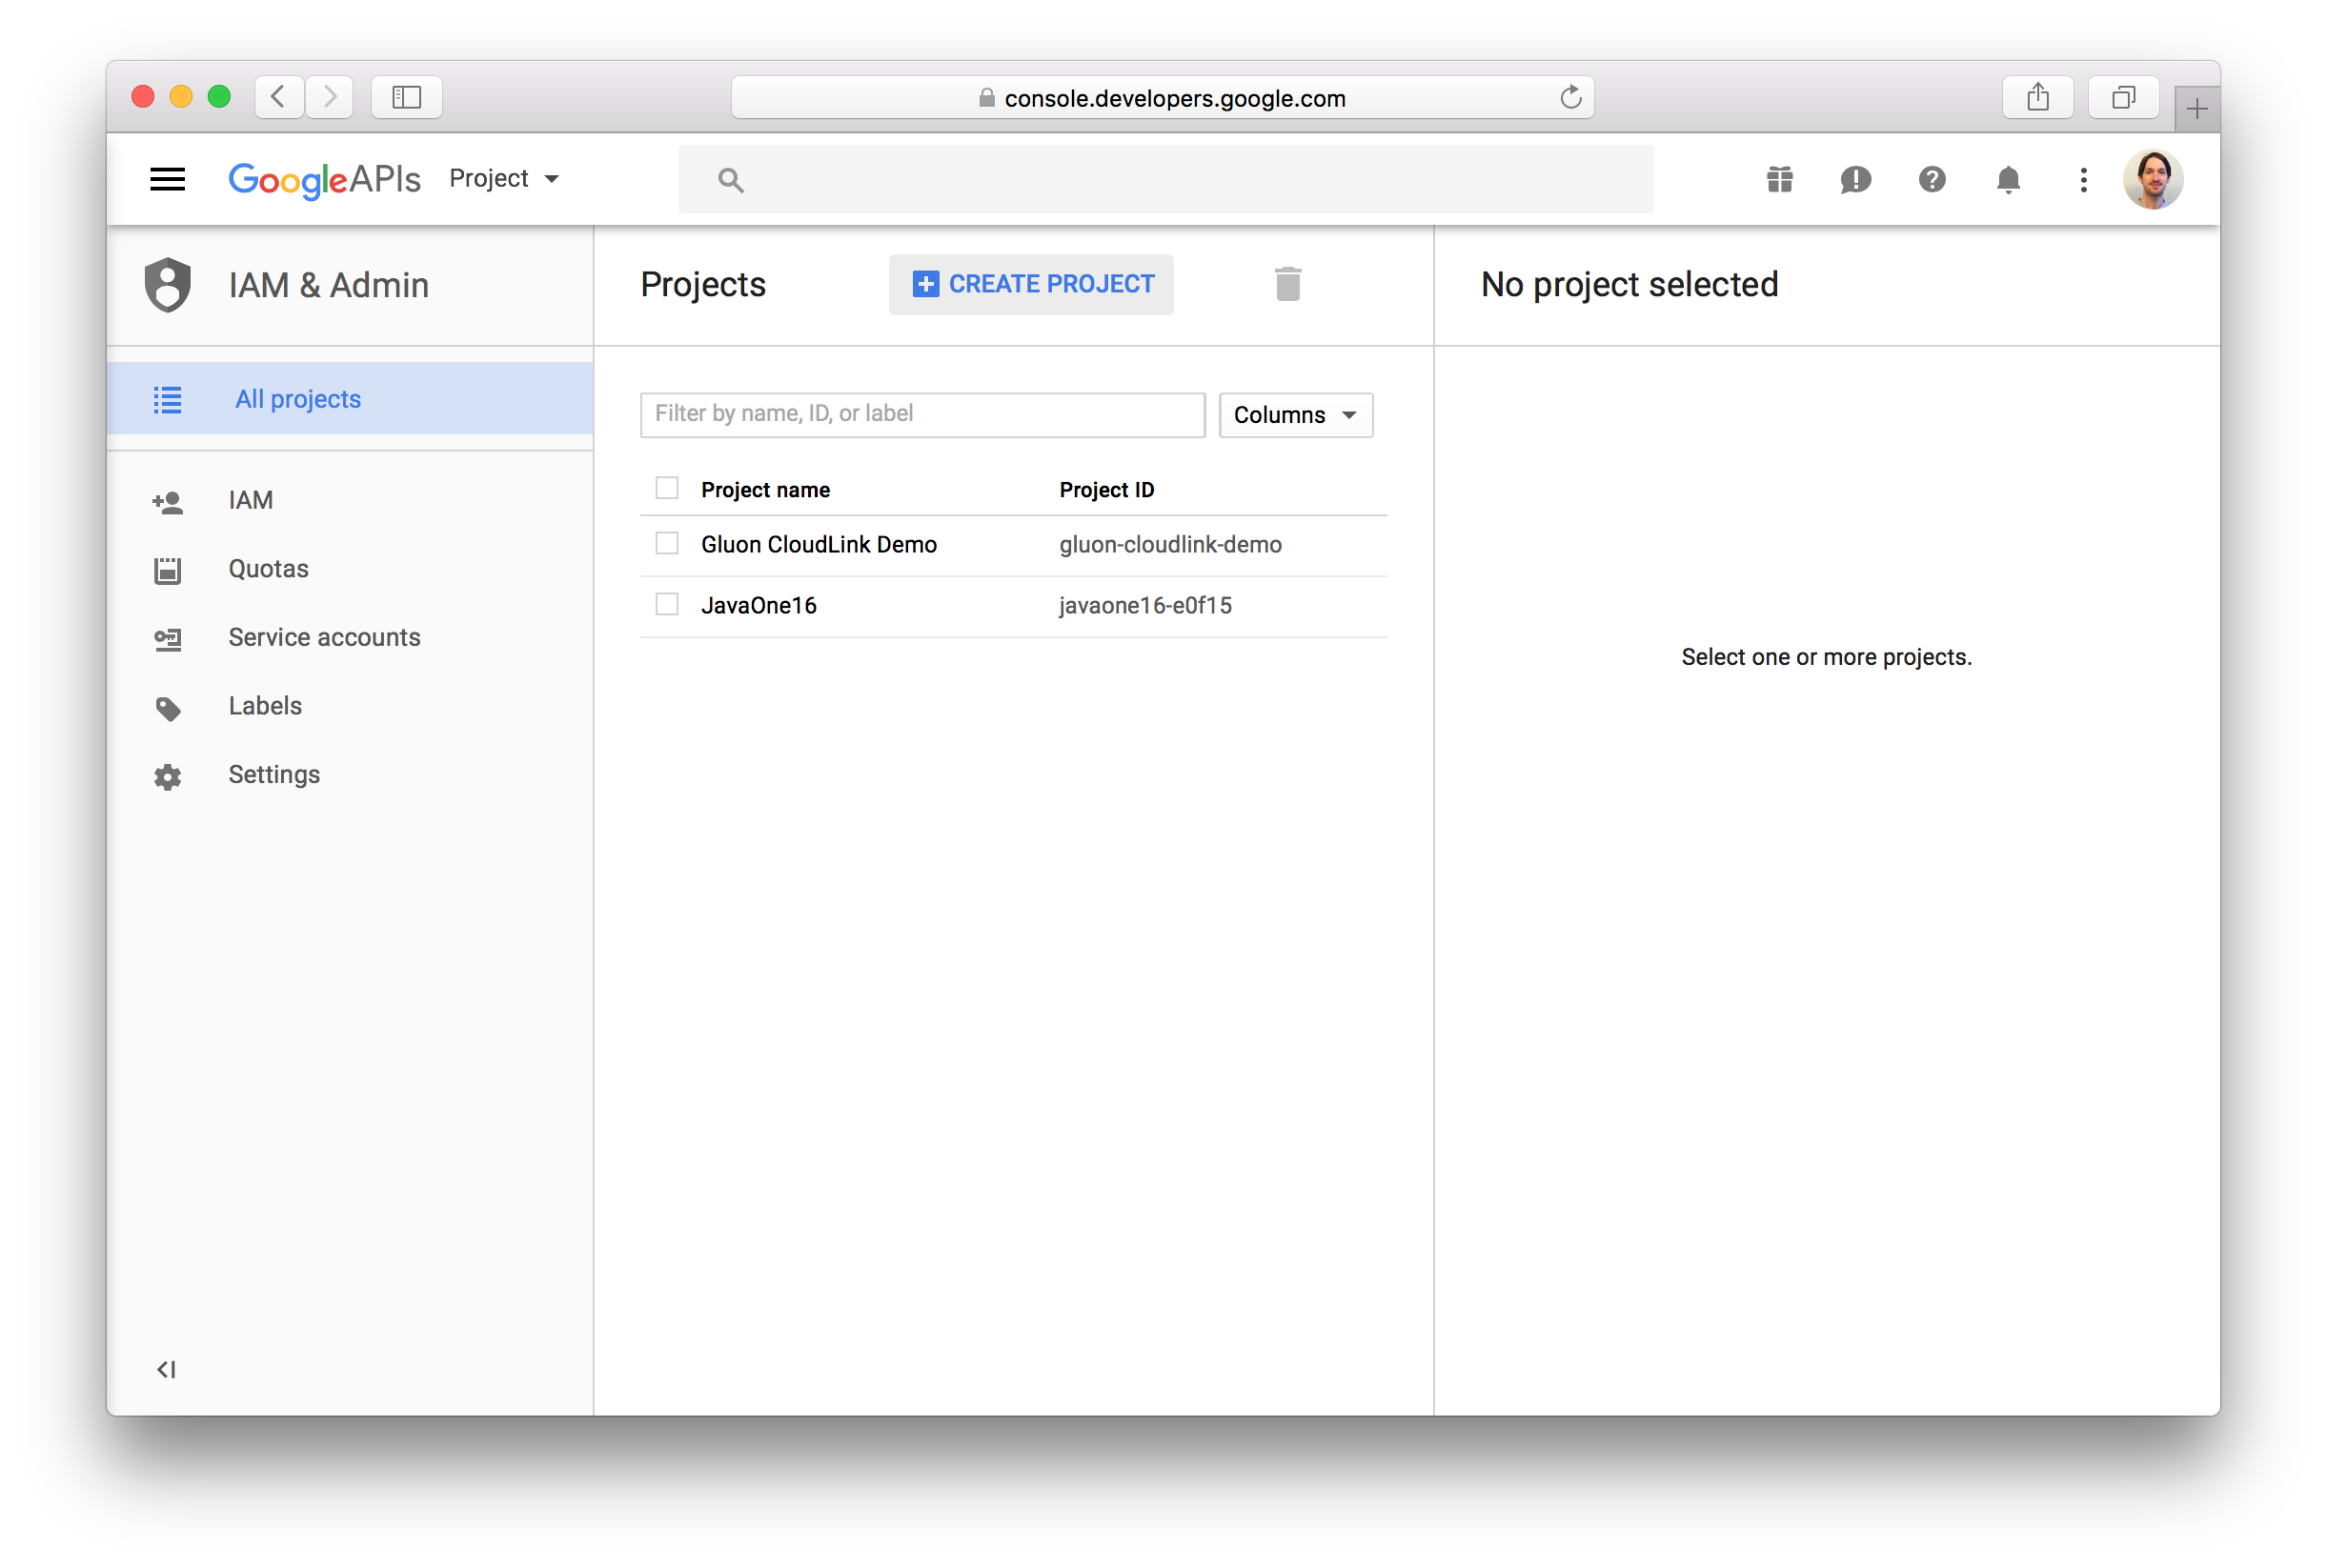
Click the Create Project button at the top of the page:
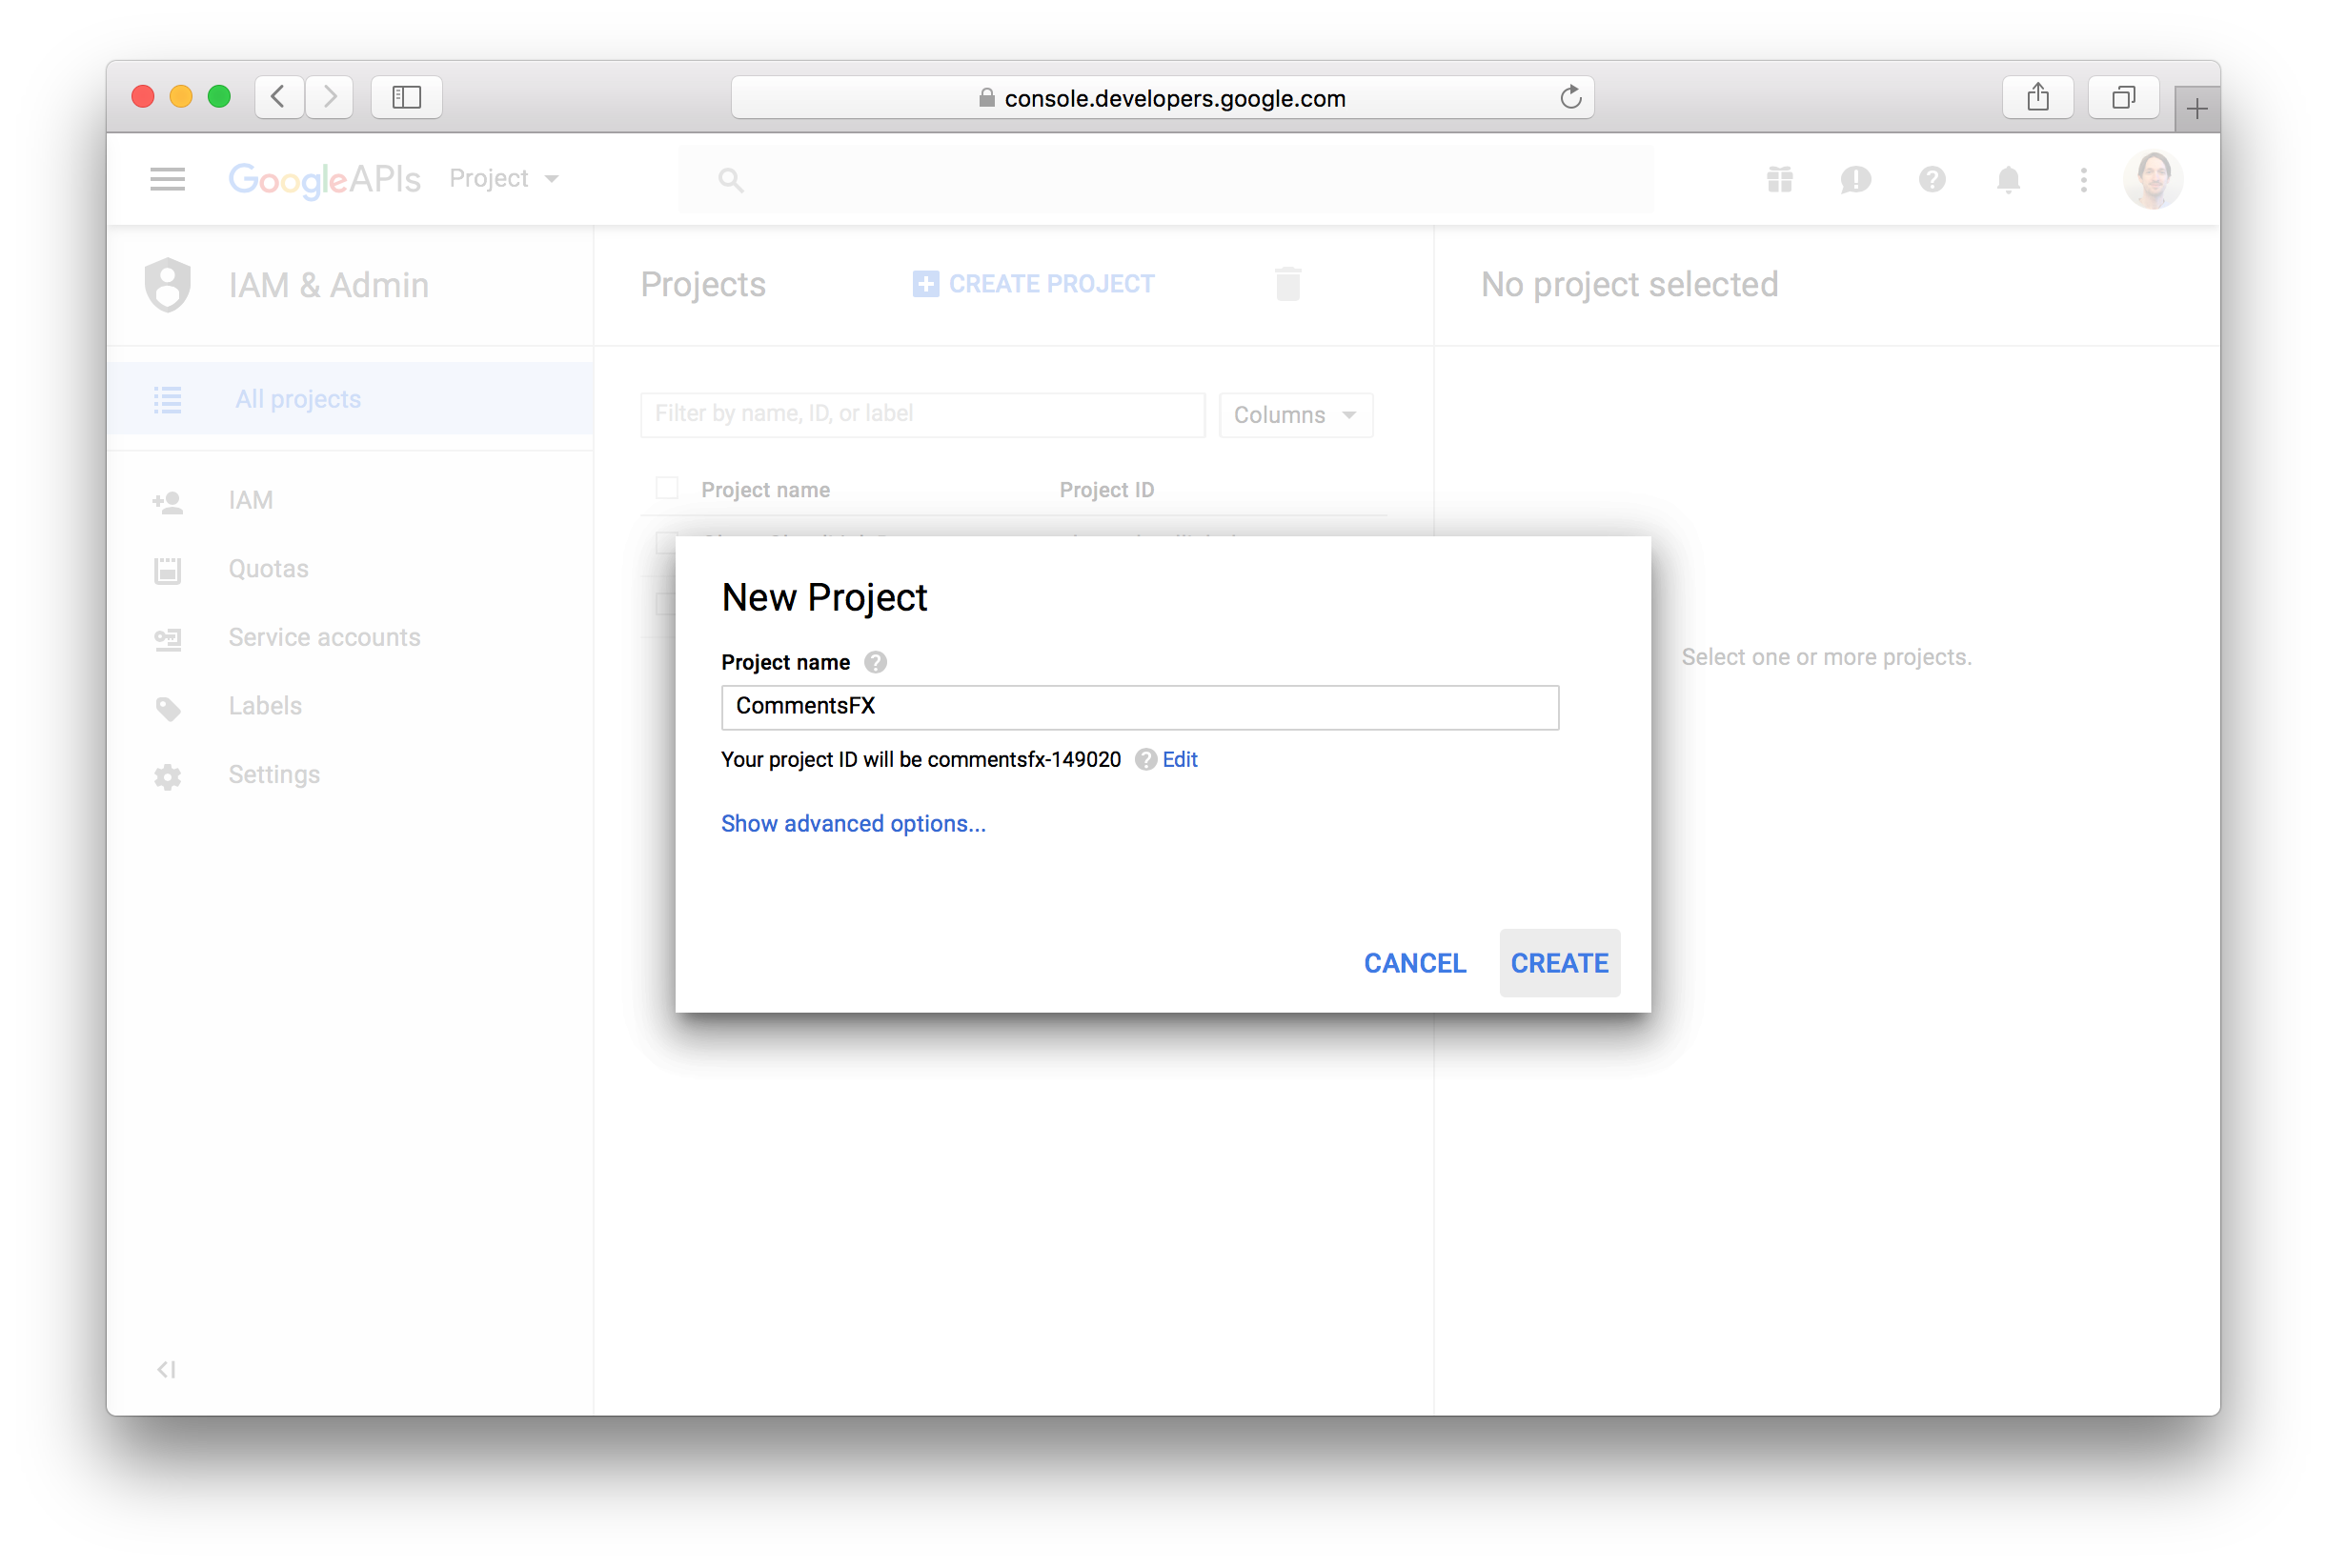
Fill in the name of the project and proceed by clicking the Create button:
Wait a bit until your application is created.
Setting up Google Application
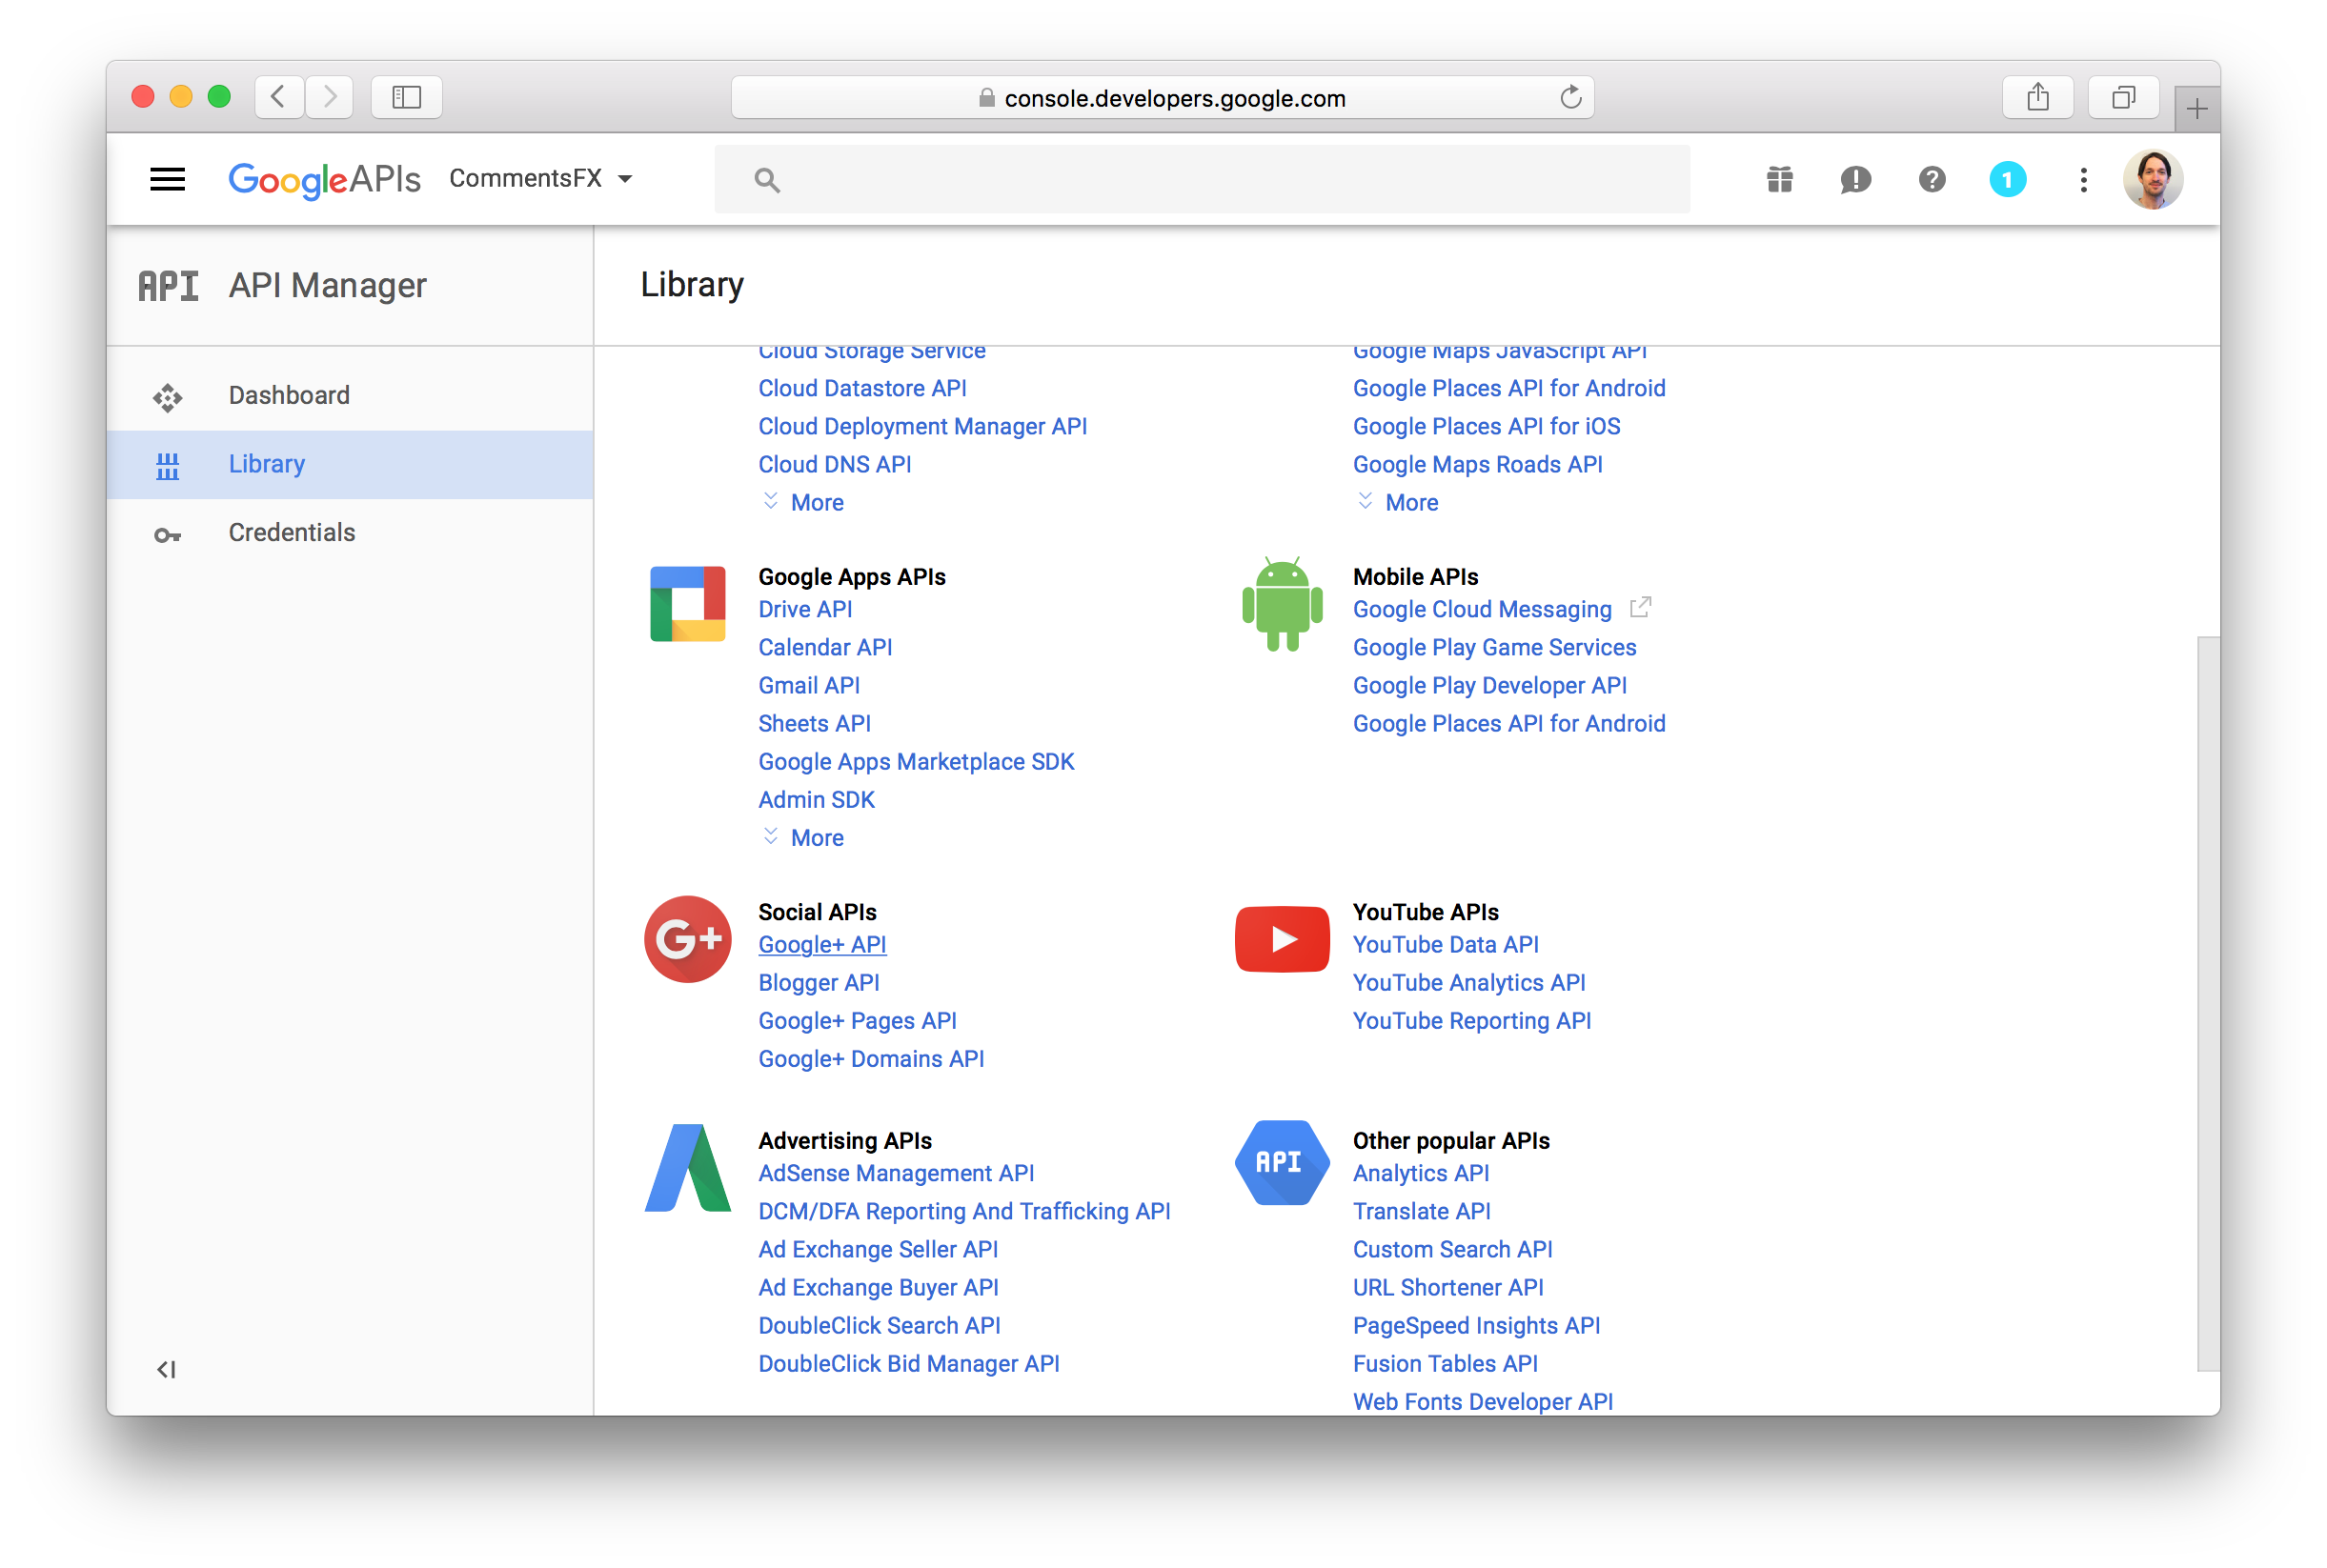
From the list of APIs, choose the Google+ API under the Social APIs
category.
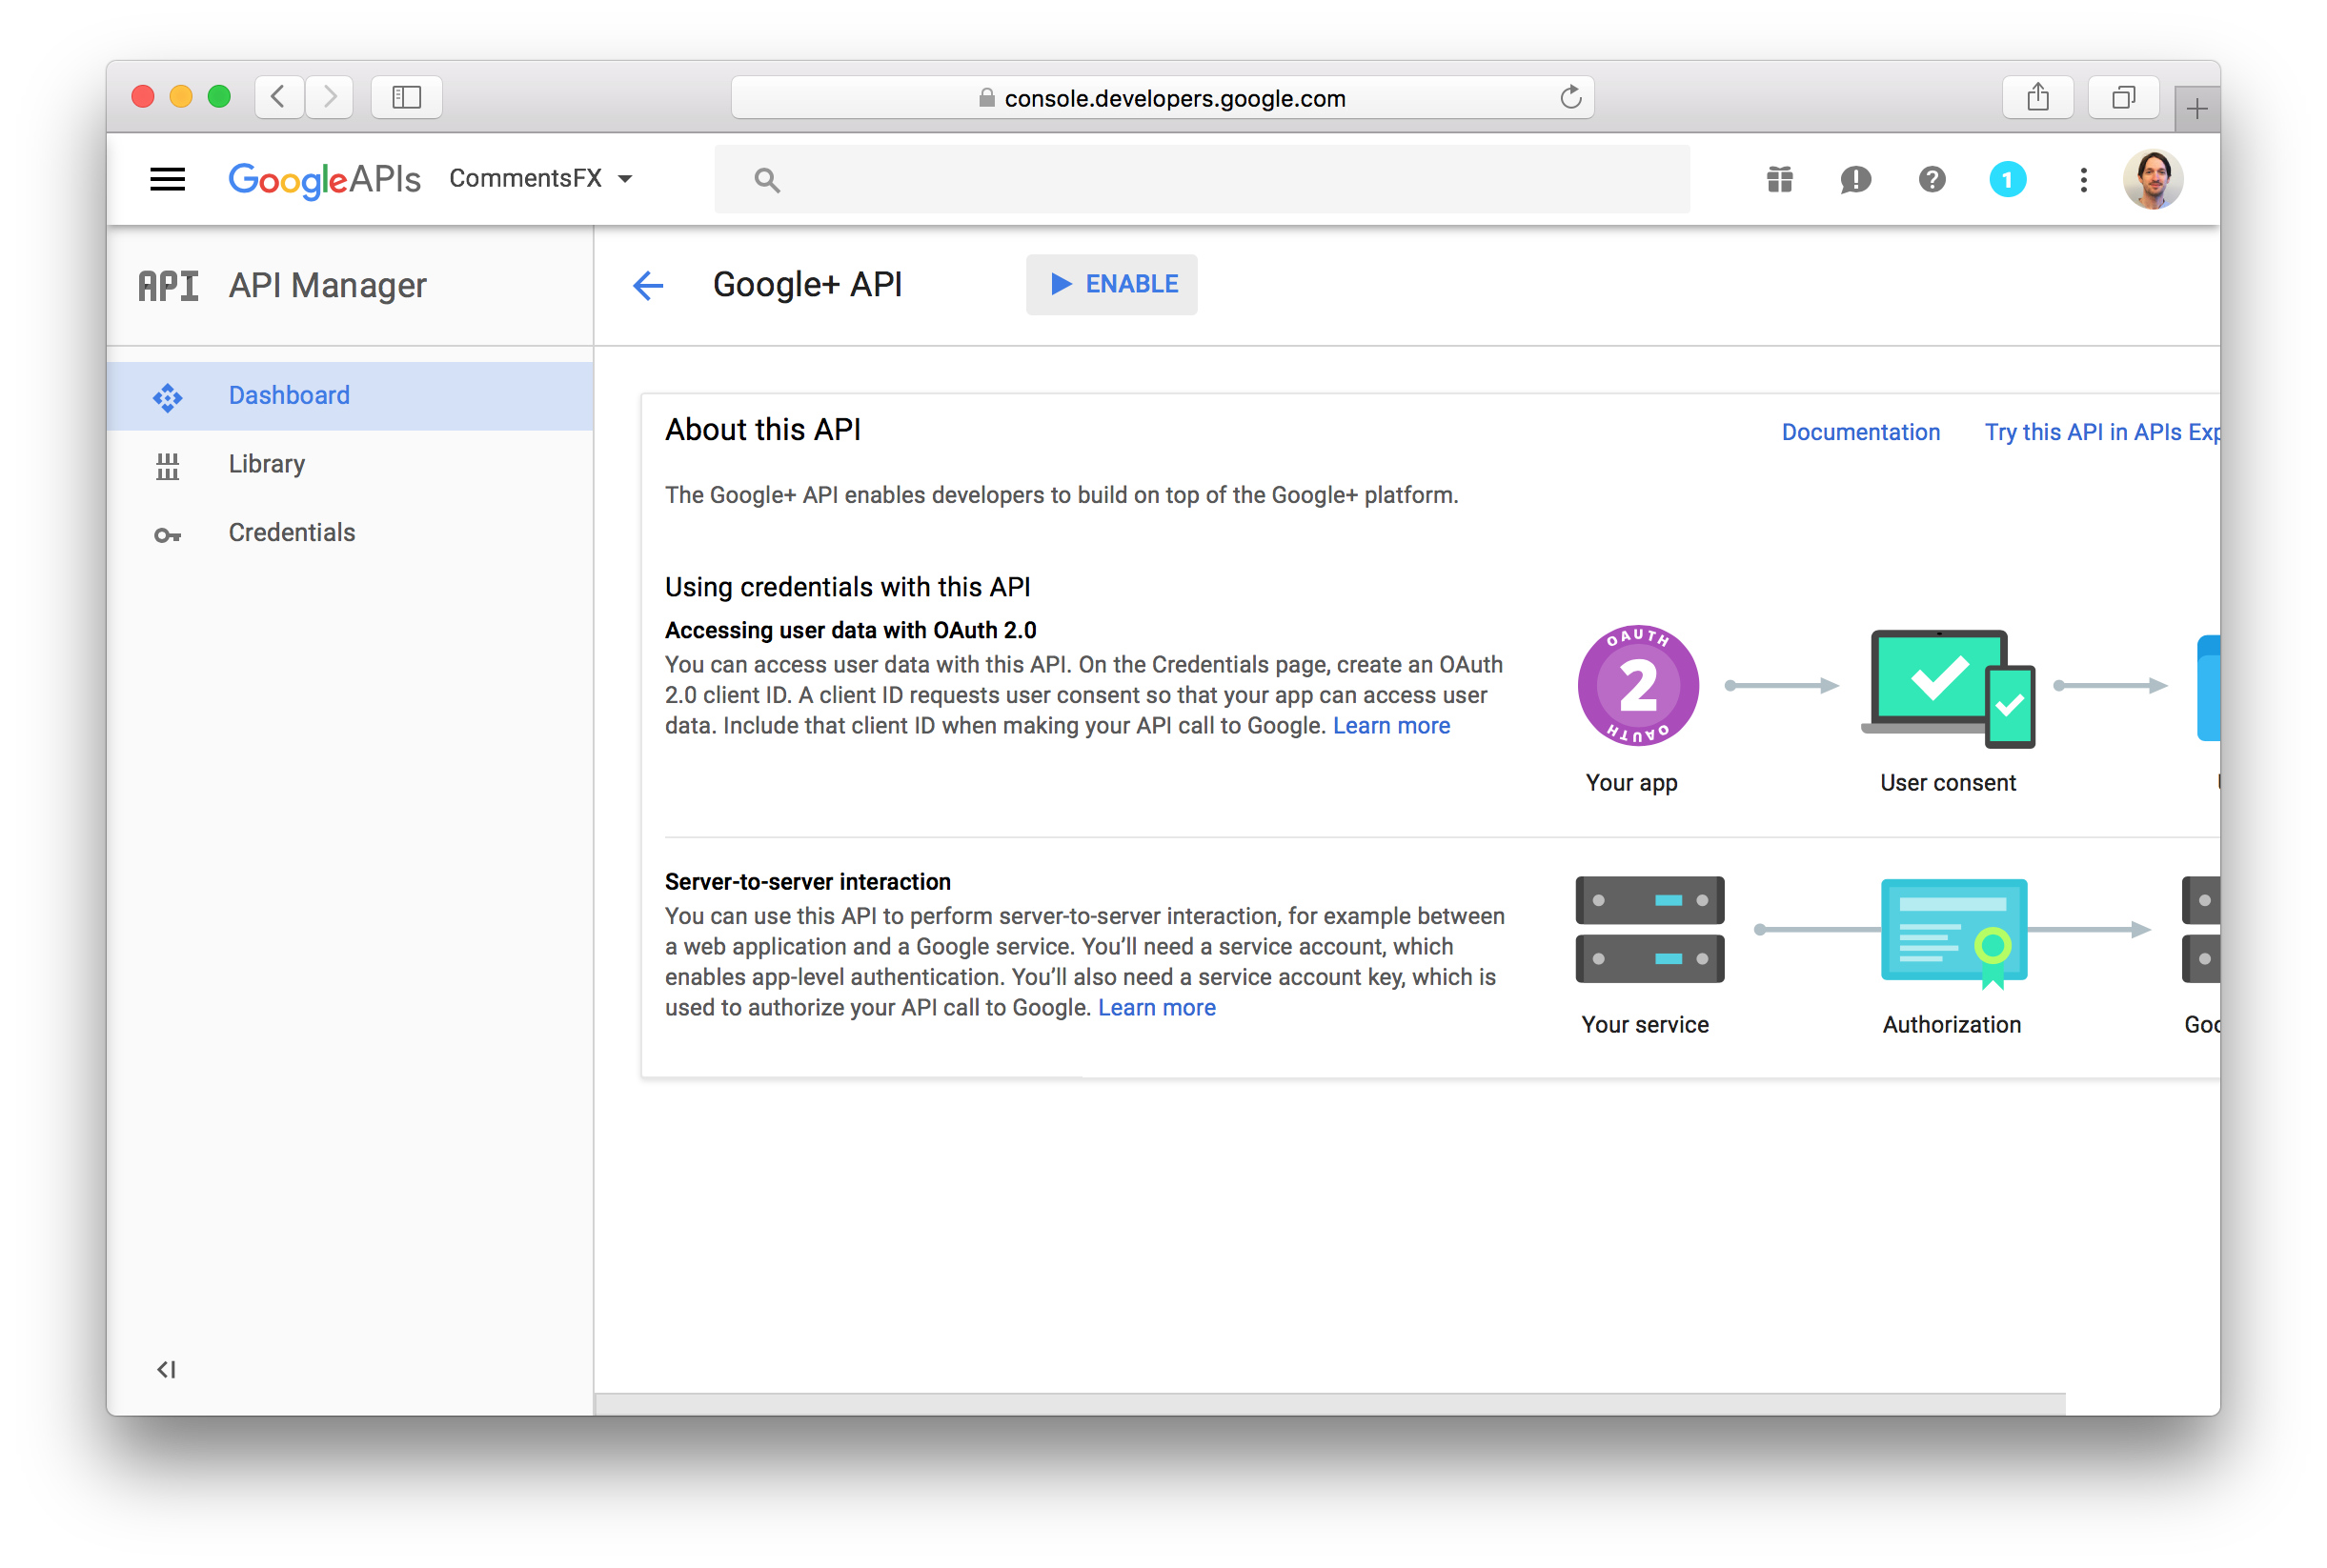
Enable the API for your application by clicking the Enable button at the top.
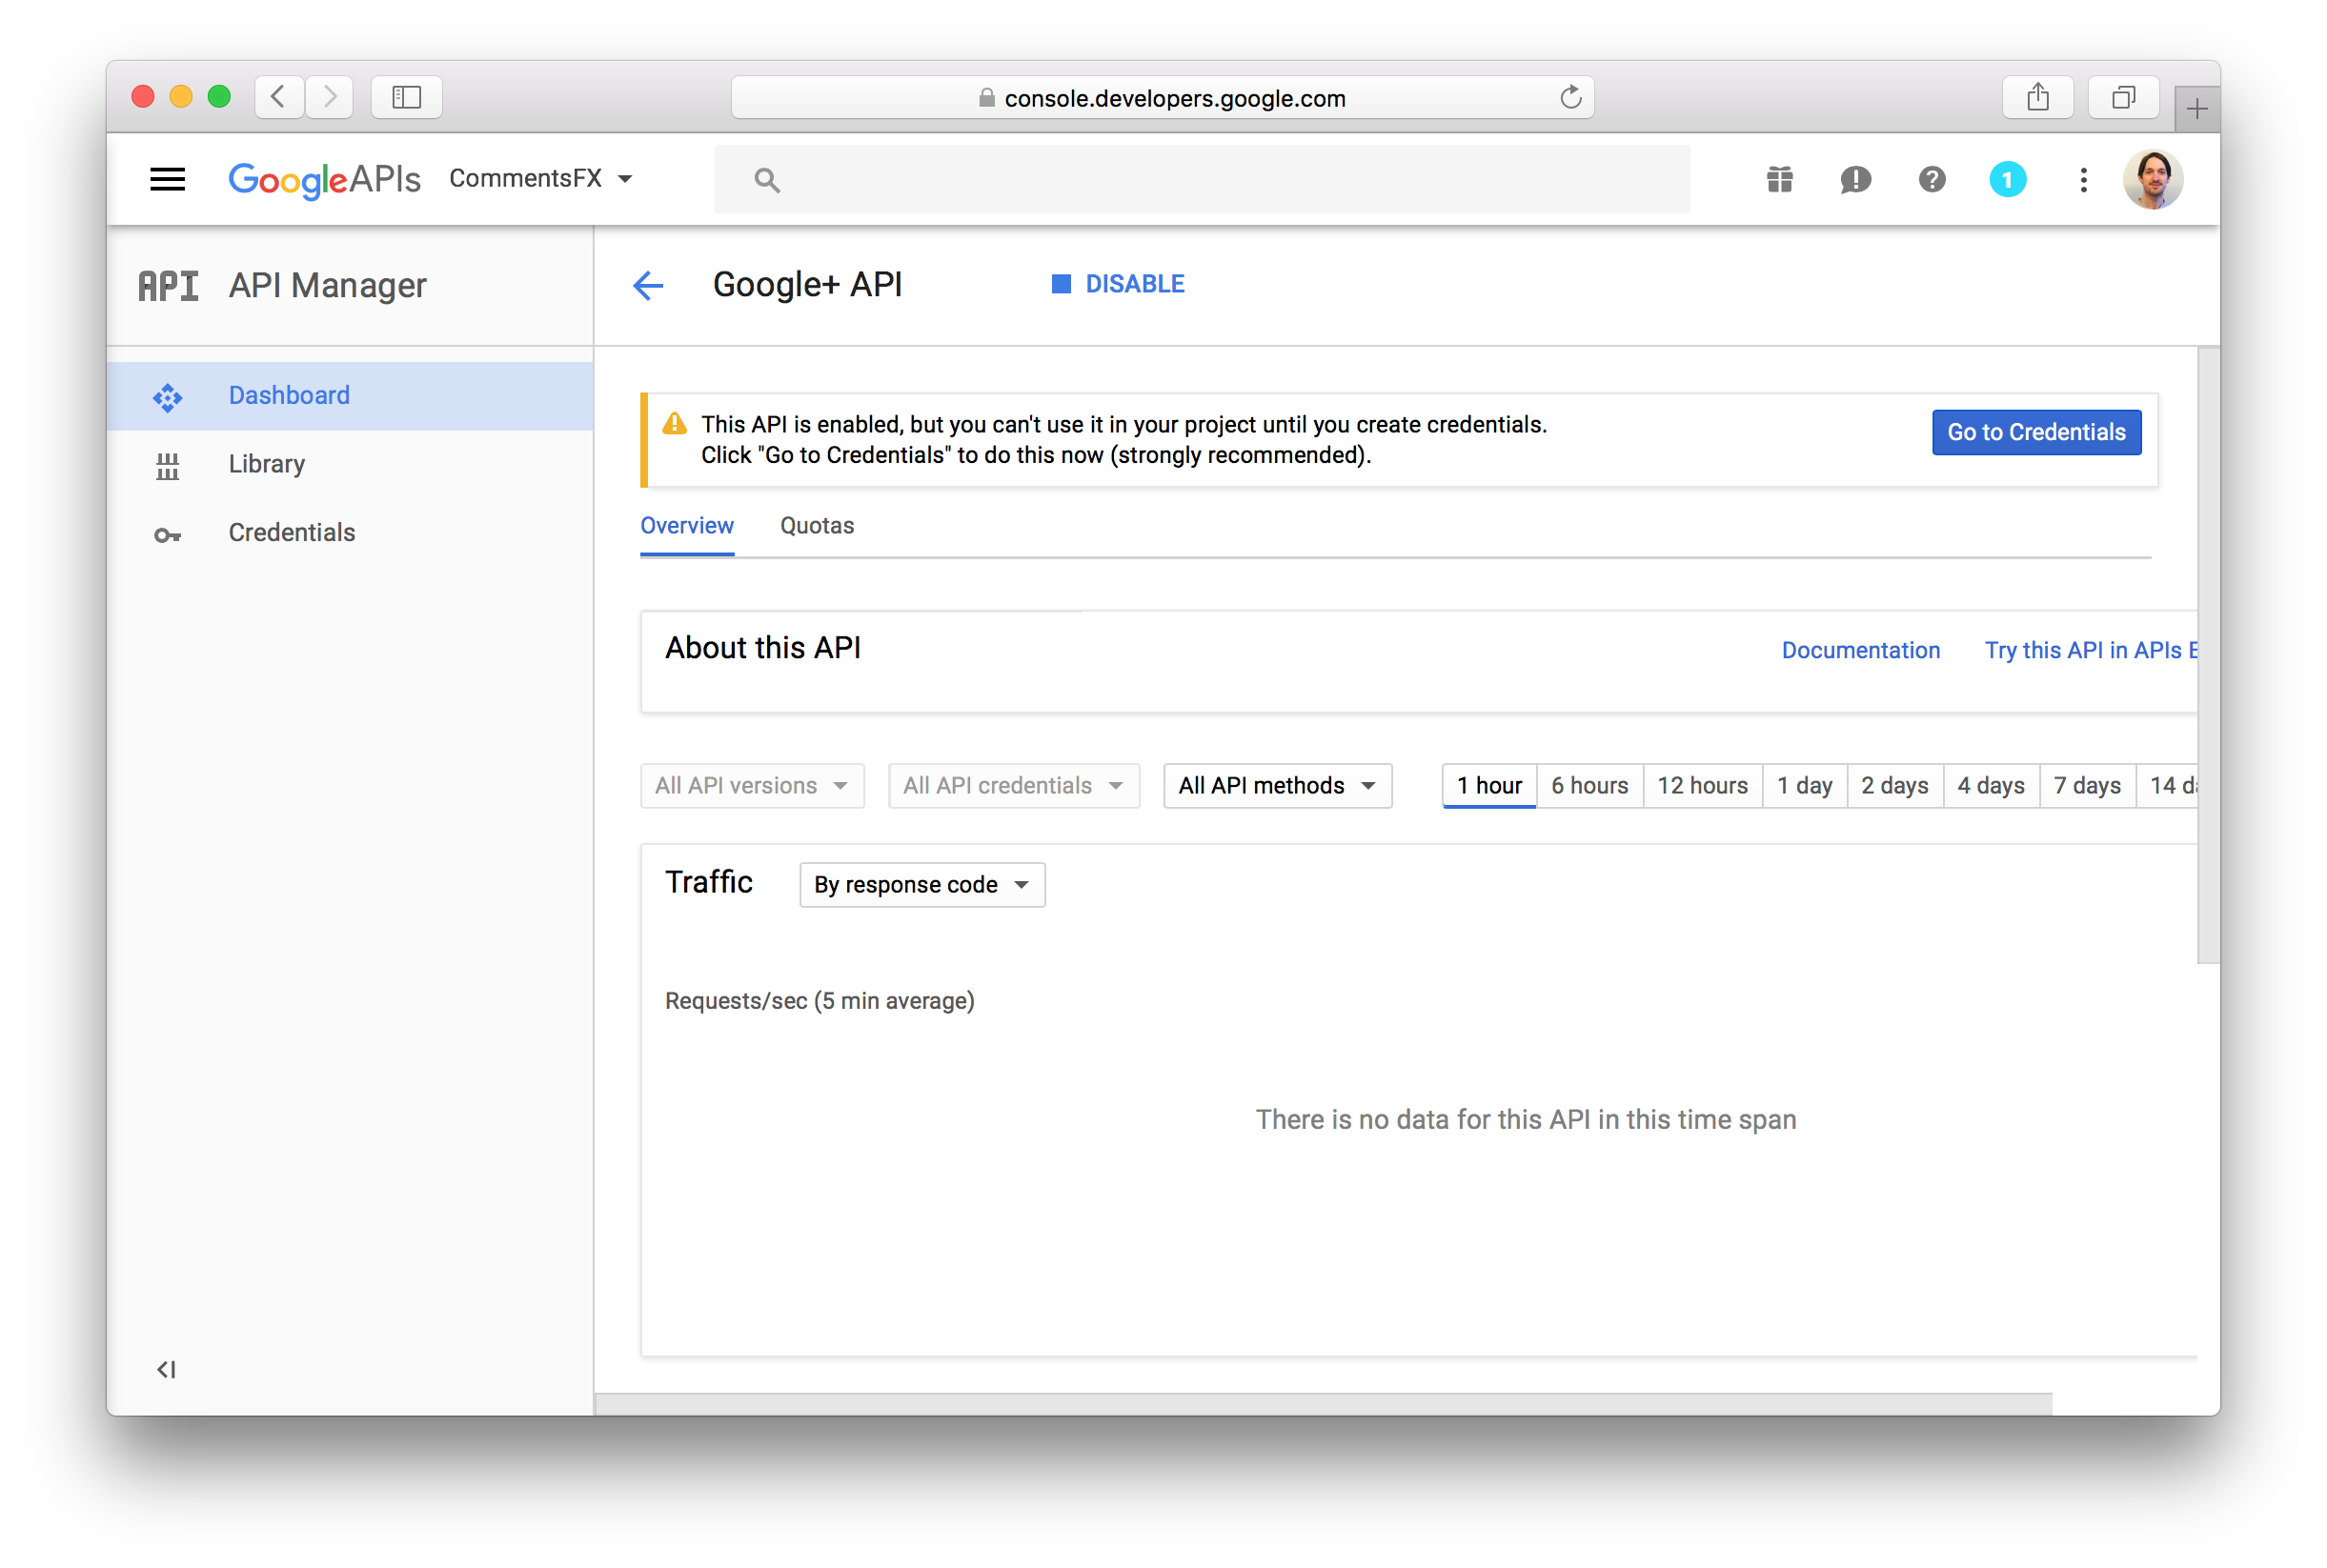
When the Google+ API is enabled, Google will notify you that you need to create credentials before you can use the API.
Do so by clicking the Go to Credentials button.
A wizard will be presented to setup the credentials. Choose Google+ API for the API that you want to use and
Web server (e.g. node.js, Tomcat) as the location where the API will be called from. Select the radio button for
accessing User data. Click the button What credentials do I need? to proceed with the creation of the credentials.

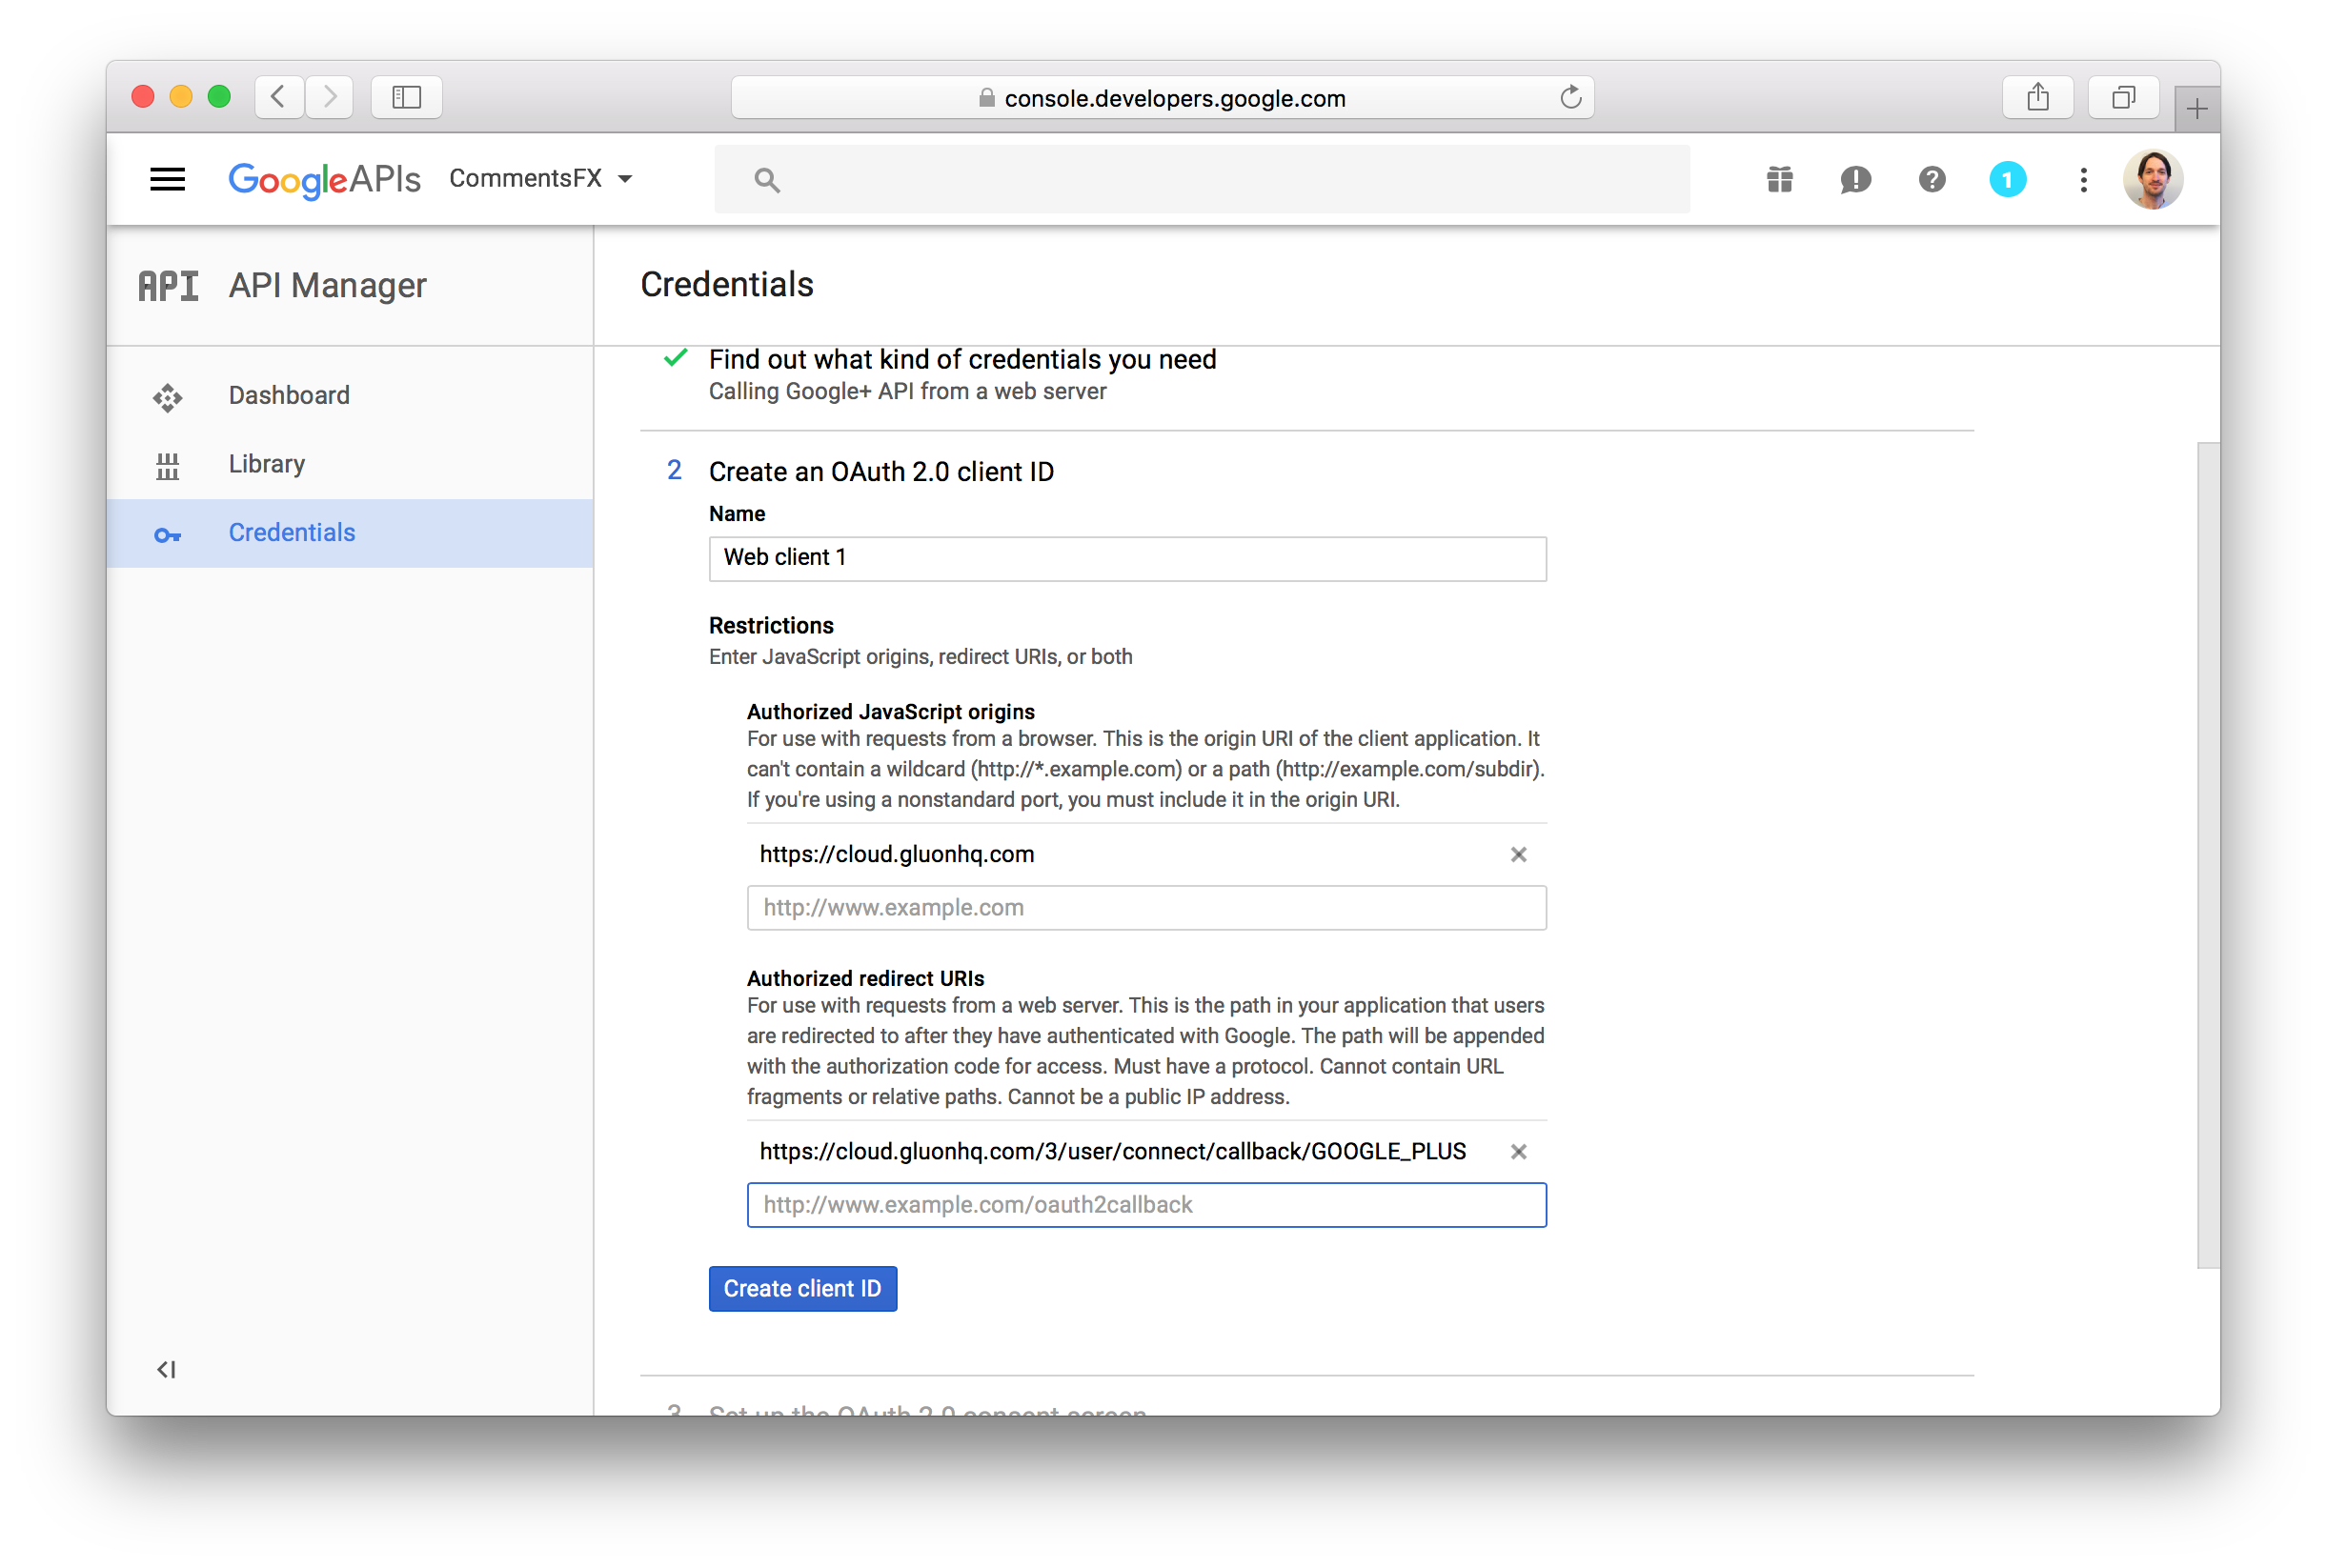
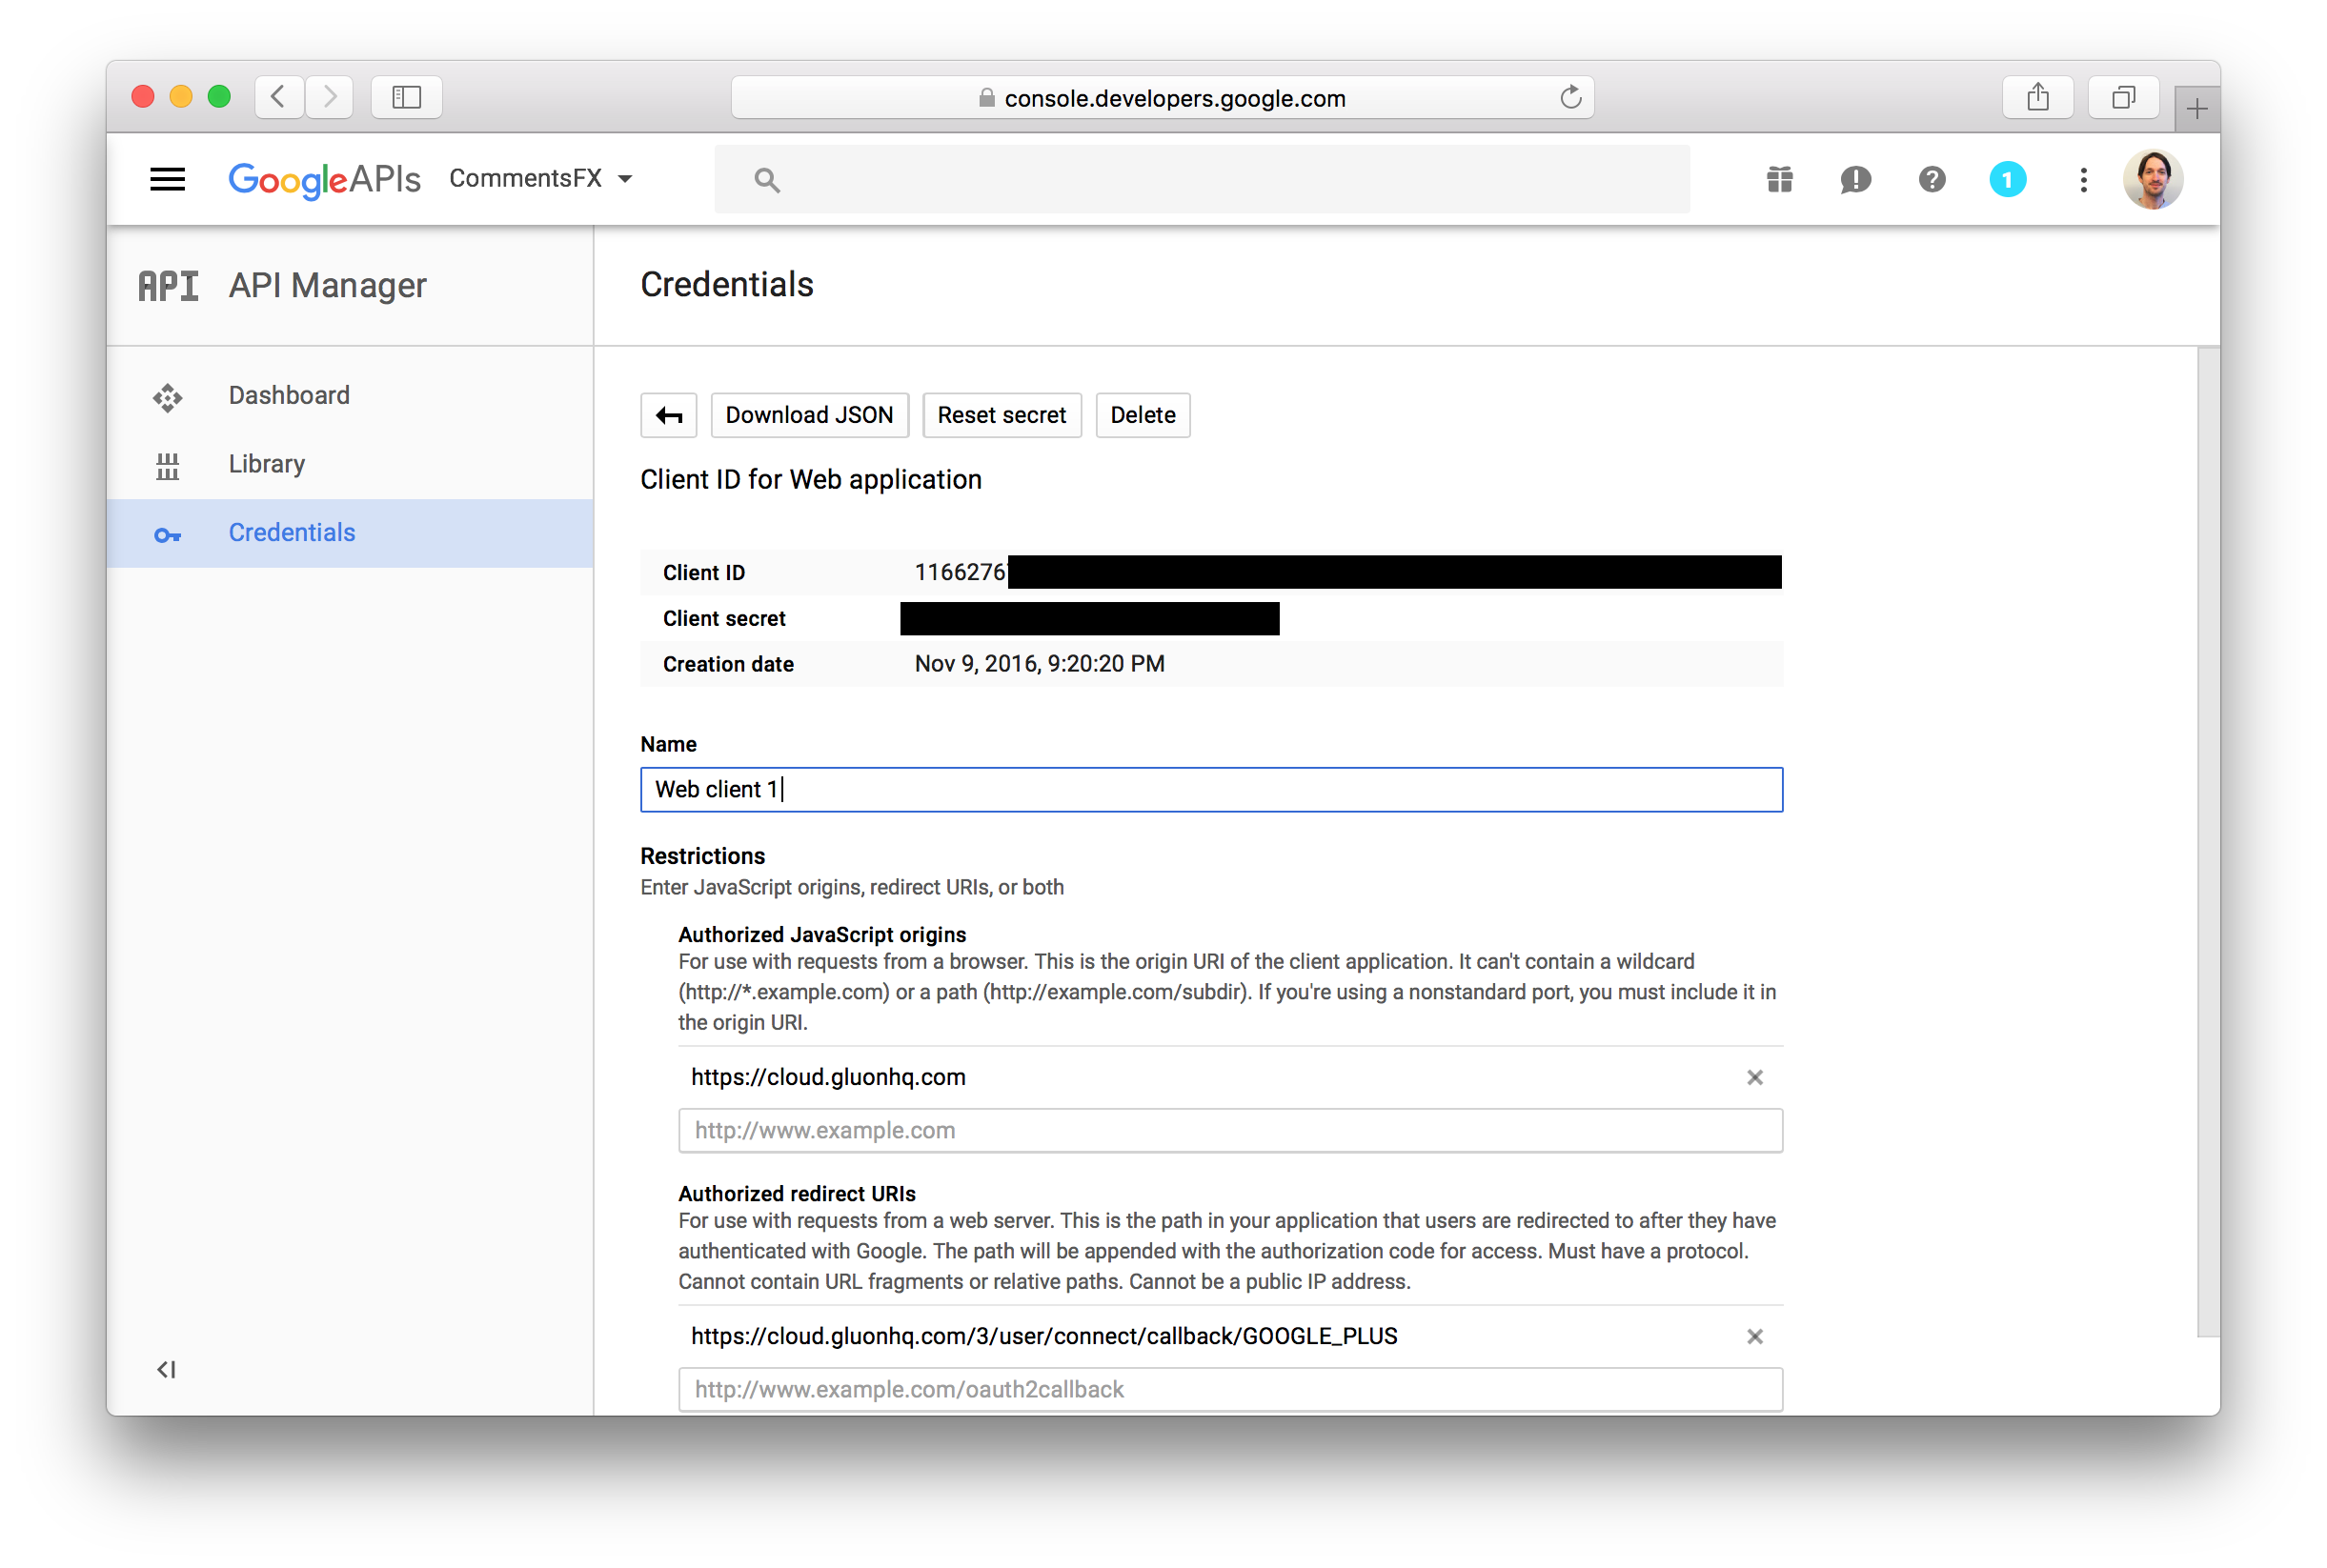
In the next step, enter the URL https://cloud.gluonhq.com as an authorized JavaScript origin and
https://cloud.gluonhq.com/3/user/connect/callback/GOOGLE_PLUS as an authorized redirect URI. Click the
Create client ID button to proceed to step 3.
In the next step, you configure the consent screen. This is the screen that will be presented to the user when he is trying to login using his Google Account. You need to fill in at least an email address and the product name.
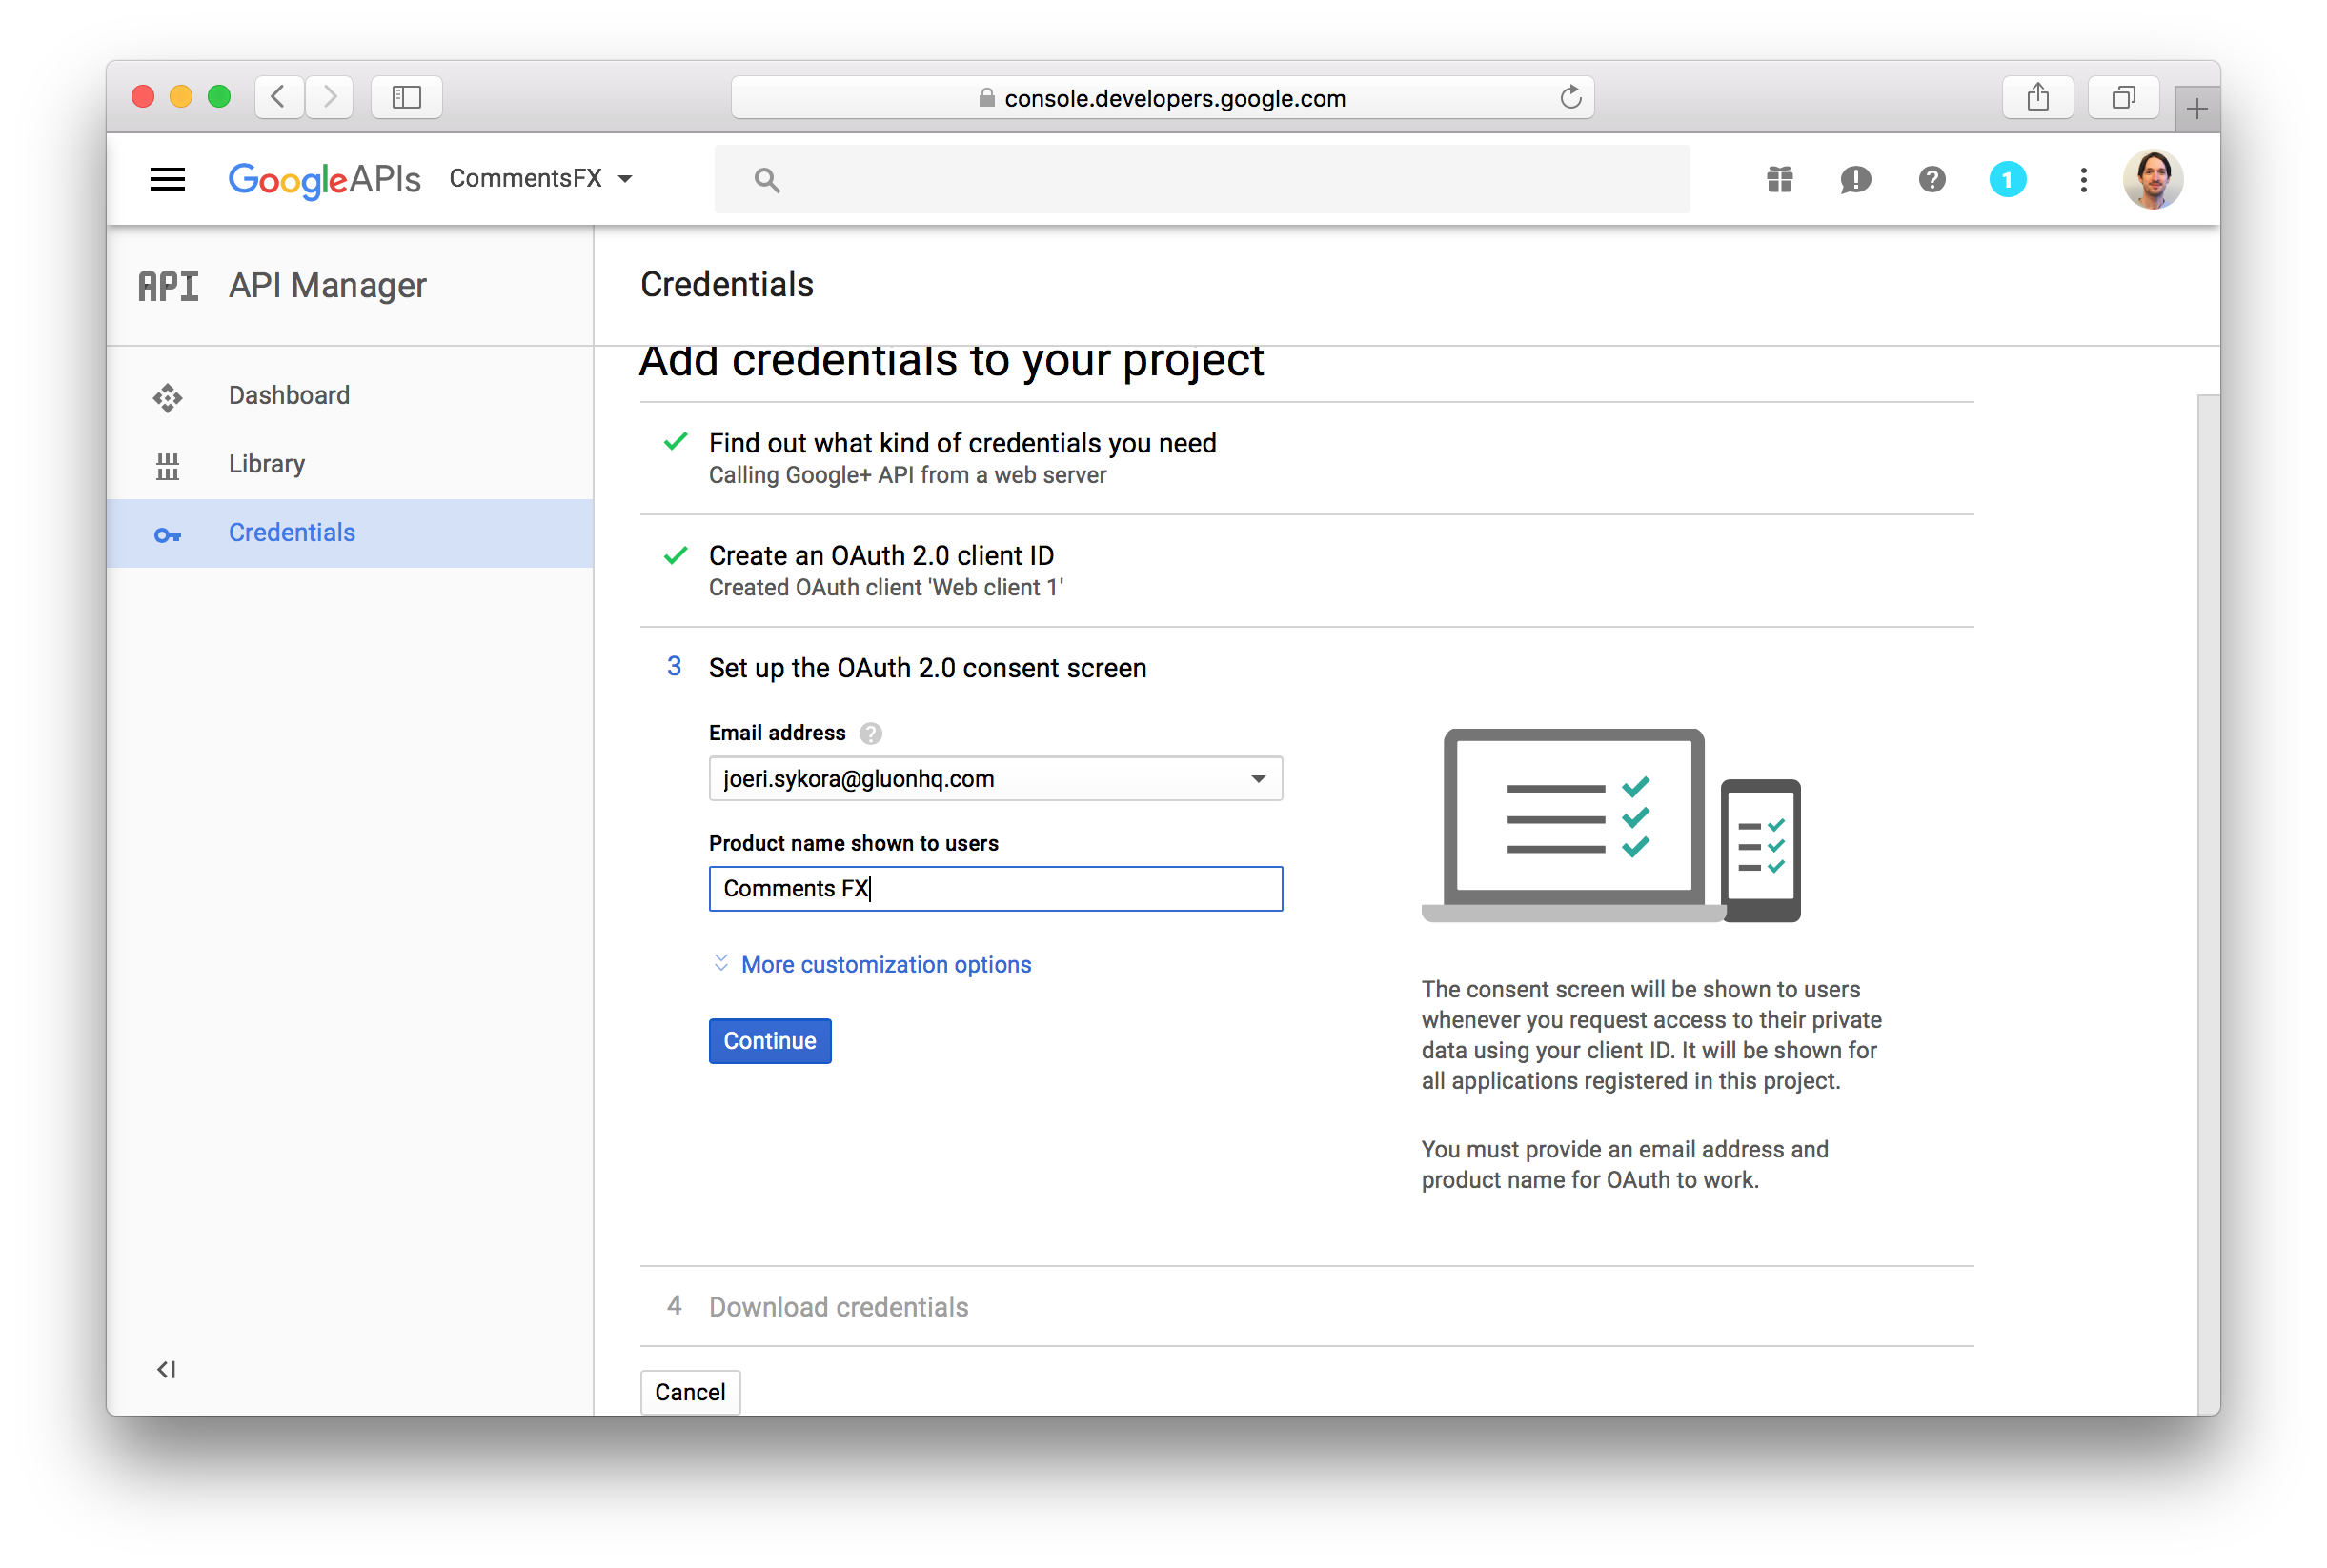
When you click Continue, the credentials will be created. You can skip the Download credentials step, by clicking
the I’ll do this later link. You will now see your credentials.
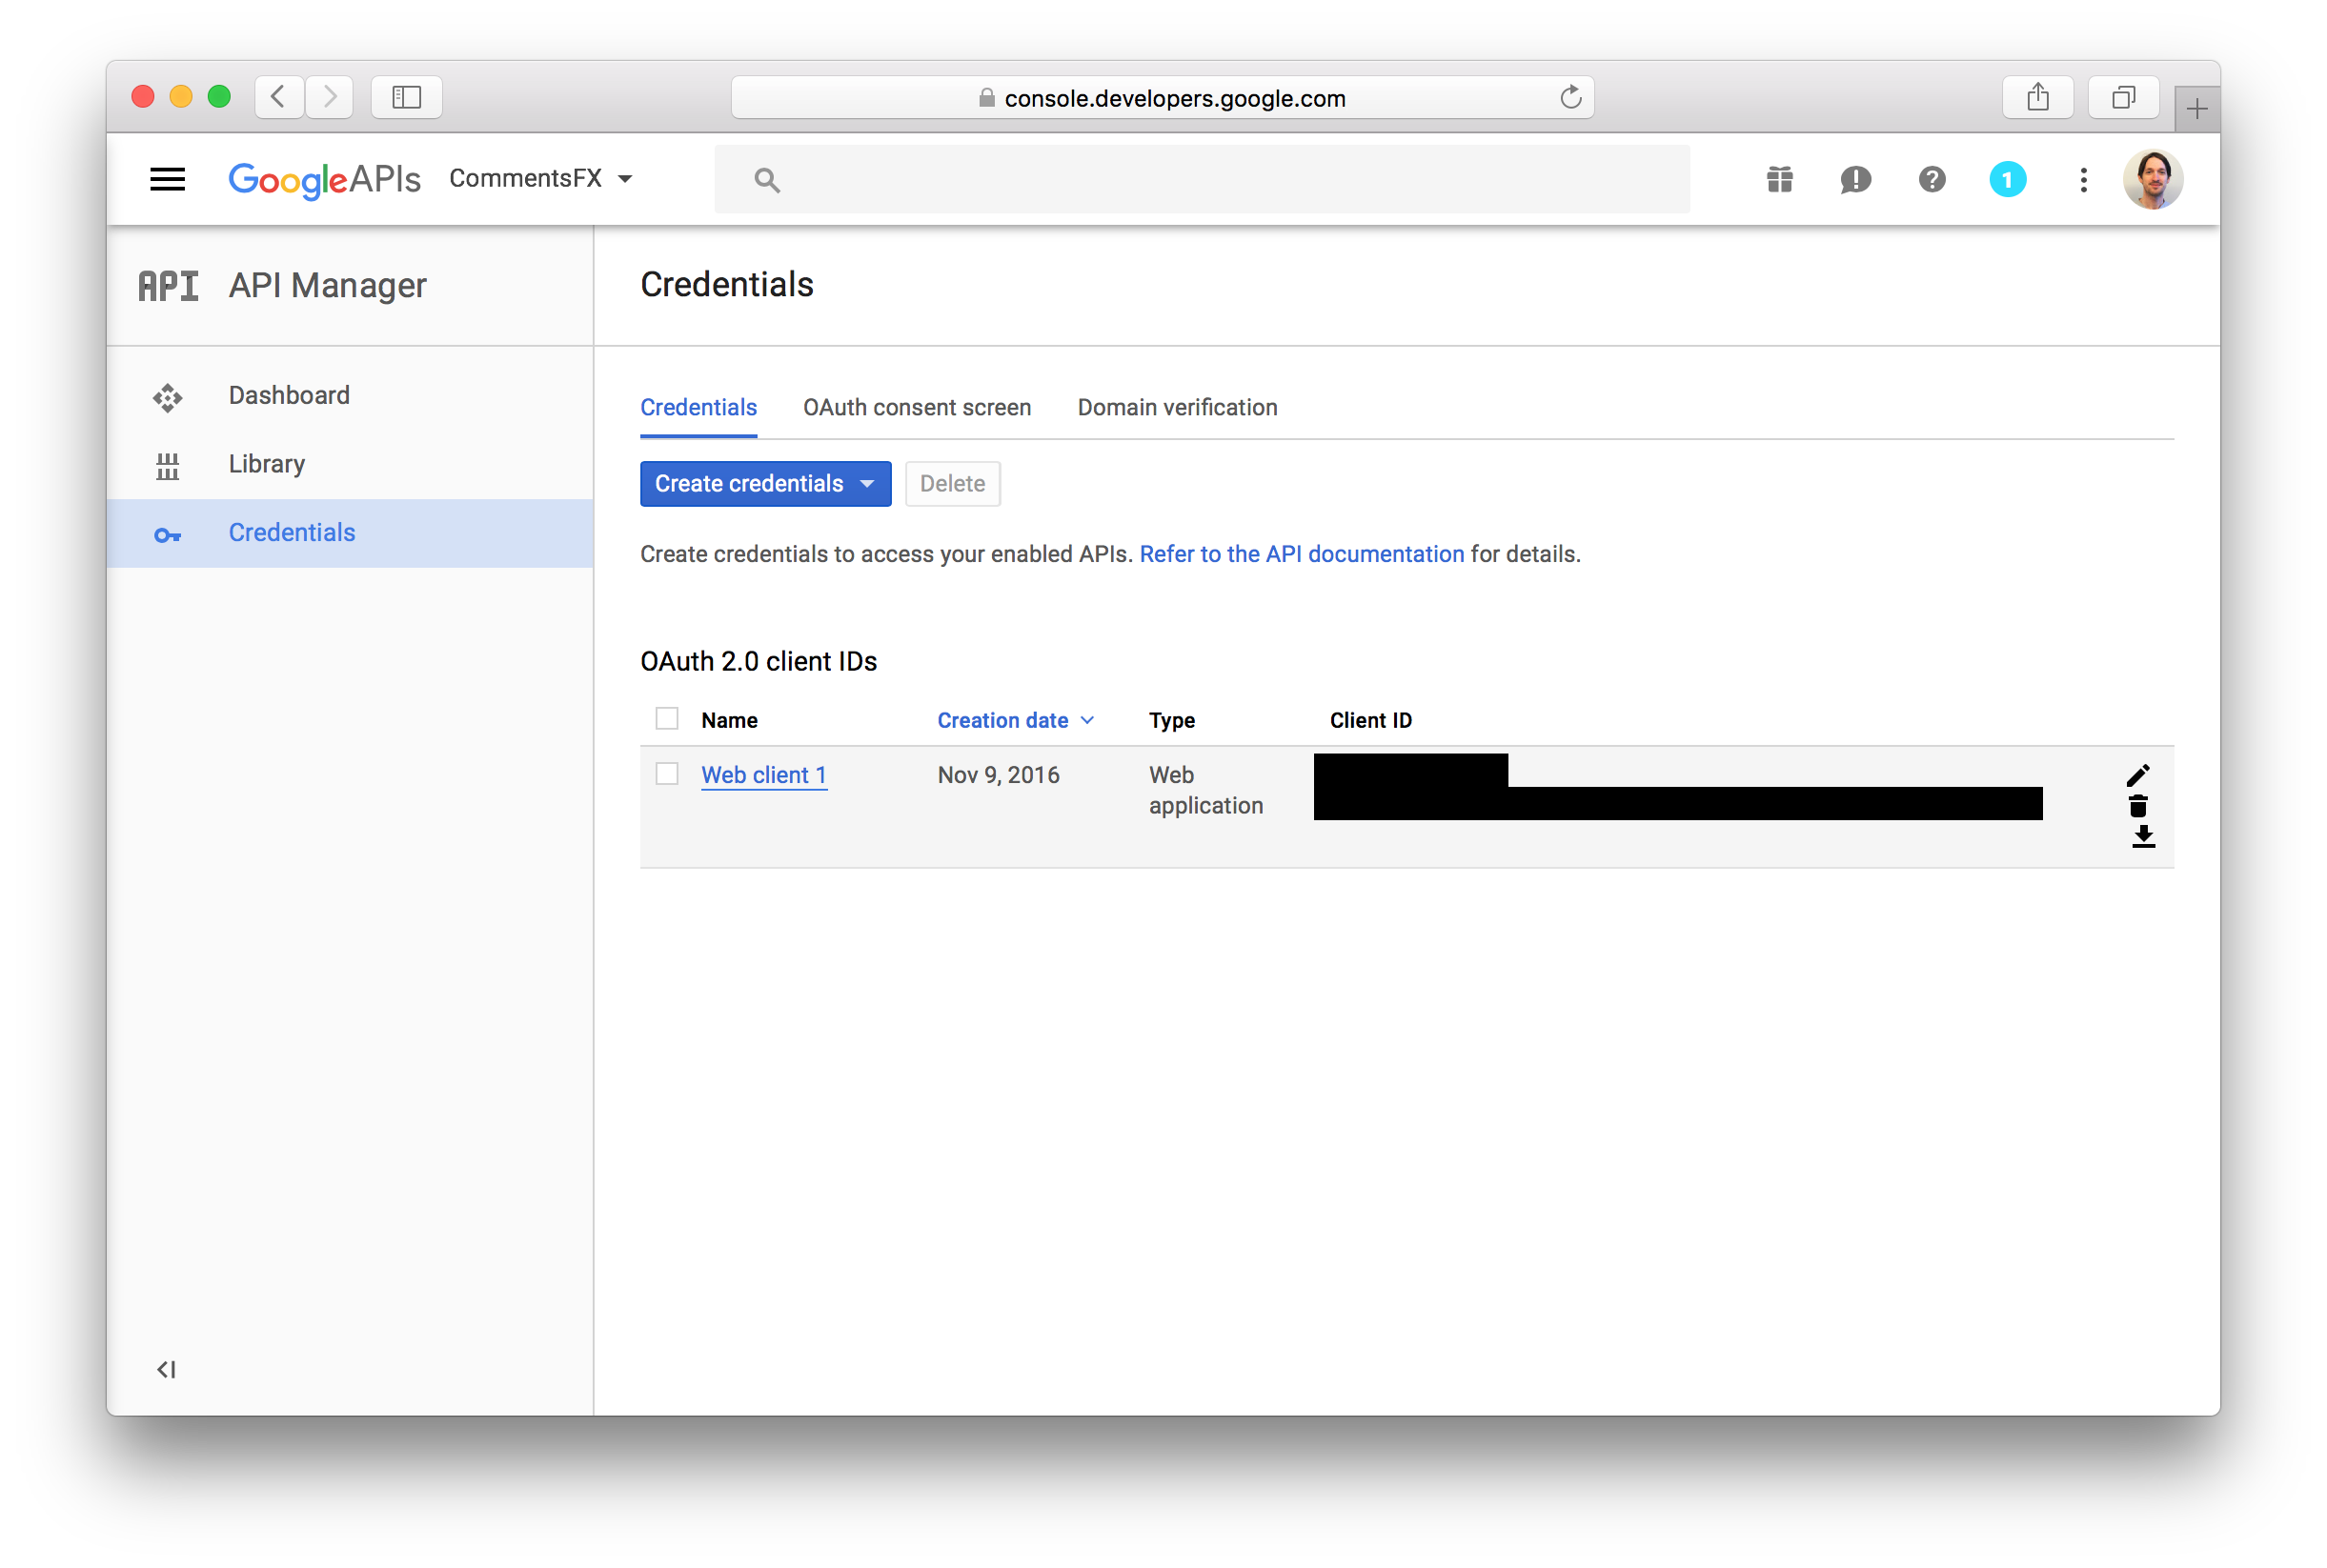
Click on the name of the credentials to open up the details.
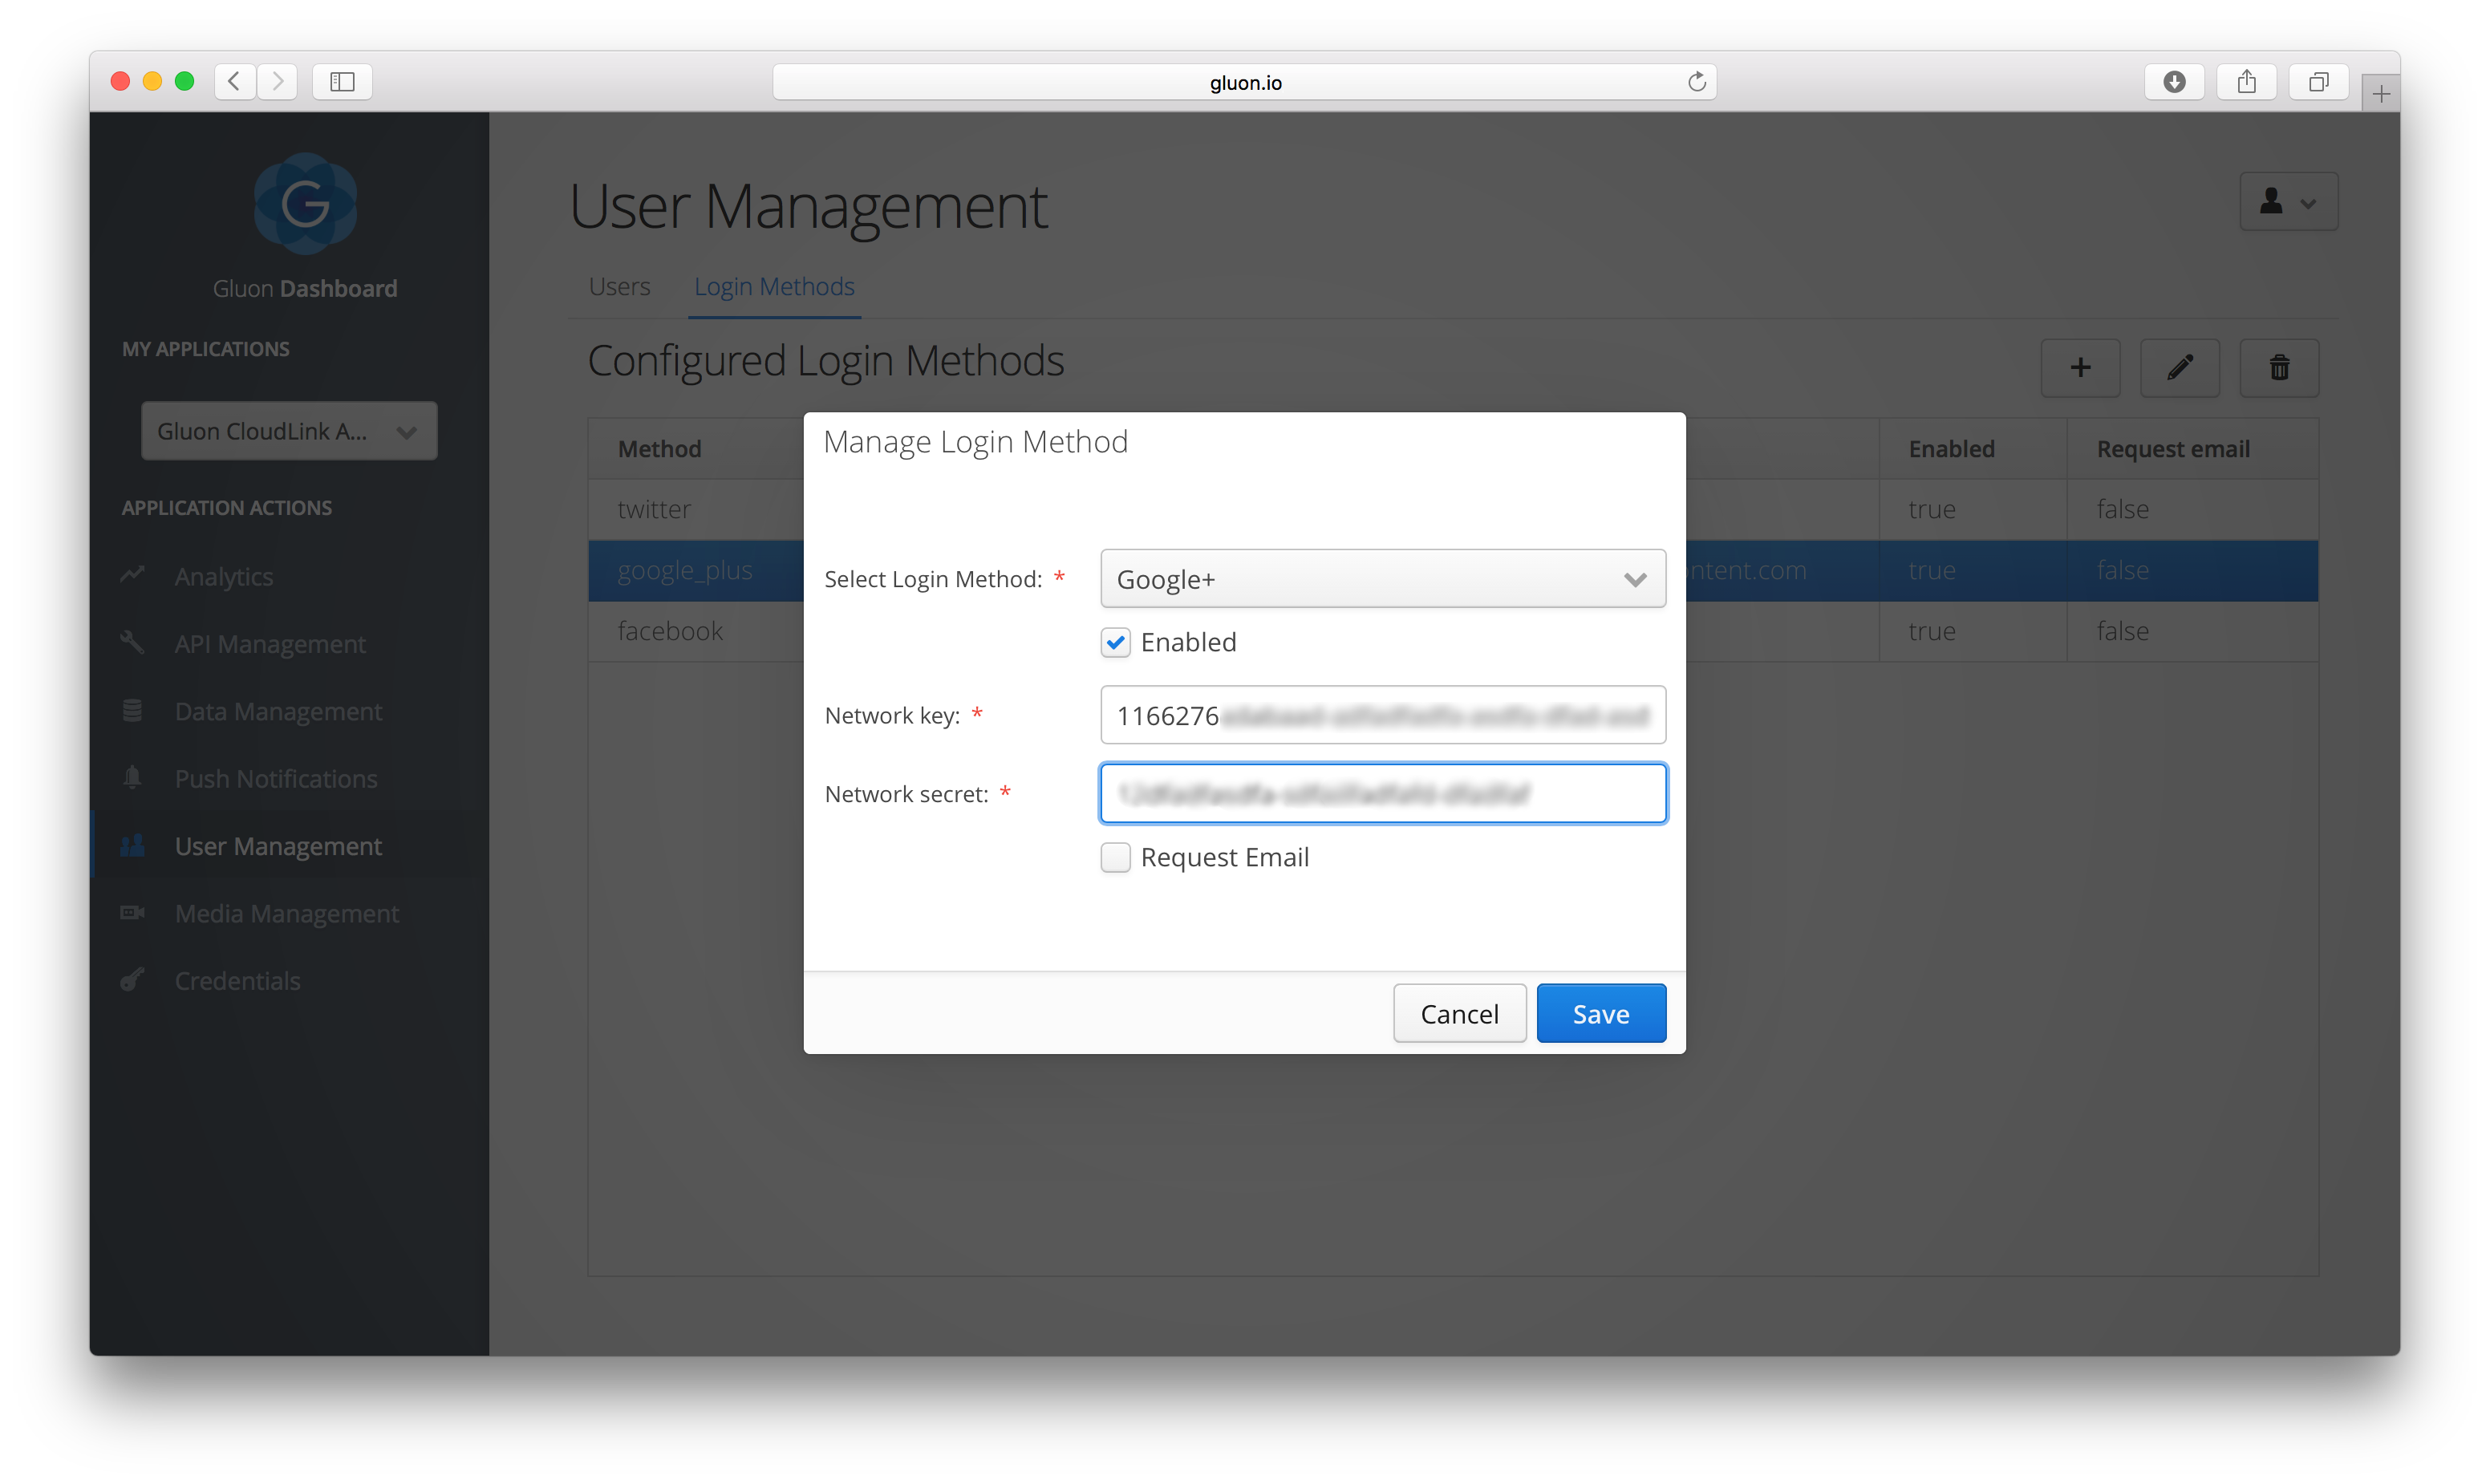
Gluon Dashboard
Copy the Client ID and the Client secret, and browse to the Gluon Dashboard web application. Navigate to the Login Methods
tab on the User Management link, click the + button, and add a new Google+ login method from the drop-down list. Paste the
Client ID and Client secret in the Network Key and Network Secret fields respectively, and click the Save button to apply your changes.